Hi ev’rybody.
Inspired by these smart guys,
usualpanic.com/2013/05/raspberry … net-radio/
raspberry-and-adafruit-lcdplate-t531.html
I decided to brew my own LCD display software for the Adafruit 16x2.
It has a welcome screen, then shows info about the current song, if any
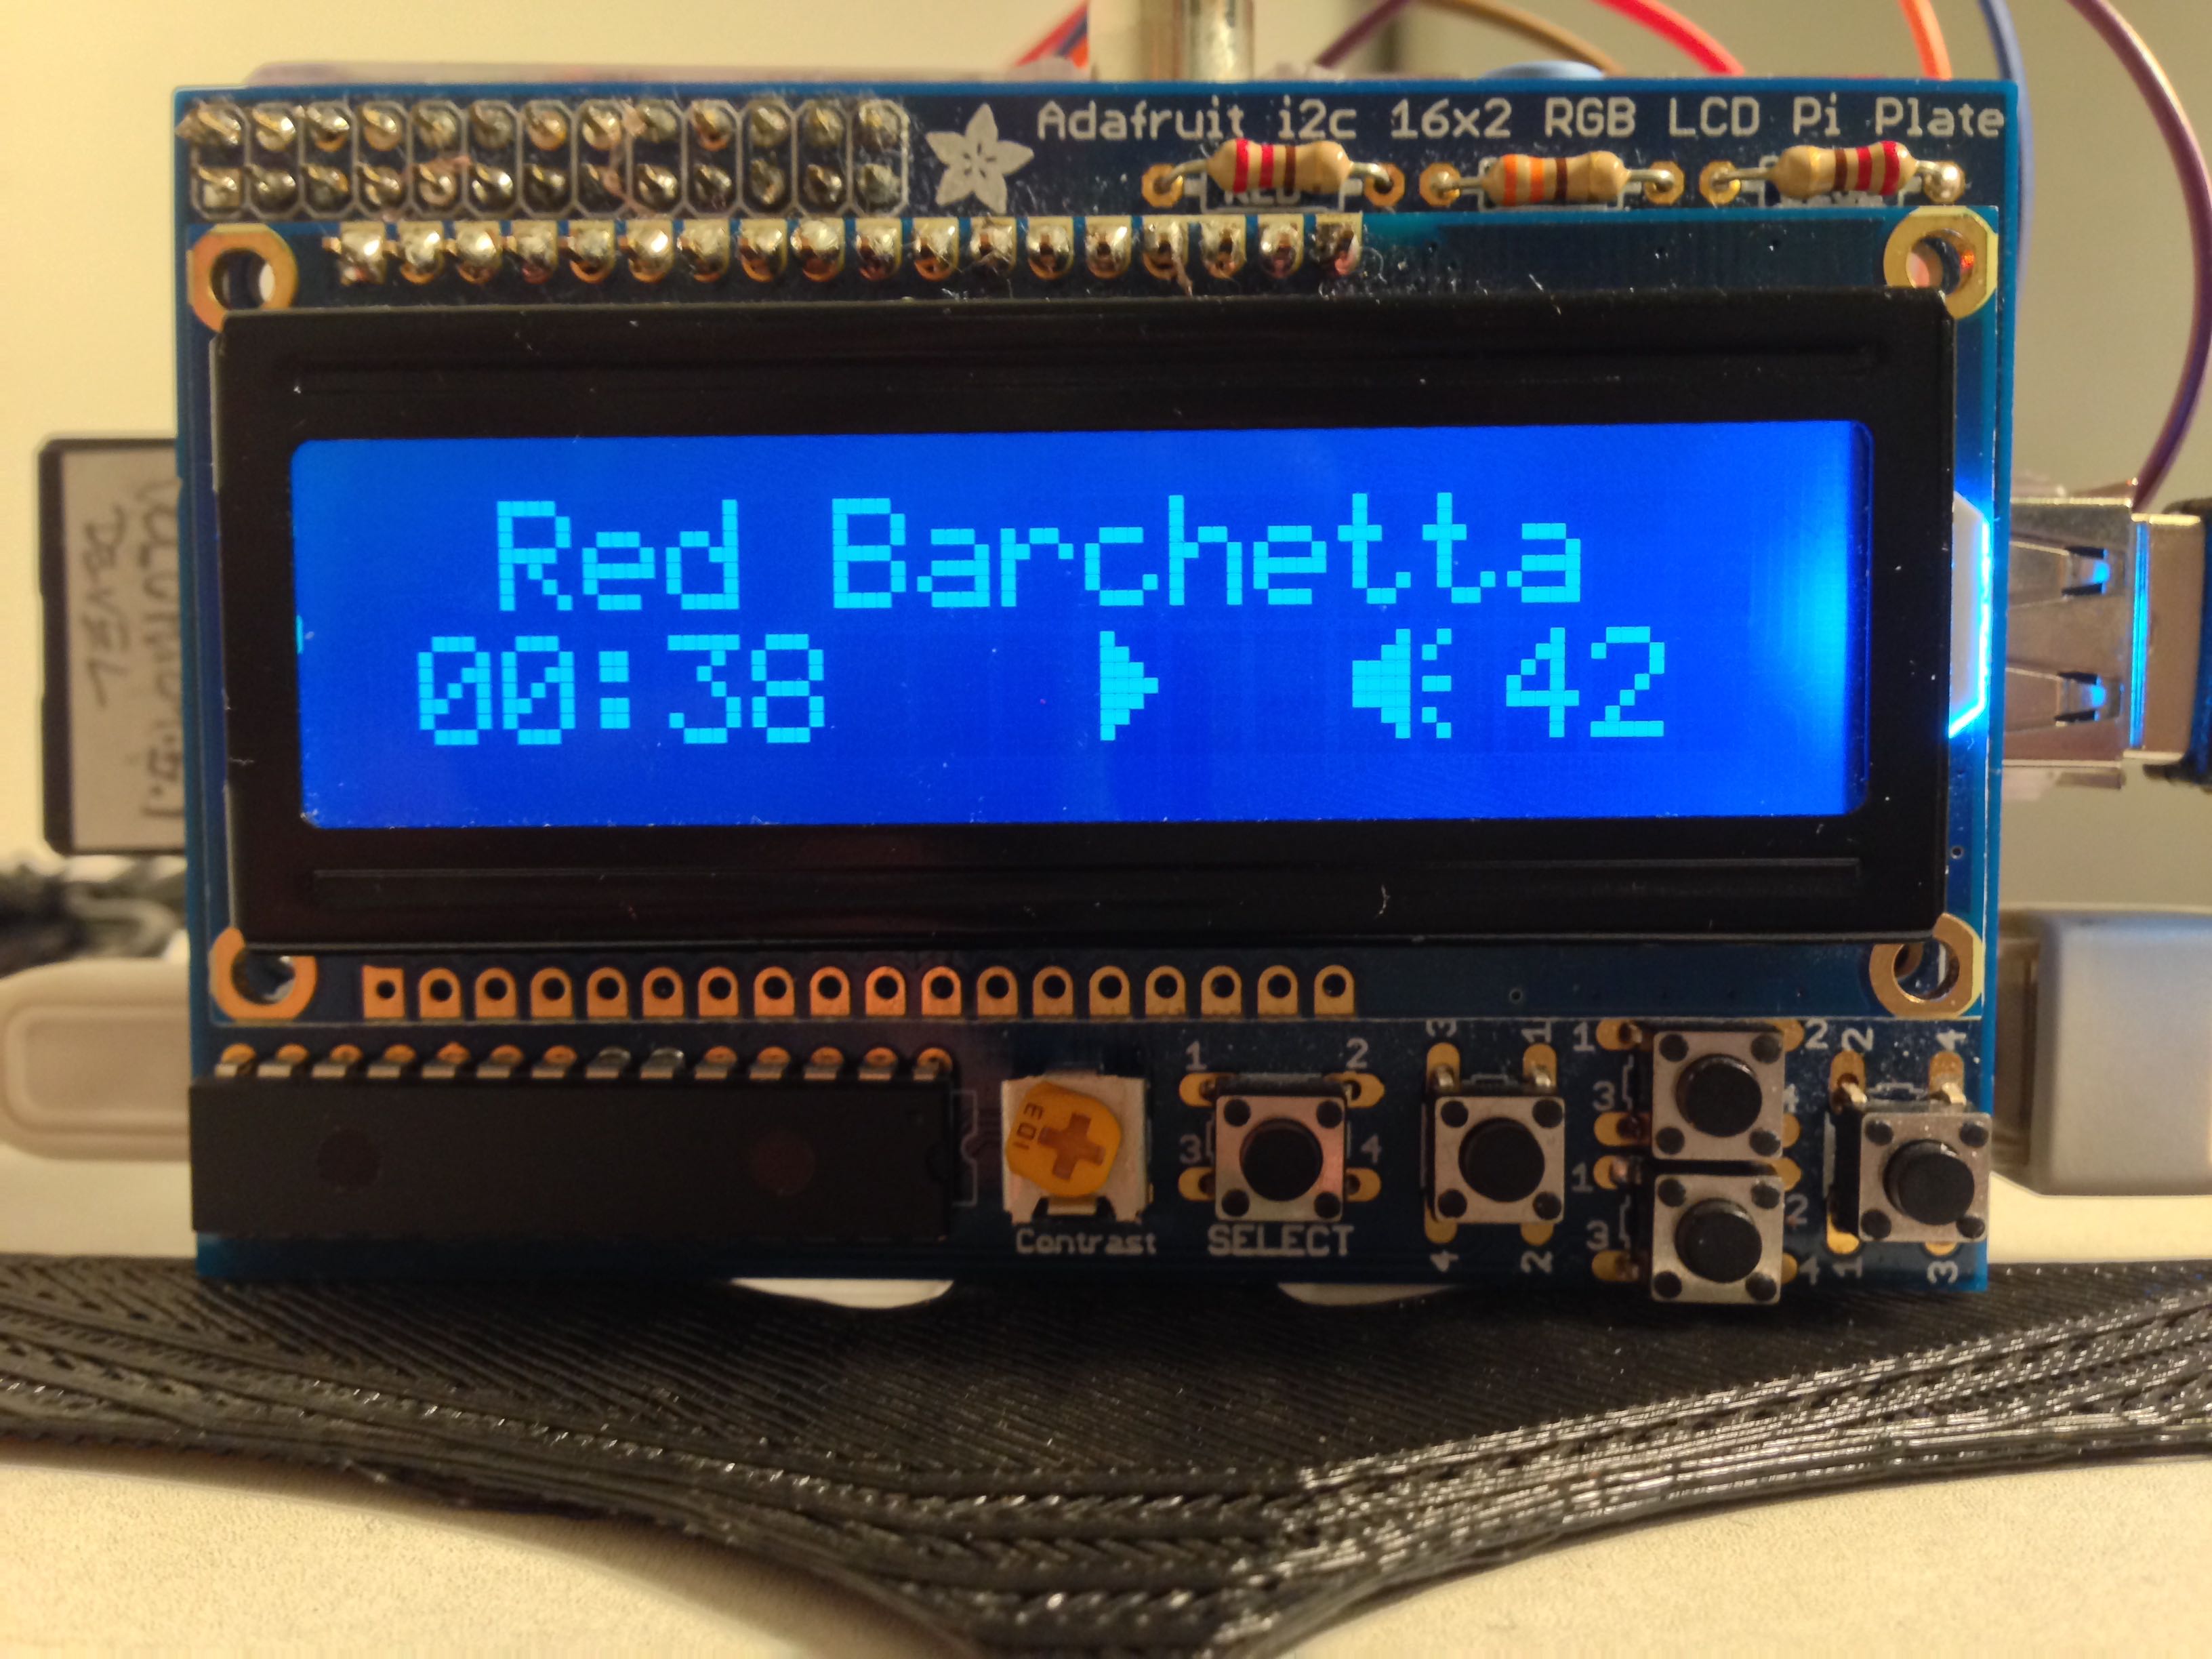
The author, album and title scroll once, then only the song title is displayed
Keys are used as expected:
UP Volume up
DOWN Volume down
RIGHT next song
LEFT previous song
SELECT play/pause
If LEFT and RIGHT are pressed together, you enter in a pretty strightforward menu:
UP/DOWN to navigate between options, RIGHT to choose, LEFT to go back.
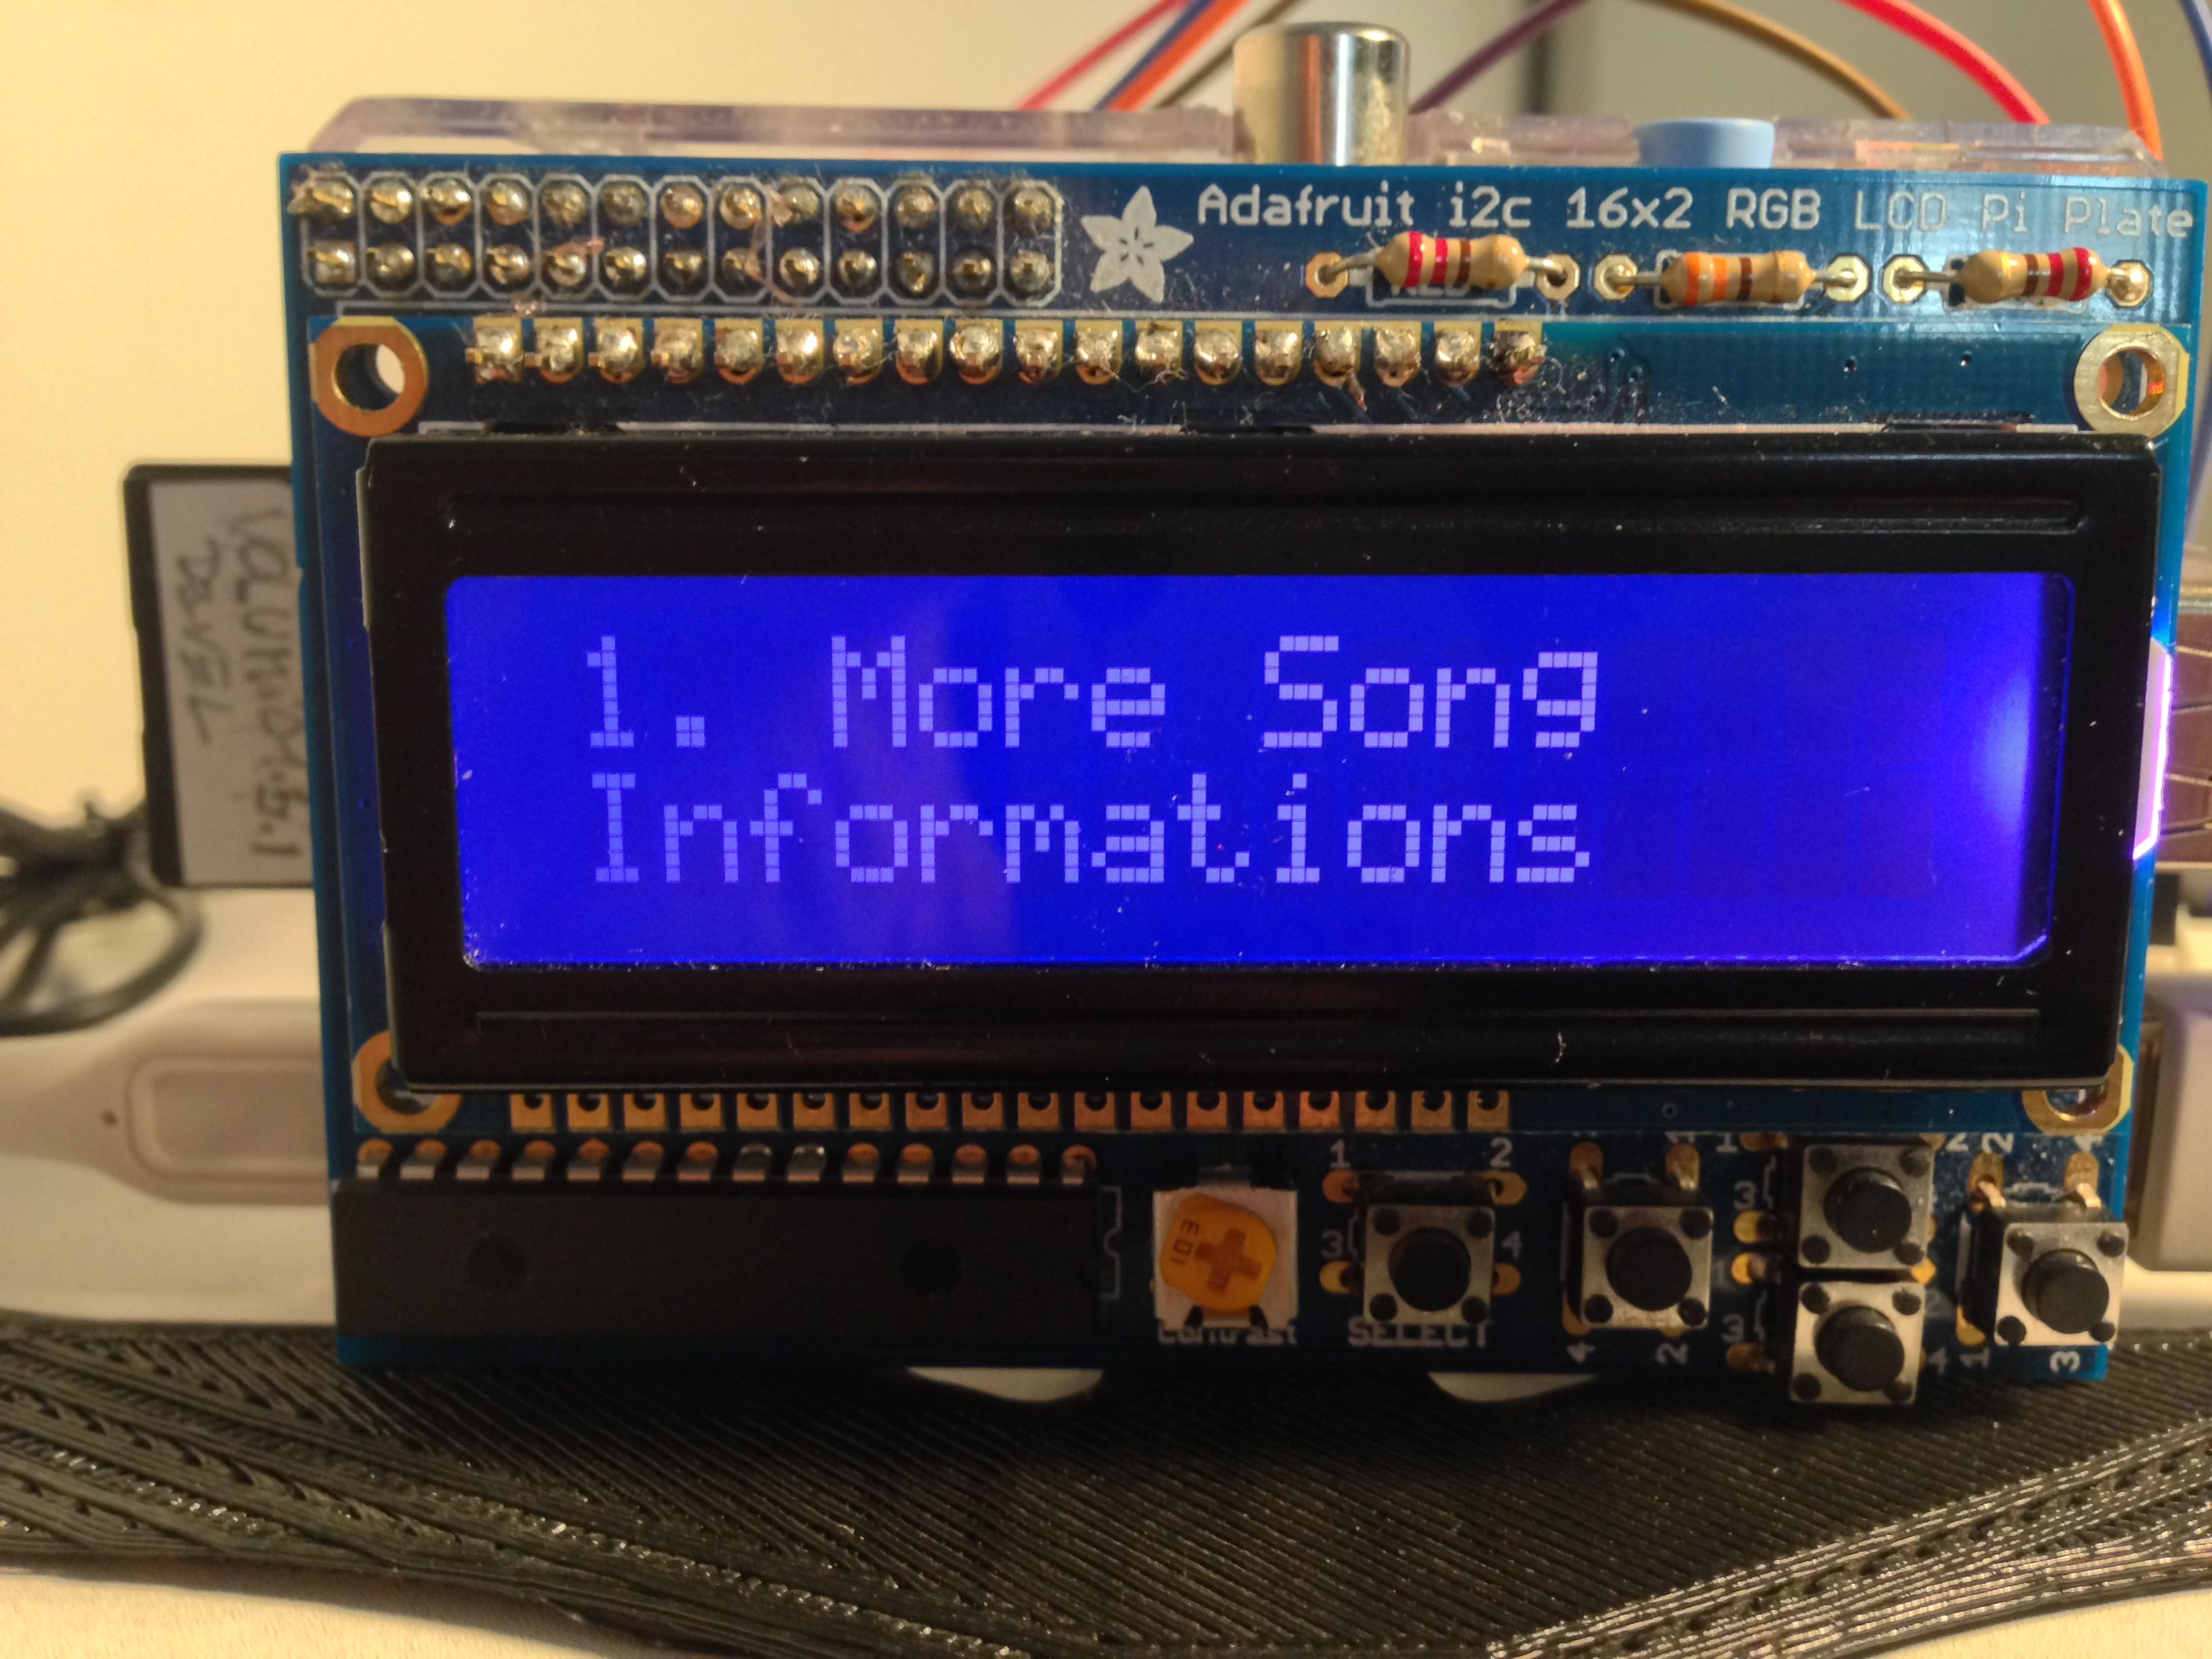
Available options are
- More Songs Informations
- Show Date And Time
- Show eth Ip address
- Show wifi Ip address
- Shutdown system…
Here’s the installation instruction for Volumio 1.5.1.
Have fun!
Step 1.
login to raspberry pi as pi
Step 2.
sudo nano /etc/apt/sources.list
#deb m repo.volumio.org/apt/ m jessie main contrib
deb m mirrordirector.raspbian.org/raspbian/ m jessie main
#deb-src m mirrordirector.raspbian.org/raspbian/ m wheezy main
Step 3.
add at end:
sudo nano /etc/modules
i2c-bcm2708
i2c-dev
Step 4.
Then install the PiFace libraries:
login as root
apt-get update;apt-get install git python-smbus i2c-tools python-dev gcc
git clone git://github.com/adafruit/Adafruit-Rasp … n-Code.git
Step 5.
Install python-mpd2 library
sudo apt-get update
sudo apt-get install python-setuptools
git clone git://github.com/Mic92/python-mpd2.git
cd python-mpd2
sudo python setup.py install
Step 6.
Copy my files in
Adafruit-Raspberry-Pi-Python-Code/Adafruit_CharLCDPlate
chmod ugo+x *.py
Step 7.
Enjoy
./launcher.py
installation.zip (30.1 KB)