Thanks for yours and members invaluable help that we can enjoy beauty of peppymeter.
I have a question to ask in relation to peppymeter and Spotify.
I have installed peppymeter as well as spotify in volumio.
The issue is that the VU meter does not move in spotify
You have documented the solution, but I am a dummy as to how to affect the changes.
Maybe to help me alot, you can share and teach me how to open the file as stated below by you :
open the file:
/data/plugins/music_service/spop/spop.conf.tmpl
and
/etc/spopd.conf
and change in both files the output_name to peppyalsa
have you tried to set in playback-options/volume option - mixer type to software/hardware or to none.
or in peppymeter plugin, set alsa configuration to DSD native and check if the meters are moving now.
or if you use Fusion DSP plugin it will not work with peppymeter.
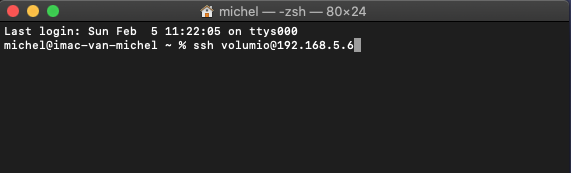
or ssh in volumio and set output device, whether this is still current and still works I don’t know.
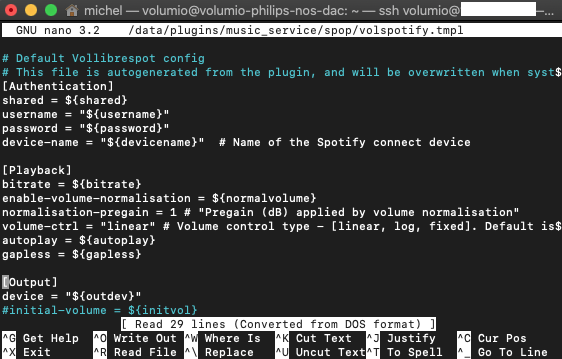
location file: /data/plugins/music_service/spop/volspotify.tmpl
Amazing design ! Congrats.
Could you please describe function of local/AUX switch ?
I was planning to use PeppyMeter to monitor external sources too but have no idea how to approach this. Any advice would be much appreciated.
Subsequently what should I type in ssh to achieve :
Step 2
replace in section output [output] device = ‘${outdevice}’ with [output] device = ‘peppyalsa’
Lastly, this portion too, what command to type :
Step 3
Then change the mixertype or outputdevice to another value and revert it back to create a new config file from temp.
Many thanks Michel. I know how to enable ssh, it is the executing the commands to resolve the Spotify uv not moving is the challenge. I hope I can do it soon …thanks for your guidance and patience.
@Gelo5
Thanks for the great work and creating the different skins for the displays.
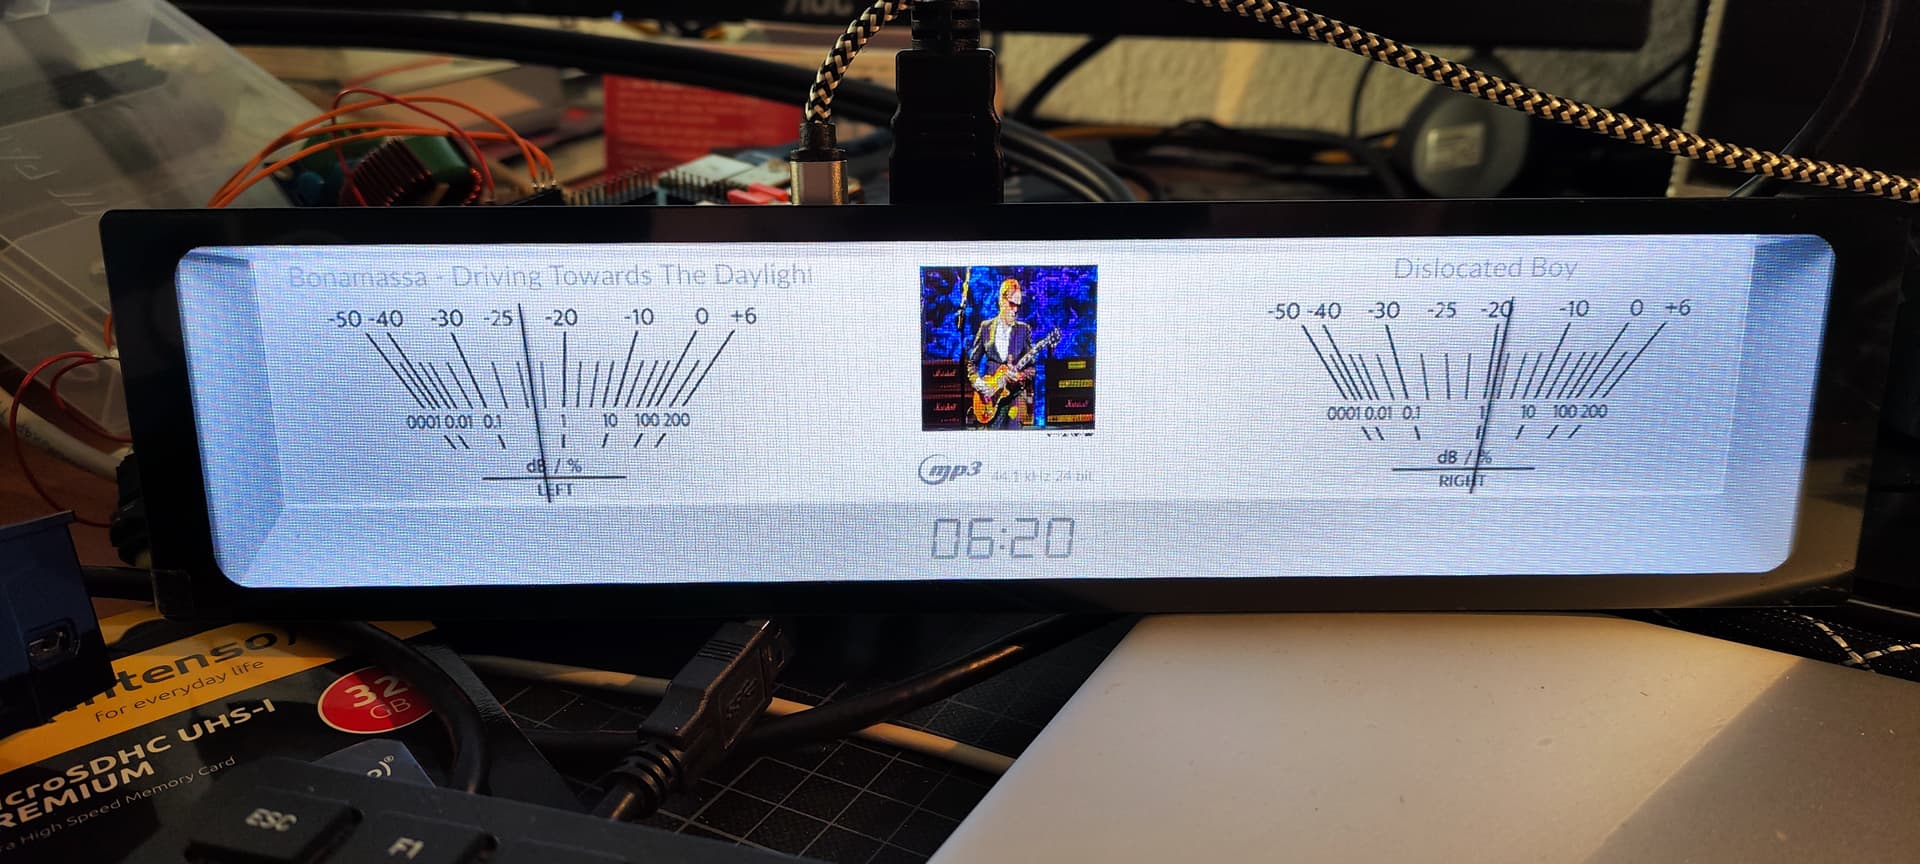
My Waveshare 11.9 inch 1480 x 320 display is running.
The easiest way is via the HDMI connection.
Now I can finish the case and the front panel.
I just think about moving forward with this great project:
Include Peppy Spectrum as a separate plugin and have it in parallel with PeppyMetter (not at the same time but available), that should be relatively easy, relatively to the second idea:
Enable pi to " listen" , and display screensavers for external line sources. That sounds more problematic as requires involving ADC …
Unfortunately I have no idea how to approach this…
As for now I play a lot with PeppyMeters with few great skins prepared by our great skinmaster @Gelo5.
Hope there will be someone who can help with implementing PeppySpectrum one day …
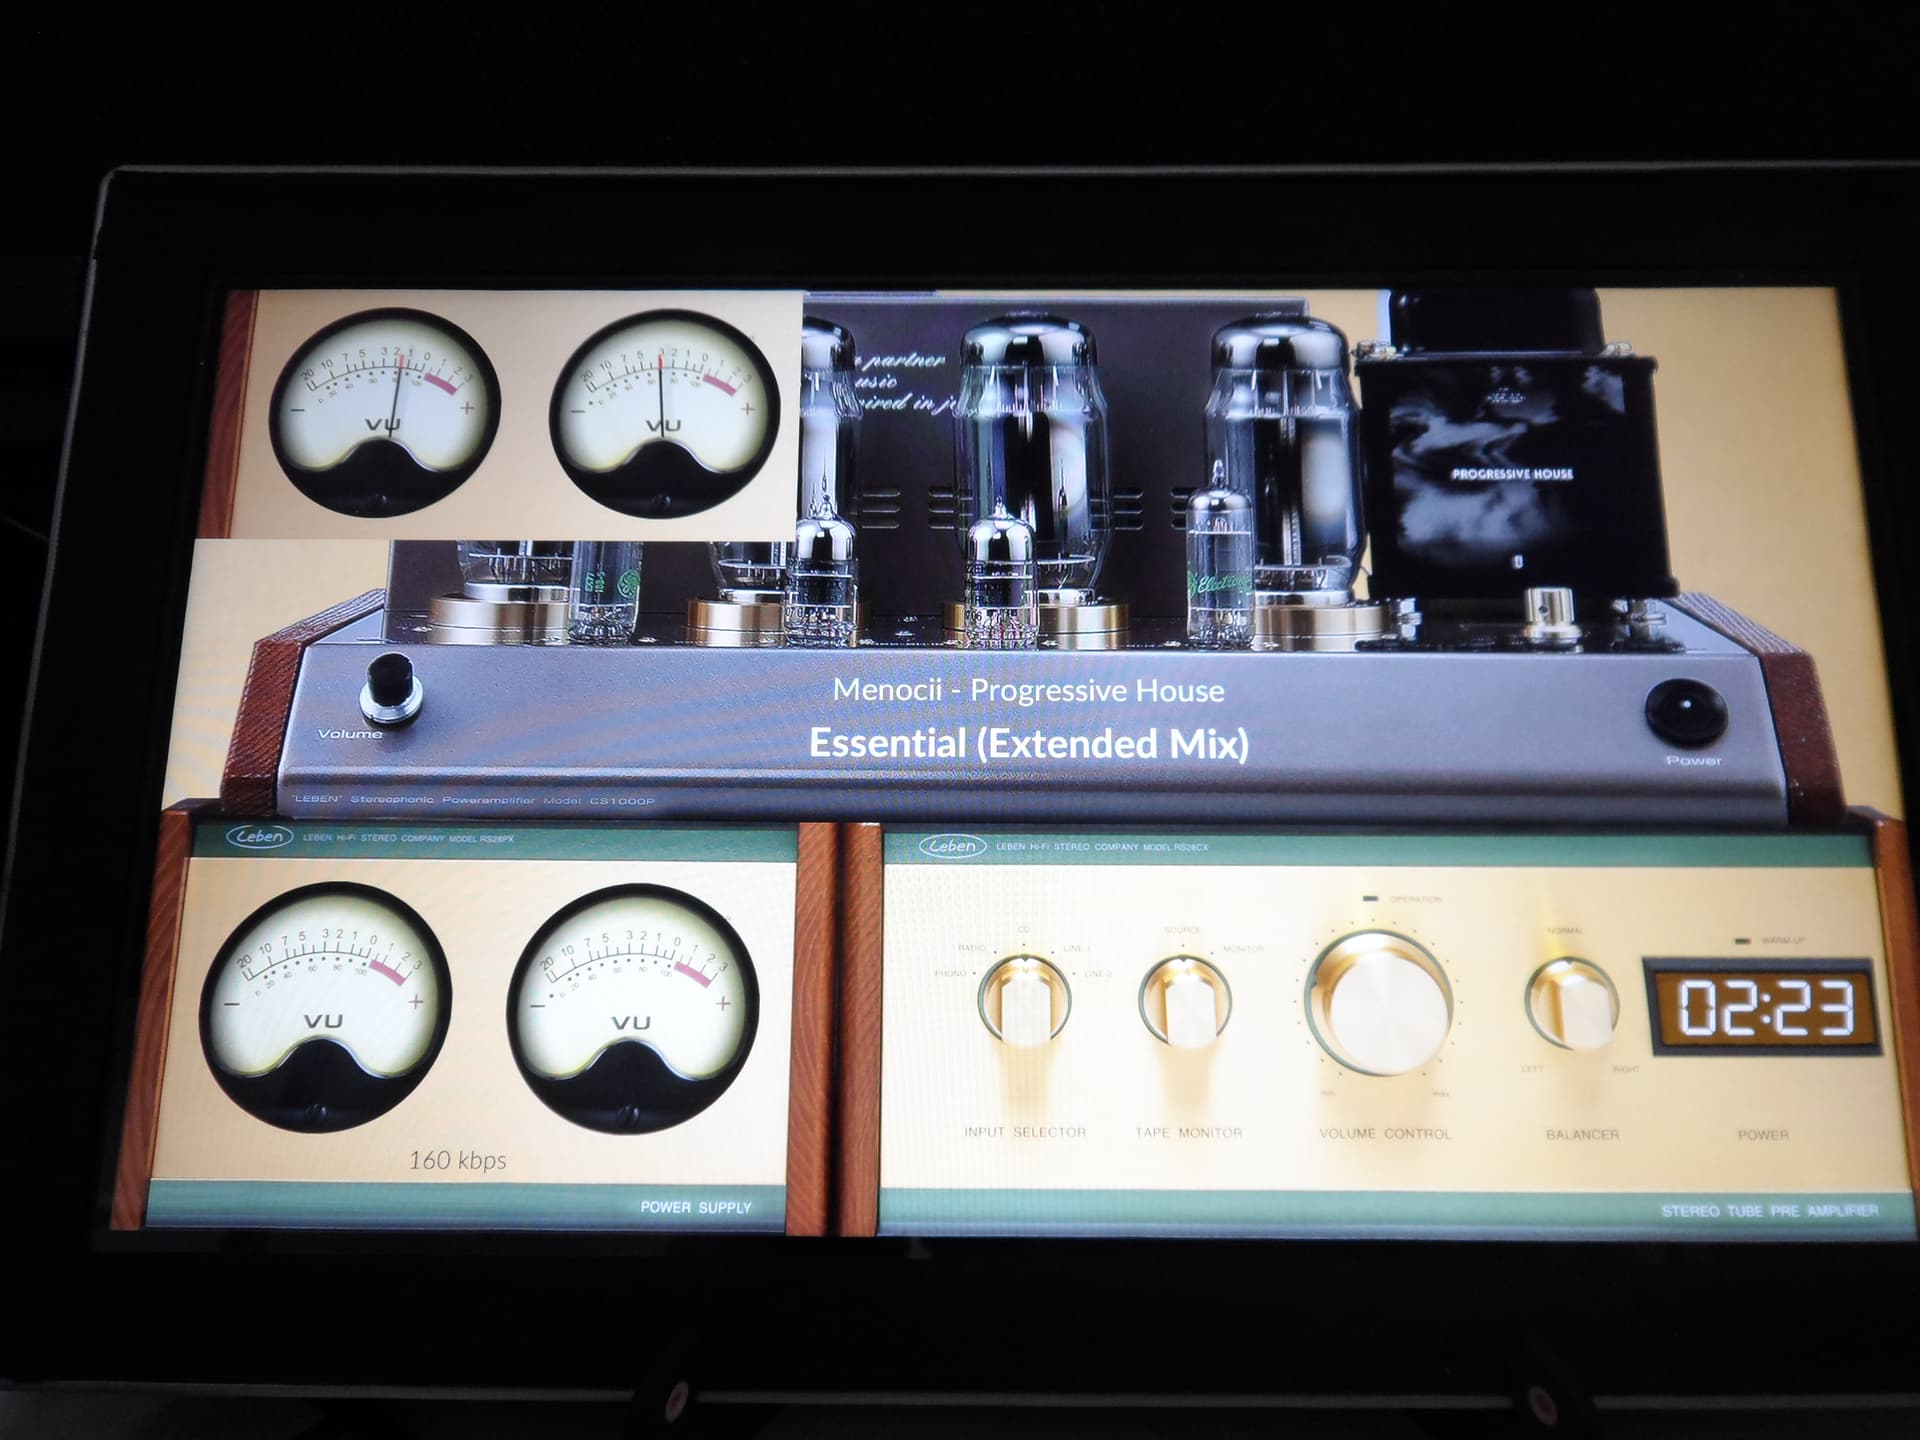
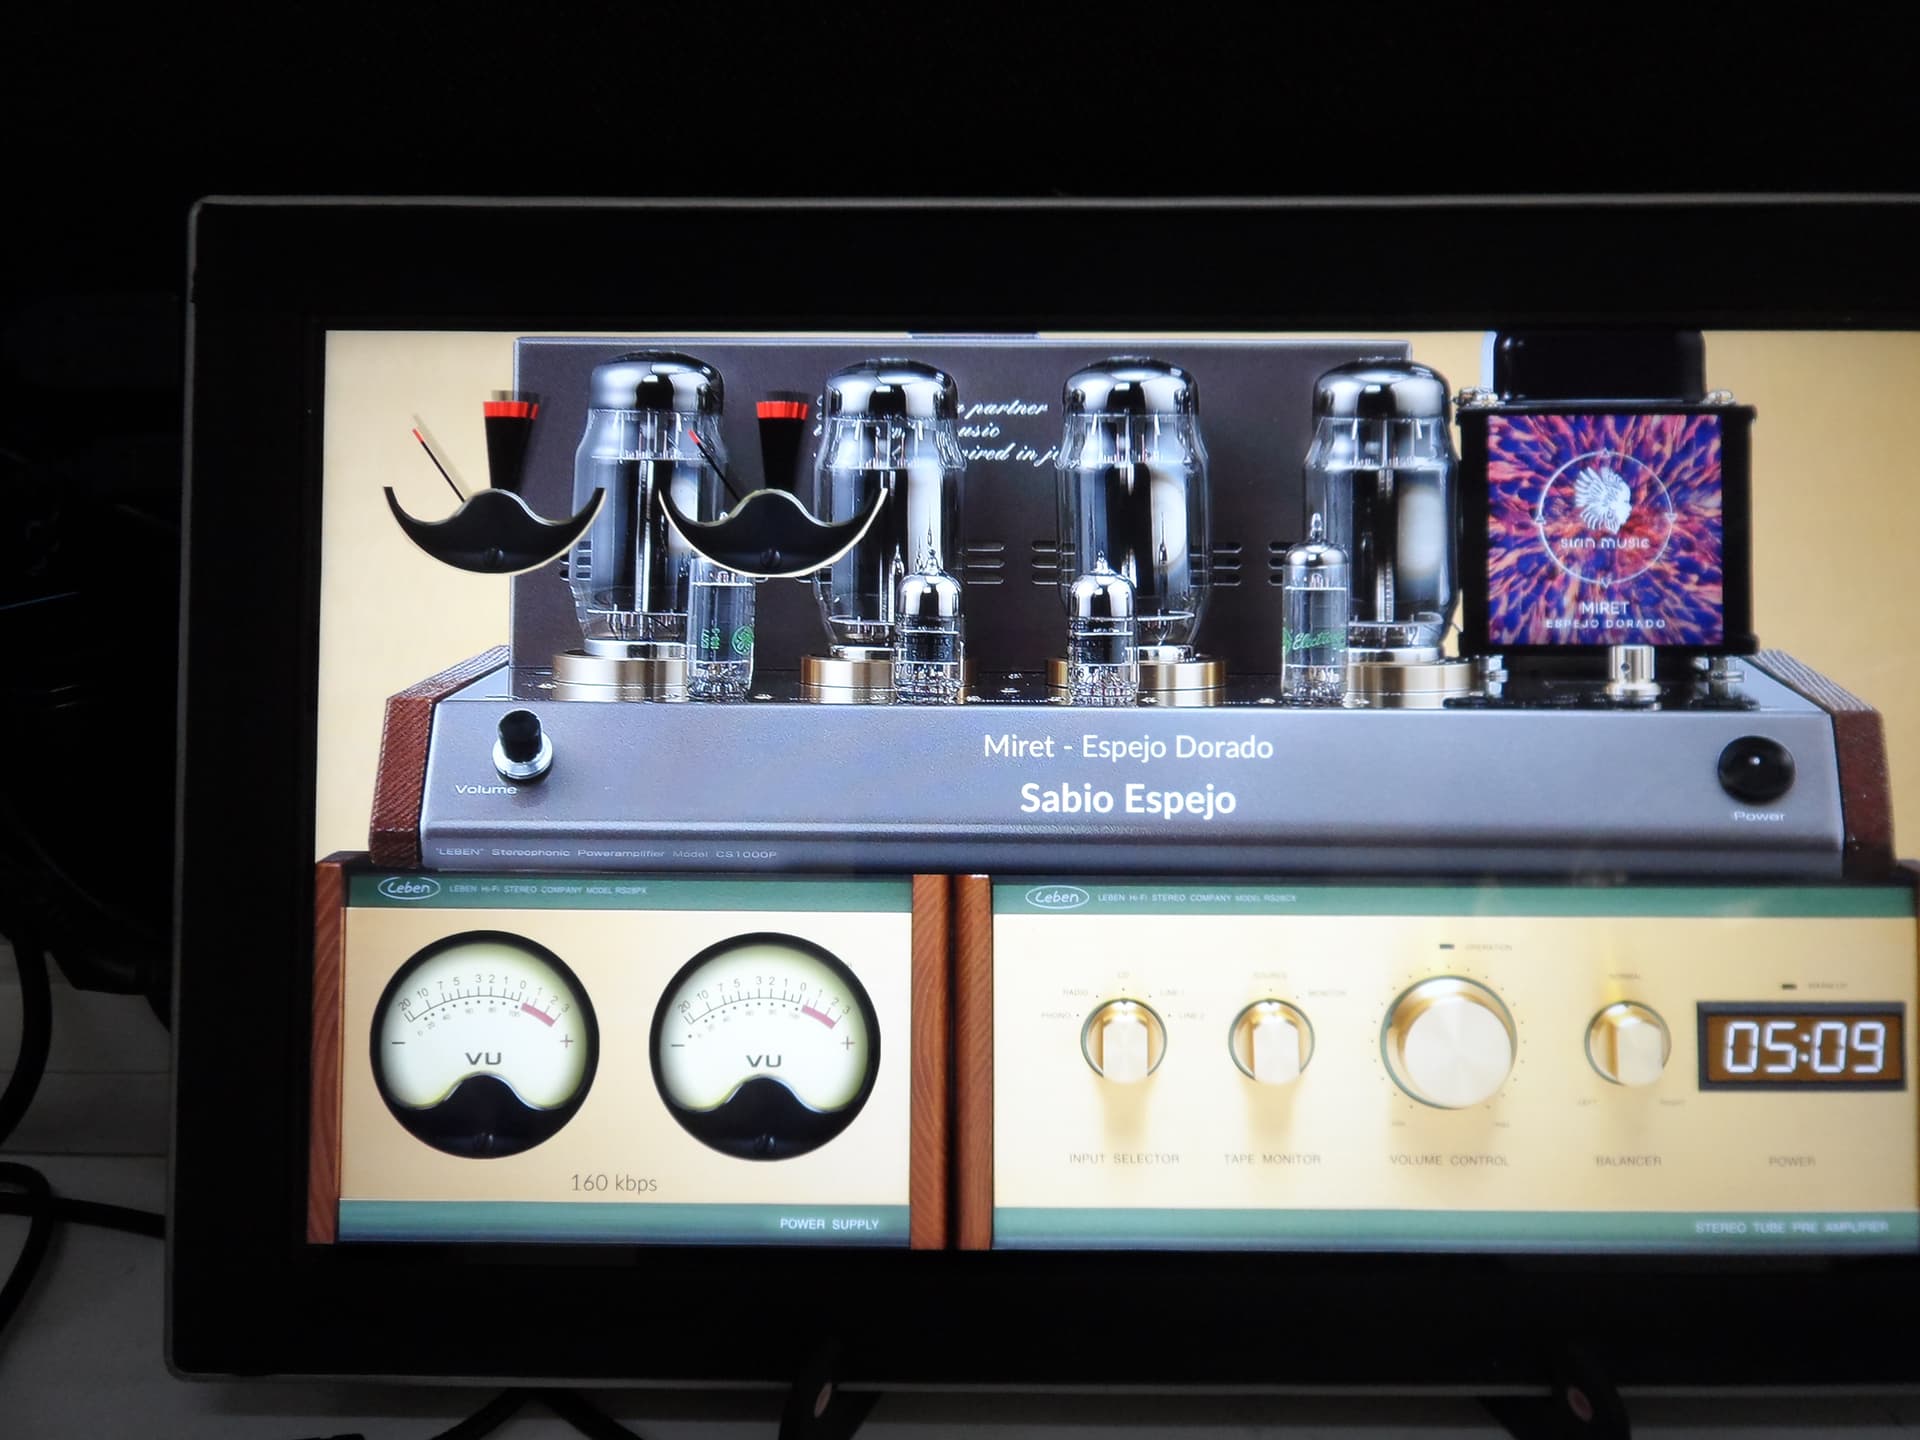
I wrote the code short so that the page does not fill up. Now I am changing the meterx and y numbers. By the way, the screen is 11.6-1920 * 1280 #-----------------------38 LEBEN GOLD--------------------------
[Gelo5_Leben]
meter.type = circular
channels = 2
ui.refresh.period = 0.033
bgr.filename = Leben_bgr.png
fgr.filename = Leben_fgr.png
indicator.filename = Leben_needle.png
steps.per.degree = 4
start.angle = 36
stop.angle = -32
distance = 80
left.origin.x = 213
left.origin.y = 260
right.origin.x = 543
right.origin.y = 260
meter.x = 0
meter.y = 700
screen.bgr = Leben.jpg