I’ve been playing around with Volumio for a while but only used Volumio x86. Old x86/x64 hardware is easy to come by and mostly free compared to crazy amounts of money for a RPi just to run volumio.
My question is, is it possible to get PeppyMeter running on an x86 platform? Has anyone successfully done it? I looked all over the internet and I only found one short youtube video with no explanation showing an x86 laptop with peppy meter running. I’ve tried myself several times and never got it to work. Should I give up since it’s not possible?
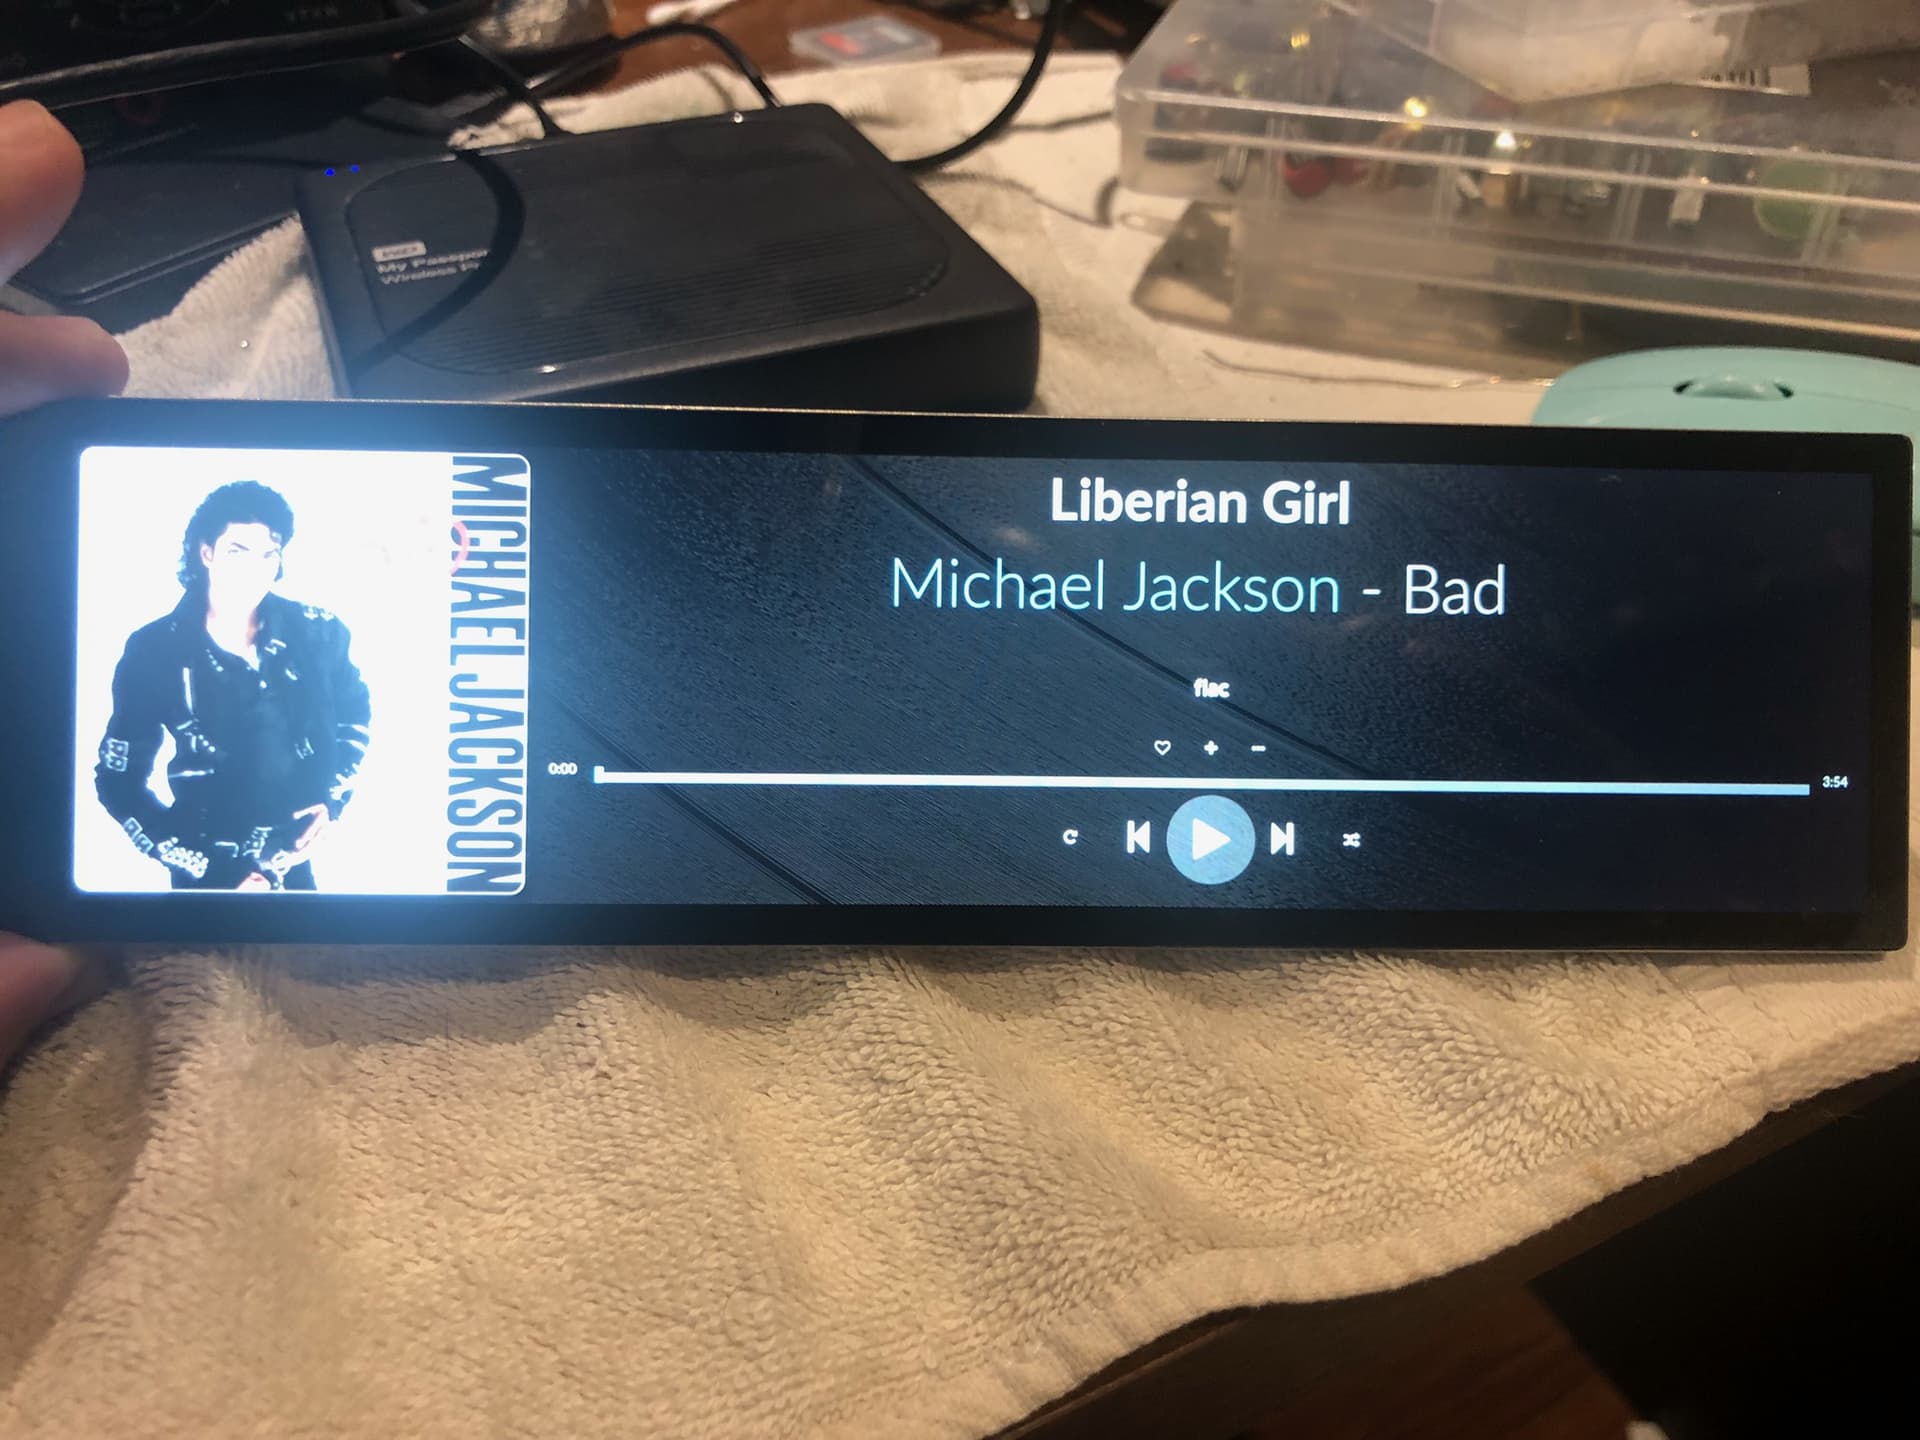
I’m running the latest version of Volumio on a x86 platform with a 1920x480 touch screen. I got as far as the attached picture. I installed the peppymeter plugin, enabled it and configured it but I get an error message when playing music and the screensaver never kicks in.
Let me know if you’ve seen it working under such platform or if you have any tips on how to proceed further.
Hello all,
Apologies if this is not the good thread, this is my first post here, but i suppose this is the place to write.
After few reinstall of volumio 3 on an old dell studio 1555 laptop, i finally was able to get PeppyMeter partially work on the native screen of the laptop. My mistake was to have tried to follow several tutorials at a time, where i finally simply used the plugin files made available at the beginning of the thread.
Anyway, two issues remained:
whereas the vu meters correctly worked, i had no info about the track, the time position, the level and so on.
the peppyMeter won’t start automatically, i had to execute it from a ssh session aside.
I thought I may have had to install the touchdisplay plugin, which i first did from the github source, but it broke the X session: no more local GUI at all, only CLI.
I restarted from scratch (restore from the volumio options) and retried with the touchdisplay also made available at the beginning of the thread: same result.
So, now the story is written, i have 4 questions:
is peppyMeter supposed to work well on volumio 3 on x86 PC?
how can i manually restart the X session? (this is out of topic but would help) > found, openbox
what may i have missed in the install process to have both view meters and info display on the same screen?
is peppyMeter supposed to start automatically with the single plugin installation? (or do i still have to proceed with crontab? seems not according to the plugin description in the thread)
I thank you all in advance.
Best regards,
Ron.
PS: i’m currently restarting from scratch, i will probably find the right X startup command in the fresh install > found, openbox.
Seems you got further then others who did try. Peppy is written for a rPi and rely on it’s specifics.
Do not install the Touch_display plugin, as this will break the kiosk as it is trying to replace it, but the plugin fails during install, so files are missing.
You need to include/adapt:
run_peppymeter.sh
volumio_albumart.py
volumio_configfileparser.py
volumio_peppymeter.py
Thank you for the subject split, it’s better here for sure
Yep, this is what i concluded regarding Touch_display after having a quick look at the install script.
I will try to fix with the files you mentioned, and I report here after (never touched any python code…).
Thanks again.
Hi Guys. I see that my original post is still active and there is interest in peppy and volumio x86.
After a couple of months of trying I finally got it to work. IT is my backround and i have zero knowledge about linux and python so i had to learn it from scratch.
I got peppy to autostart whenever the state of the player changed to play. Any other state it will go back to the main window. In my case, i configured it so that a picture slideshow kicks in when music is not playing. I also got it to work with airplay as well as the new beta spotify plugin which btw is not working properly on x86. The only way spotify works is if you cast it from your phone using the spotify app….don’t use airplay for spotify if u have an iphone.
Anyway, i put together all the steps in detail to get all this to work. I followed these steps on several x86 platforms and worked everytime so they should also work for you. I’m at work right now but will post the instructions here when i get home. The key is to install the plugin manually and modify all kinds of files afterwards.
Btw, i didn’t have to install any touch screen plugins. I’ve used a 1920x515 and 1920x480 and the touch worked by default. However, there are some changes needed in order to rotate these screens and to be able to control the touch. My instructions contain these changes as well.
yes, sounds like a plan. The touch_screen plugin will kill the kiosk function.
I only did a very basic 5 min test with Peppy_meter.
I was able to launch it and have the needles moving properly.
Due to the difficulty getting a rPi, this would be a nice addition for x86, as Peppy_meter is very populair. We have been able to get mpd_oled running on a x86, so with peppy, the x86 comes close to the rPi in regards to functionality.
Nice thank you!
I currently manage to make it work with informations/jacket/duration… which is good and better when i posted my initial message, in fact only by launching it manually with sudo.
regarding size, it was better yesterday cause in full screen, i don’t know why i couldn’t reproduce the same at the moment.
In fact i had hard tries with RPi3 but finally decided to try on an old laptop 2 days ago: a lot more responsive!
As promised, below are the steps I followed that worked for me on a few x85 devices.
Manually Install PeppyMeter
On a fresh 3.x x86 Volumio install run:
sudo apt update
sudo apt upgrade
sudo apt install xinput
Copy Install_peppy folder to /home/volumio
Give execute rights to files install_peppyalsa.sh and install_PeppyMeter.sh files under the Install_peppy folder
Change folder with cd /home/volumio/Install_peppy
Run sudo ./install_peppyalsa.sh. Check for errors or if components didn’t install
Run sudo ./install_PeppyMeter.sh. Check for errors or if components didn’t install
For me, Pillow failed to install which is part of the PeppyMeter install. If that’s the case run sudo python3 -m pip install --upgrade pip setuptools wheel
Run sudo ./install_PeppyMeter.sh. Check for errors or if components didn’t install. It should be ok now
Run the following and ensure you’re not getting any errors:
a. Python3
b. import pygame
c. from socketIO_client import SocketIO
d. import cairosvg
e. from PIL import Image
Reboot and confirm file /tmp/myfifo has write access permission. If not run sudo chmod 646 /tmp/myfifo
For PeppyMeter settings, edit the file /home/volumio/PeppyMeter/config.txt. Under [current]
a. Set the meter type i.e. random, emerald, red etc
b. Set interval if random is selected to change the vu meters every 60 seconds
c. Set meter.size to small, medium, large, wide. These names are defined in file configfileparser.py under the same names (small, medium, large, wide). These names also represent the folder names where all the vu meters and their settings are. Don’t change that.
small
medium
large
wide
Edit file configfileparser.py and search what you used in step 13c. Match width and height to match your screen resolution. If your screen resolution is 1920x515 change the WIDE setting to represent that.
a. WIDE_WIDTH = 1920
b. WIDE_HEIGHT = 480
c. LARGE_WIDTH = 800
d. LARGE_HEIGHT = 480
e. etc
For step 13 to 17 you might need to change file and folder permissions in order to perform these steps. Use sudo chmod 777 “file/folder” name with no quotations.
Start the screensaver by running sudo ./run_peppymeter.sh
PeppyMeter and Airplay did not work. In order to fix it do the following:
a. Copy file /tmp/shairport-sync.conf to /home/volumio/PeppyMeter/shairport-sync.conf. Give write permissions.
b. Edit file /home/volumio/PeppyMeter/shairport-sync.conf and under output_device replace “volumio” with “peppyalsa”.
alsa =
{
output_device = “peppyalsa”;
}
d. Edit file /lib/system/system/shairport-sync.service and modify the conf file location to the location specified in step 17a.
f. In putty run these commands
i. sudo systemctl stop shairport-sync.service
ii. systemctl daemon-reload
iii. sudo systemctl start shairport-sync.service
iv. sudo systemctl status shairport-sync.service to confirm the service is running and there are no errors.
v. Reboot and test.
Enable the plugin and under settings login with your account.
a. NOTE: The plugin doesn’t really work for me. It’s in BETA so it’s understandable. It doesn’t allow me to login most of the time and when I can login, although I can browse and select songs, I can’t initiate a play from the Volumio UI. However, the plugin is required in order to cast from the iPhone app. Otherwise it would need to be done via AirPlay.
Casting from an iPhone app to Volumio allows for the play info and cover art to display however PeppyMeter doesn’t work. In order to work follow these instructions:
a. Edit the file /tmp/volspotify.toml. Under [Output] modify the device= from volumio to peppyalsa
[Output]
device = “peppyalsa”
b. Reboot and test.
c. If this file gets replaced eventually and PeppyMeter stops working, you’ll have to follow the same steps as in step 17 above for the /tmp/volspotify.toml file and /usr/lib/startconnect.sh. You’ll have to run “sudo chmod 646 /usr/lib/startconnect.sh” in order to save the changes.
man, this is gold
on my side, i won’t need everything, but i’m glad you detailed the screen size adjustment file and probably the process to make it start automatically, i’ll take time to read everything.
Starting from the plugin may probably simplify the installation process, but as you noticed there was an issue with Pillow too (if i remember well), iwill check that.