Volumio x86 + PeppyMeter

Part 3

Configuring PeppyMeter to work with AirPlay

  1. PeppyMeter and Airplay did not work. In order to fix it do the following:
    a. Copy file /tmp/shairport-sync.conf to /home/volumio/PeppyMeter/shairport-sync.conf. Give write permissions.
    b. Edit file /home/volumio/PeppyMeter/shairport-sync.conf and under output_device replace “volumio” with “peppyalsa”.

    alsa =
    {
    output_device = “peppyalsa”;
    }

d. Edit file /lib/system/system/shairport-sync.service and modify the conf file location to the location specified in step 17a.

[Service]
ExecStart=/usr/bin/shairport-sync --configfile=/home/volumio/PeppyMeter/shairport-sync.conf
User=shairport-sync
Group=shairport-sync

f. In putty run these commands
i. sudo systemctl stop shairport-sync.service
ii. systemctl daemon-reload
iii. sudo systemctl start shairport-sync.service
iv. sudo systemctl status shairport-sync.service to confirm the service is running and there are no errors.
v. Reboot and test.

to be continued…

Part 4

Configuring PeppyMeter to work with the new Beta Spotify plugin

  1. Install the latest Spotify plugin by following these instructions:
    a. git clone GitHub - volumio/volumio-plugins-sources: Volumio plugins source code for Volumio 3 --depth=1
    b. cd volumio-plugins-sources/spotify/
    c. volumio plugin install

  2. Enable the plugin and under settings login with your account.
    a. NOTE: The plugin doesn’t really work for me. It’s in BETA so it’s understandable. It doesn’t allow me to login most of the time and when I can login, although I can browse and select songs, I can’t initiate a play from the Volumio UI. However, the plugin is required in order to cast from the iPhone app. Otherwise it would need to be done via AirPlay.

  3. Casting from an iPhone app to Volumio allows for the play info and cover art to display however PeppyMeter doesn’t work. In order to work follow these instructions:
    a. Edit the file /tmp/volspotify.toml. Under [Output] modify the device= from volumio to peppyalsa

    [Output]
    device = “peppyalsa”

b. Reboot and test.
c. If this file gets replaced eventually and PeppyMeter stops working, you’ll have to follow the same steps as in step 17 above for the /tmp/volspotify.toml file and /usr/lib/startconnect.sh. You’ll have to run “sudo chmod 646 /usr/lib/startconnect.sh” in order to save the changes.

to be continued…

1 Like

man, this is gold :slight_smile:
on my side, i won’t need everything, but i’m glad you detailed the screen size adjustment file and probably the process to make it start automatically, i’ll take time to read everything.
Starting from the plugin may probably simplify the installation process, but as you noticed there was an issue with Pillow too (if i remember well), iwill check that.

Anyway, thanks for the community!

1 Like

Part 5

Autostart PeppyMeter when a song is played

If you don’t want a picture slideshow to start when Peppy is not running adjust the code acordingly.

  1. To schedule PeppyMeter to run as a screen saver only when a song is played follow these steps
  • Create a script and change its permissions to execute with sudo chmod 777 /home/volumio/PeppyMeter/screensaver.sh and insert this code:
#!/bin/bash

sleep 60
export HOME=/home/volumio/PeppyMeter
export DISPLAY=:0

while true; do

    if volumio status | grep -q ': "play",'; then

         # Playing
         cd /home/volumio/PeppyMeter
         python3 ./volumio_peppymeter.py

     else

     # Stopped

           if ! pgrep -x "feh" >/dev/null; then
                  pidof python3 && pkill python3
           fi
    fi
    sleep 11s

done
  1. Create a system unit file with sudo nano /lib/systemd/system/screensaver.service and enter the following code:
[Unit]
Description=My Shell Script

[Service]
ExecStart=/home/volumio/PeppyMeter/screensaver.sh

[Install]
WantedBy=multi-user.target
  1. Enable the new service with
    • sudo systemctl daemon-reload
    • sudo systemctl enable screensaver.service
  2. Start the service to test
    • sudo systemctl start screensaver.service
  3. Check the status every 30 secs
    • sudo systemctl status screensaver.service
  4. If everything works reboot and test to see if the service is running using the status command above.

NOTE: The application feh is probably not installed so you’ll have to install it by running sudo apt-get install feh

This is all I got. It works fine for me however peppy once in a while will crash and you’ll need to reboot volumio. Can’t ask for too much for free.

Enjoy. I hope it works for everyone. I’ll try to answer questions as much as I can.

Also, for the ones with wide touch screens that need to rotate from portrait, which is default, to landscape and have the touch follow the rotation, below is a fix I posted on another thread. It’s specific to x86 which has very little support and hard to find info on.

There should be an area on these forums for x86 support only. I never understood why people go for pi when x86 hardware has so much more options, power and features at a lot lower price. I’m using a Dell wyse 3040 for my setup. You can get it for $50 and is the size of a pi.

2 Likes

I have a few of them left, pre-installed, see the Dell Wyse 3040 post.

1 Like

At the moment, the automatic startup is working correctly, thank you @dromichet !
I’m still stuck with the wide profile which won’t display track info.
As some custom formats are included, i chose one (custom_6) which correctly reports the data.
I modified config.txt according to my screen resolution and the image is completed with black strips on the right and under the plugin image.
There is no customization in configfileparser.txt for this profile, so i suppose it can’t be stretched.
I don’t catch why the wide profile won’t work.

What is your screen resolution? You’ll have to modify that file to match your screen otherwise you’ll get the bars. Are you using small, medium, large or wide?

1 Like

none of them, i use custom_6 which is provided in the “plugin” archive.
If i choose wide or large, i have no info displayed.
It’s 2:00 AM here, i’ll have to go for a nap :wink:

I was just trying to catch from where configfileparser.py is called when it tests the value of meter_size:

    elif meter_size == WIDE:
        self.meter_config[SCREEN_INFO][WIDTH] = WIDE_WIDTH
        self.meter_config[SCREEN_INFO][HEIGHT] = WIDE_HEIGHT

with this initialization:
WIDE = “wide”

I added the same for custom_6 but i don’t know which value is passed and where from:

CUSTOM6 = “custom_6 (1280x720)”
CUSTOM6_WIDTH = 1366
CUSTOM6_HEIGHT = 768

and

    elif meter_size == CUSTOM6:
        self.meter_config[SCREEN_INFO][WIDTH] = CUSTOM6_WIDTH
        self.meter_config[SCREEN_INFO][HEIGHT] = CUSTOM6_HEIGHT

custom_6 (1280x720) is the original name of the profile which i’m testing.

1 Like

I wouldn’t go that far to change these. Just rename custom_6 (1280x720) to large. Then open the file configfileparser.py and under LARGE_WIDTH and _HEIGHT change it to your screen resolution. PeppyMeter looks for folders named small, medium, large and wide. That’s all you need to do. Don’t mess around with other settings in that file as it might break other things.

2 Likes

Ah ah ah what an efficient idea, it was too late for me to have it thanks!
Will give it a try.
But as any of the stock profiles currently won’t raise data, i fear it will be the same. I will have to find out what differs.

1 Like

With the instructions provided by dromichet, I’ve tried to make this a bit easier for those that are not that familiar with Linux.
I’ve let the Spotify part out, as this is still in beta and we’re not looking for additional problems.
This is done on a clean install (V3.396 – V3.611, Factory reset) to make sure we’re not running into orphaned issues

Step 1:
Install needed packages:

sudo apt update
sudo apt-get -y install binutils build-essential python3-pip python3-pil python3-pygame xinput
sudo python3 -m pip install --upgrade pip setuptools wheel
sudo python3 -m pip install cairosvg socketIO-client

Step 2:
Install Peppy meter:

cd ~
wget https://community.volumio.com/uploads/short-url/bUZ6KlbUuyCPgvwLmsLytLhUzw.zip
miniunzip bUZ6KlbUuyCPgvwLmsLytLhUzw.zip -d ./
rm bUZ6KlbUuyCPgvwLmsLytLhUzw.zip
cd Install_peppy
chmod 755 *.sh
sudo ./install_peppyalsa.sh
sudo ./install_PeppyMeter.sh
sudo reboot

Step 3:
Modify settings:

sudo chmod 646 /tmp/myfifo
sudo cp /tmp/shairport-sync.conf /home/volumio/PeppyMeter/shairport-sync.conf
sudo chown -R volumio:volumio /home/volumio/PeppyMeter
sed -i 's/output_device = "volumio";/output_device = "peppyalsa";/g' /home/volumio/PeppyMeter/shairport-sync.conf
sudo sed -i 's/\/tmp\/shairport-sync.conf/\/home\/volumio\/PeppyMeter\/shairport-sync.conf/g' /lib/systemd/system/shairport-sync.service
sudo systemctl stop shairport-sync
sudo systemctl daemon-reload && sudo systemctl start shairport-sync
sudo reboot

Step 4:
Create bash script
cd /home/volumio/PeppyMeter

Copy this complete block in the terminal:

cat << EOF > screensaver.sh
#!/bin/bash

sleep 10
export HOME=/home/volumio/PeppyMeter
export DISPLAY=:0

while true; do

if volumio status | grep -q ': "play",'; then

     # Playing
     cd /home/volumio/PeppyMeter
     python3 volumio_peppymeter.py

 else

 # Stopped

       if ! pgrep -x "feh" >/dev/null; then
              pidof python3 && pkill python3
       fi
fi
sleep 11s
done
EOF

chmod 775 screensaver.sh

Create the startup service:
cd /lib/systemd/system/

Copy this complete block in the terminal:

sudo cat << EOF > screensaver.service
[Unit]
Description=My Shell Script

[Service]
ExecStart=/home/volumio/PeppyMeter/screensaver.sh

[Install]
WantedBy=multi-user.target
EOF
sudo chmod 644 /lib/systemd/system/screensaver.service
sudo systemctl daemon-reload
sudo systemctl enable screensaver.service && sudo systemctl start screensaver.service

sudo reboot

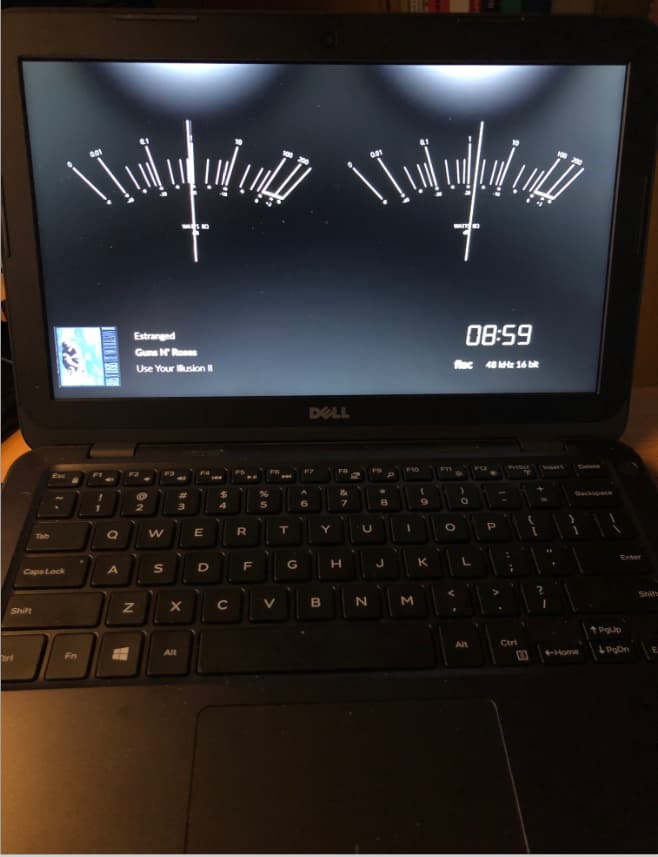
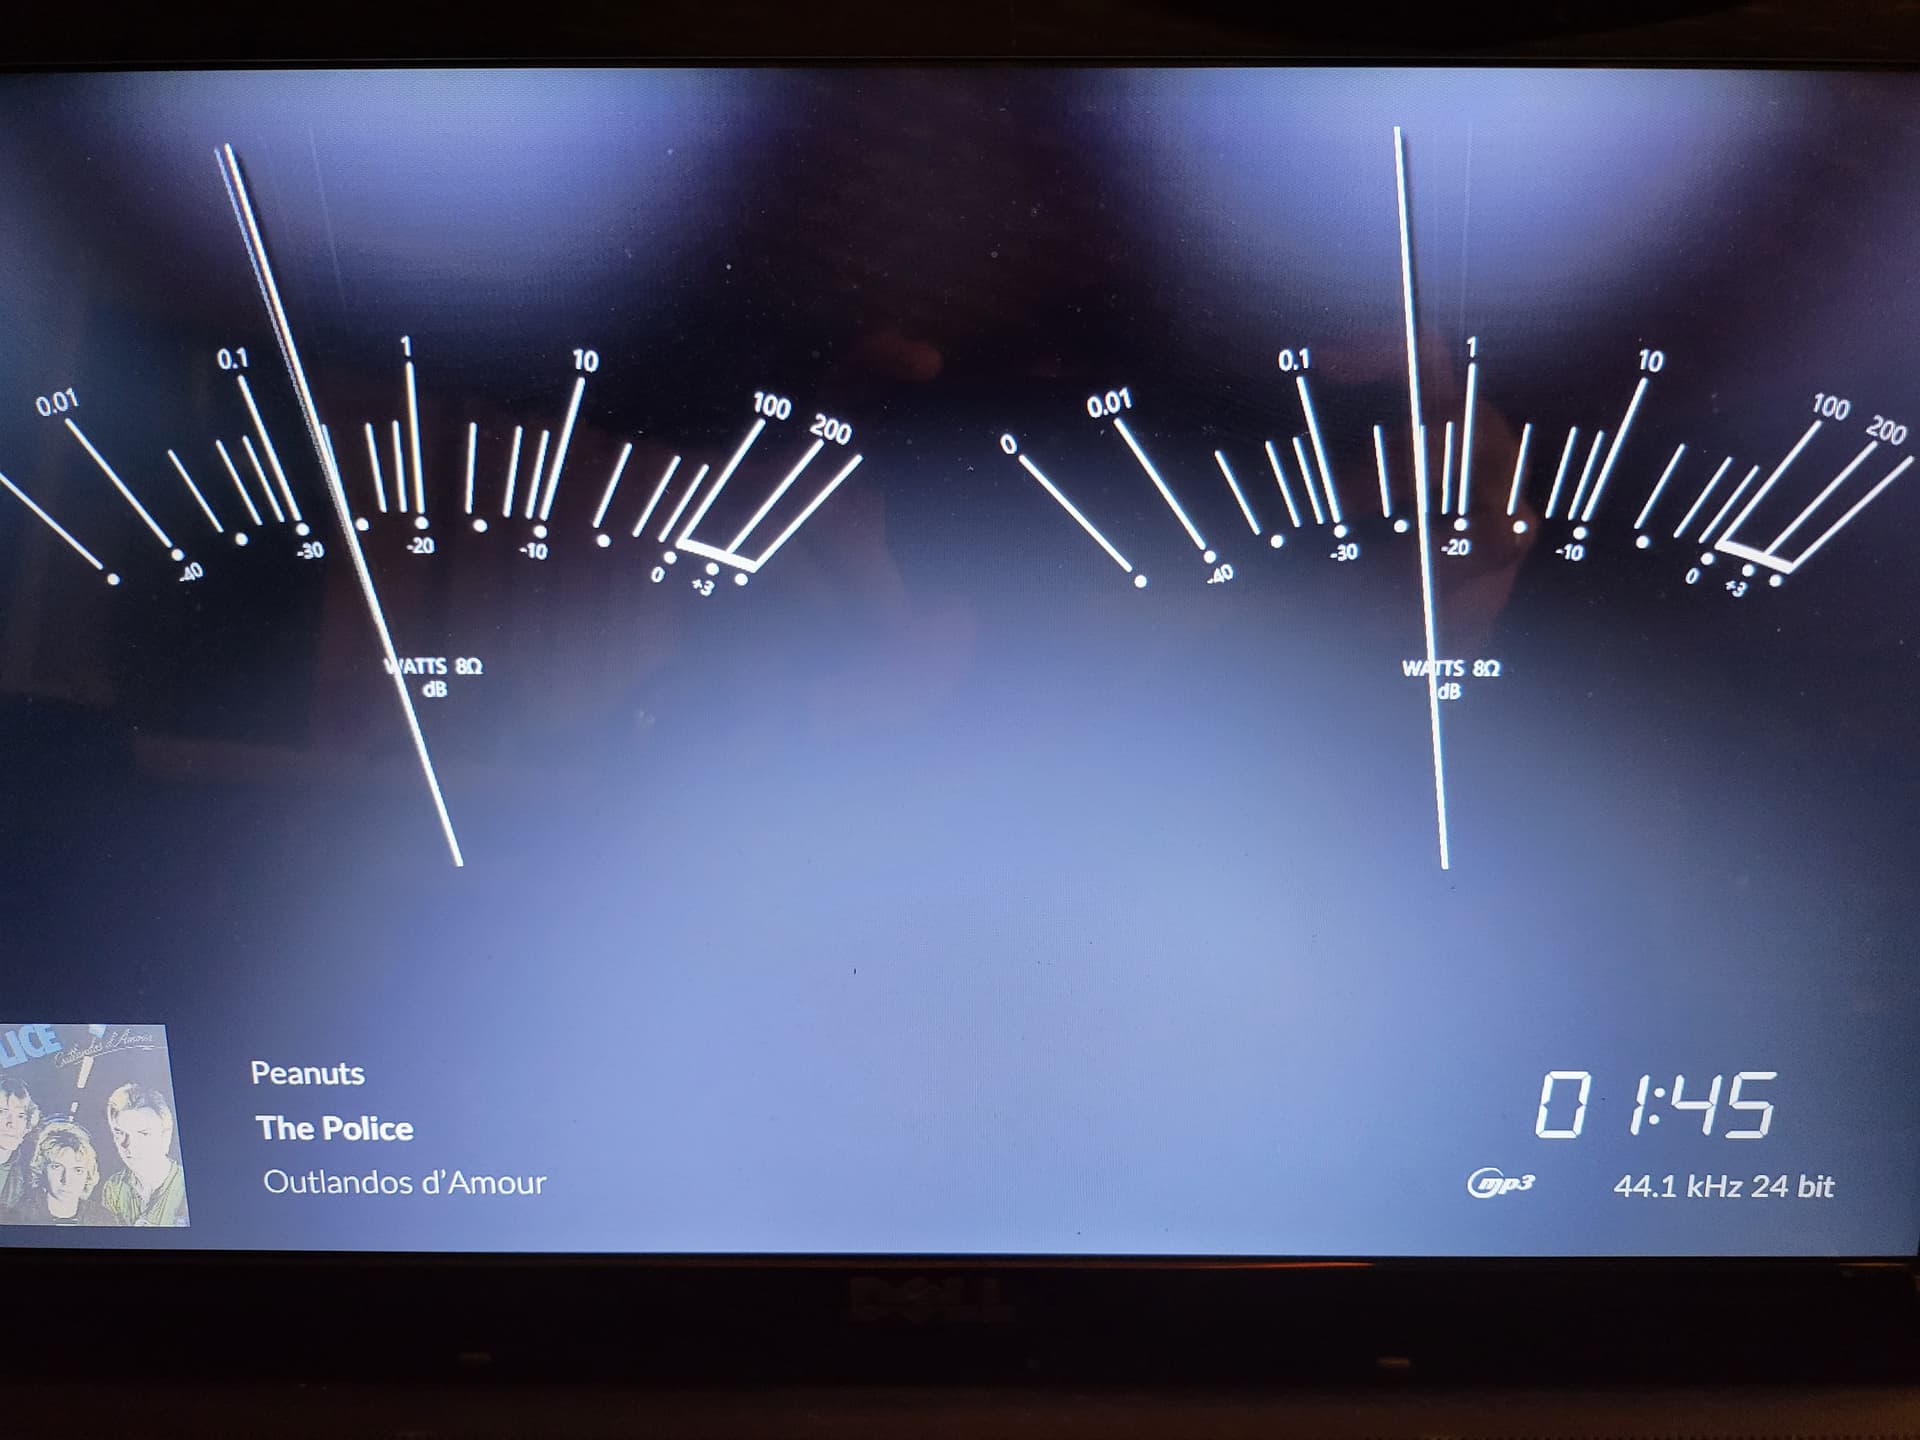
tested with a Dell Inspiron 3180:

To do:
See if we can make it into a plugin :smile:

9 Likes

I gave it a try, but it seems something is cached somewhere, the gui stillr eflects i’m using “custom_6” profile, and of course, the screen still won’t stresh.
I decided to stop trying the “plugin” version and will proceed as Wheathen has summaried from your instruction (from scratch).
Let’s see if it behaves better.

1 Like

So, i restarted from scratch and installed manually following @Wheaten process.
Meters are working, but no information raising either with wide or large selection.
:joy:
Anyway, the installation process is really easy and fluent with this set of instructions.

i believe if i can’t make it work, i will simply generate the vu meter in another framebuffer and move it down-right to integrate over the main frame buffer loaded with Manifest interface.

Edit:
I finally created a new “custom” directory in which i imported files from the custom_6 (1280x720) i had backed up.
Choosing “custom” as meter.size displays meters and information.
So I still don’t catch what happens with the stock profiles.
Anyway, the custom images won’t fit my screen, so i conclude it’s not stretchable and that i’ll need to convert the backgrounds and others pics to my weird resolution of 1366x768 and modify some files to change coordinates of needles.
Am i right?

1 Like

test_1366x768.zip (234.7 KB)

Yes your right. But your lucky, I’ve created one for testing my instructions. (Just a rough draft)
None of the stock templates have volumio integrated, so that’s why there is no data.

1 Like

Thank you @Wheaten, i gave it a try:

  • replaced black_white block in meters.txt by the block in your meters.txt
  • moved all image files into my custom directory
  • renamed black_white_bgr.jpg to black-white-bgr.jpg
  • had an error executing and realized config.txt was case sensitive, and replaced “black_white” by “Black_White”

And i must conclude this is f#~{{[’ good job :slight_smile:

  • perfect screen matching,
  • Large vu meter on top,
  • jacket bottom left, with song title, band name, album name one below the other, justified left.
  • remaining play time bottom right, and just below, file format, samplerate and bit depth.

Congrat!
PS: needles are a bit too long! let me try to post a picture

1 Like

just a bit :smiley:

you can fine tune it, it was just a rough draft. just resize the needle :slight_smile: