I actually started this project before Covid came along, but I had to wait for my new 3D printer (which has a bigger build space) to actually make the project.
The unit was destined for the garage where I do a lot of woodworking and other projects. I already had a headless Volumio unit in the garage, but found it annoying to have to pull out my phone, connect to Volumio and either start a new album or playlist or even just stop the music. So the touchscreen was the answer. I wanted the screen to be able to adjust its angle to make it convenient to use. And I wanted a remote to allow a quick way of stopping the music without having to use my phone or the touchscreen.
The main components are:
* Raspberry Pi 3B
* IQ Audio DAC Plus HAT
* Pimoroni OnOff Shim
* Eleduino 7" Touchscreen (1024 x 600)
* Justboom IR Remote
* IR Receiver device (TSOP 4838)
I had the RPi 3, IQ Audio HAT and the touchscreen working - on the bench early during the pandemic. But the new printer (from a Kickstarter campaign) didn’t show up until October of 2020.
I found a case for the RPi and the IQ Audio DAC Plus on thingiverse (by TechRoss @ IQAudio PI-DAC+ Enclosure by TechRoss - Thingiverse). I did have to modify the top since the addition of the OnOff SHIM extended just past the top edge of the case.
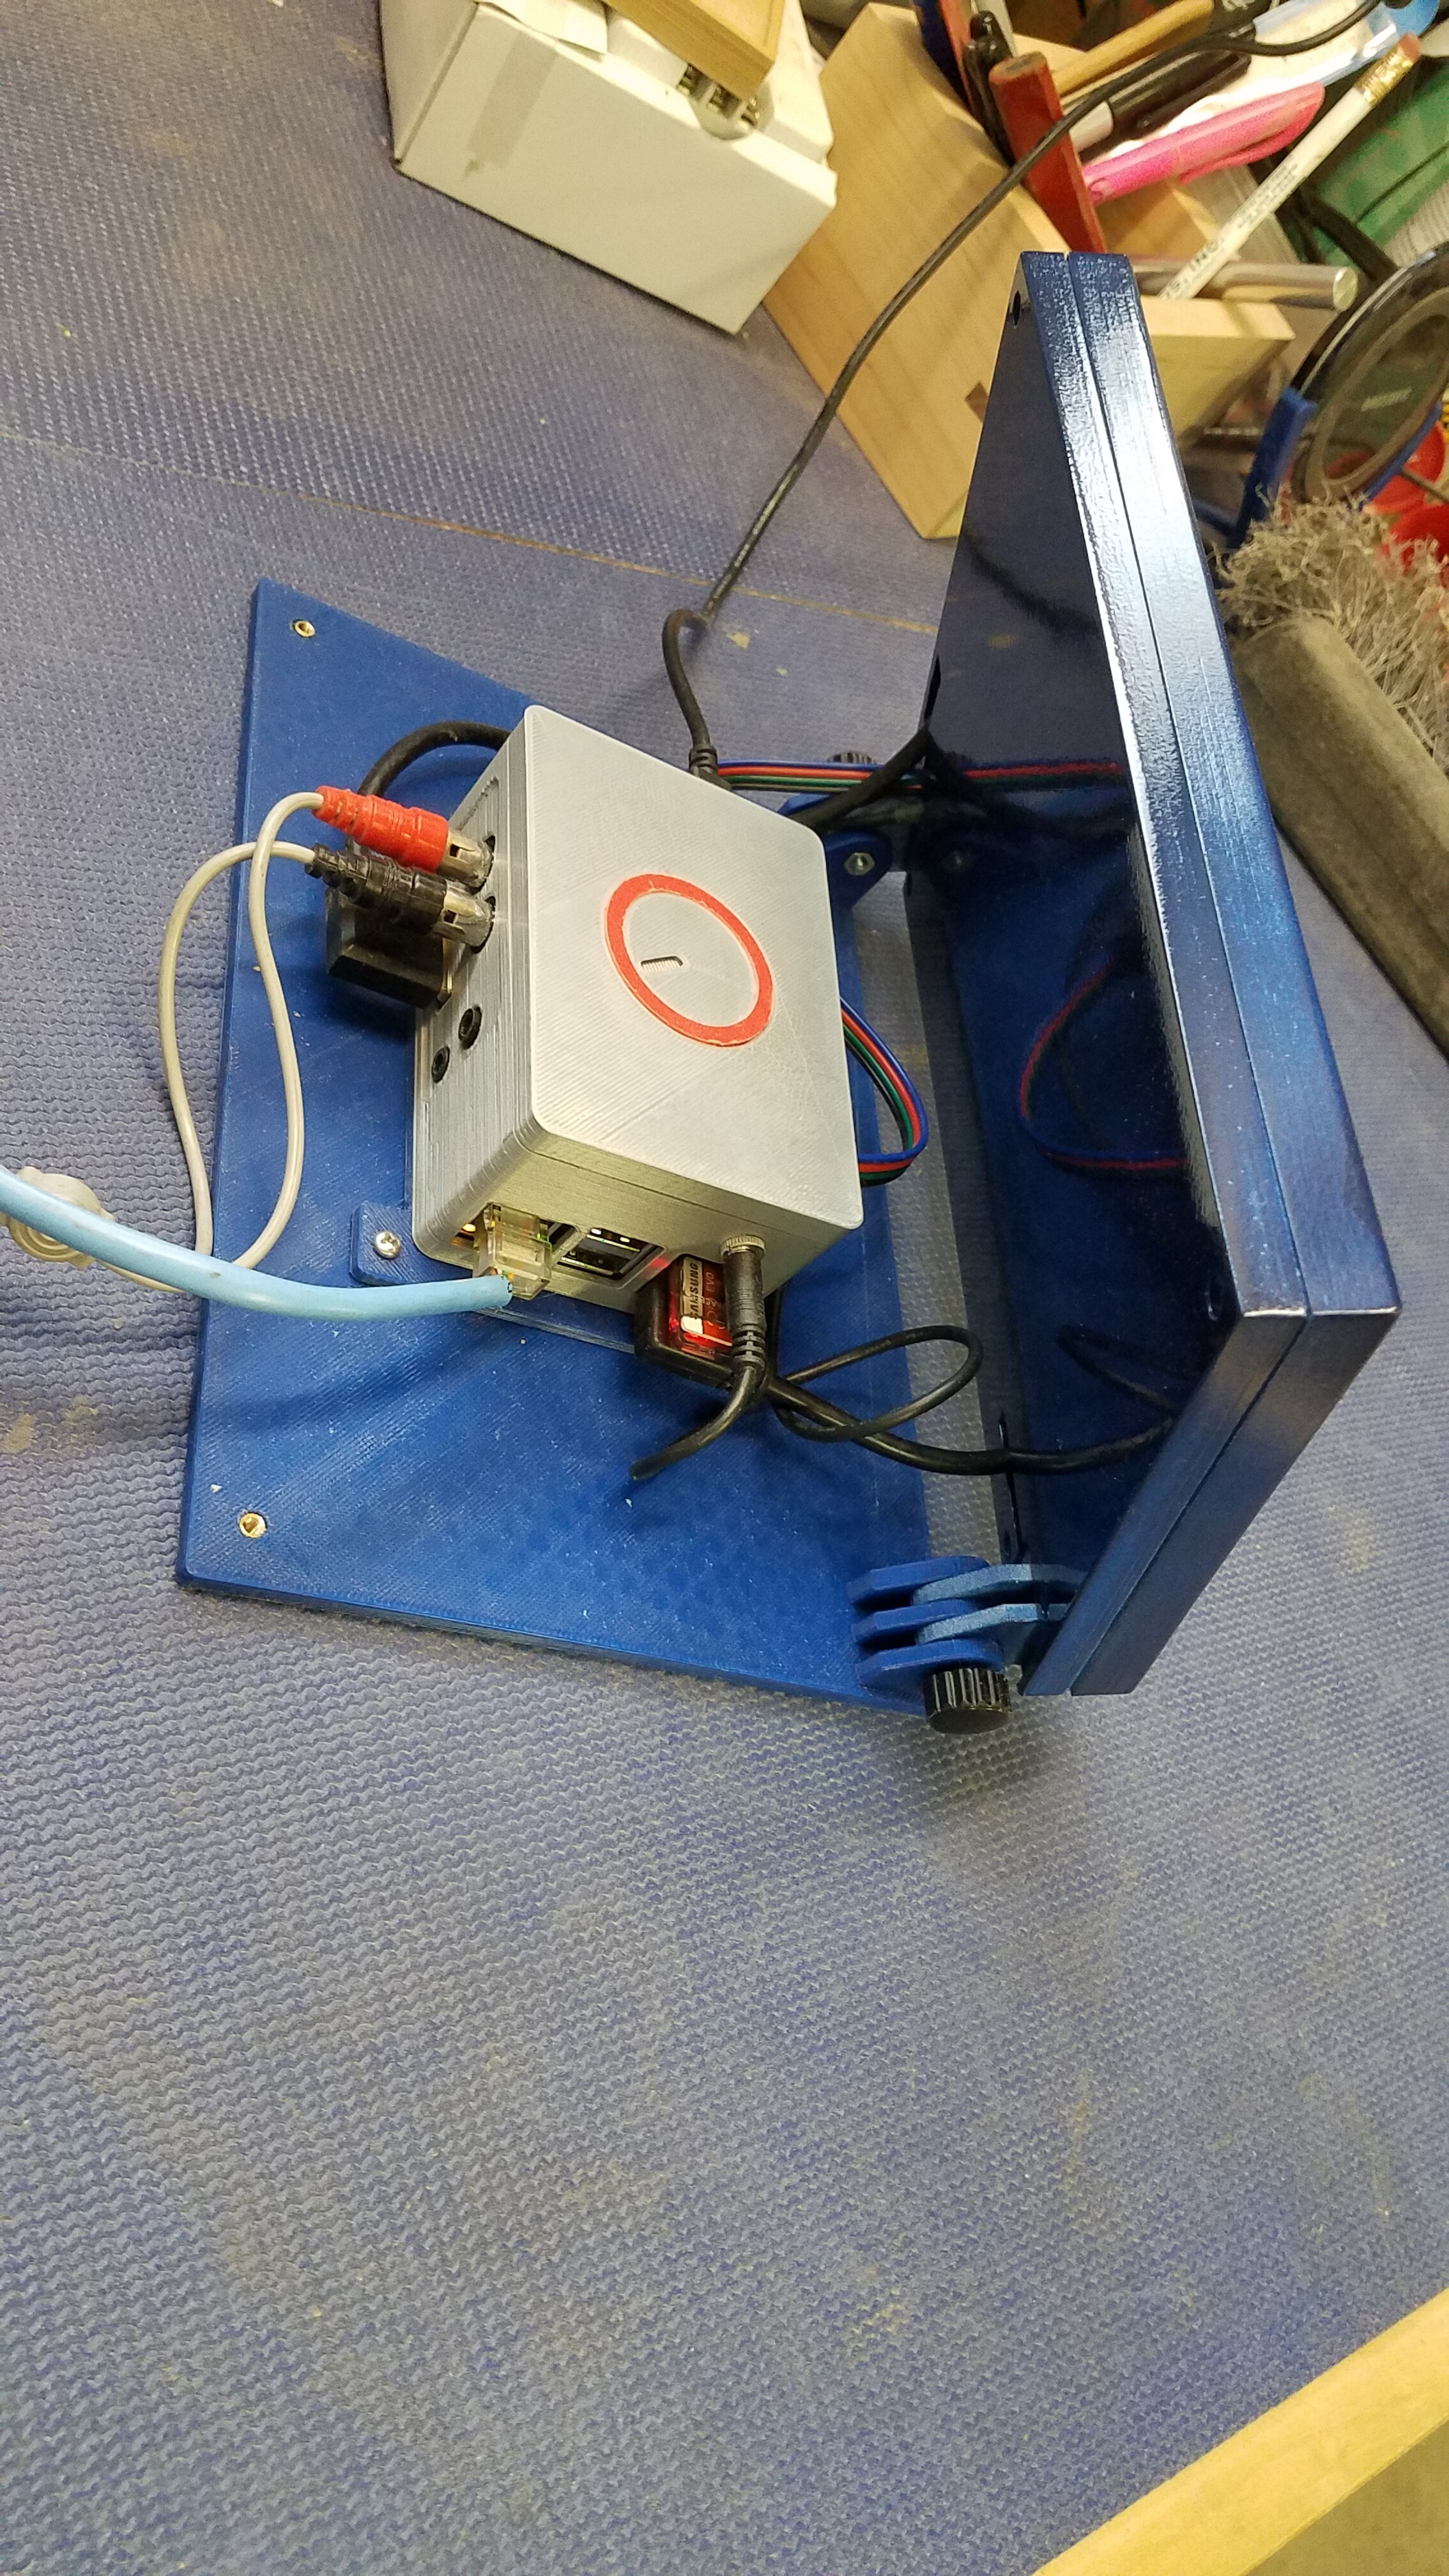
I created a simple plate to mount the RPi case to which would then get attached to the base plate of the touchscreen assembly. I installed a simple push button switch on the side of the RPi case that connects to the pads on the Pimoroni OnOff SHIM. This allows me to either turn on or turn off the unit safely - but not have it exposed on the front bezel of the unit.
The touchscreen assembly consists of a front and rear bezel and the base plate. In the front bezel piece in addition to the opening for the touchscreen itself, I made openings for an RGB LED and an IR Receiver device. The RGB LED is currently hooked up to the RPi power (red) and the activity LED (blue). I actually had the green LED connected to monitor network activity, but found it was too distracting, so I just shut off that capability.
The cables for the HDMI, RGB LED and IR Receiver device have slots in the rear bezel so they can connect to the RPi.
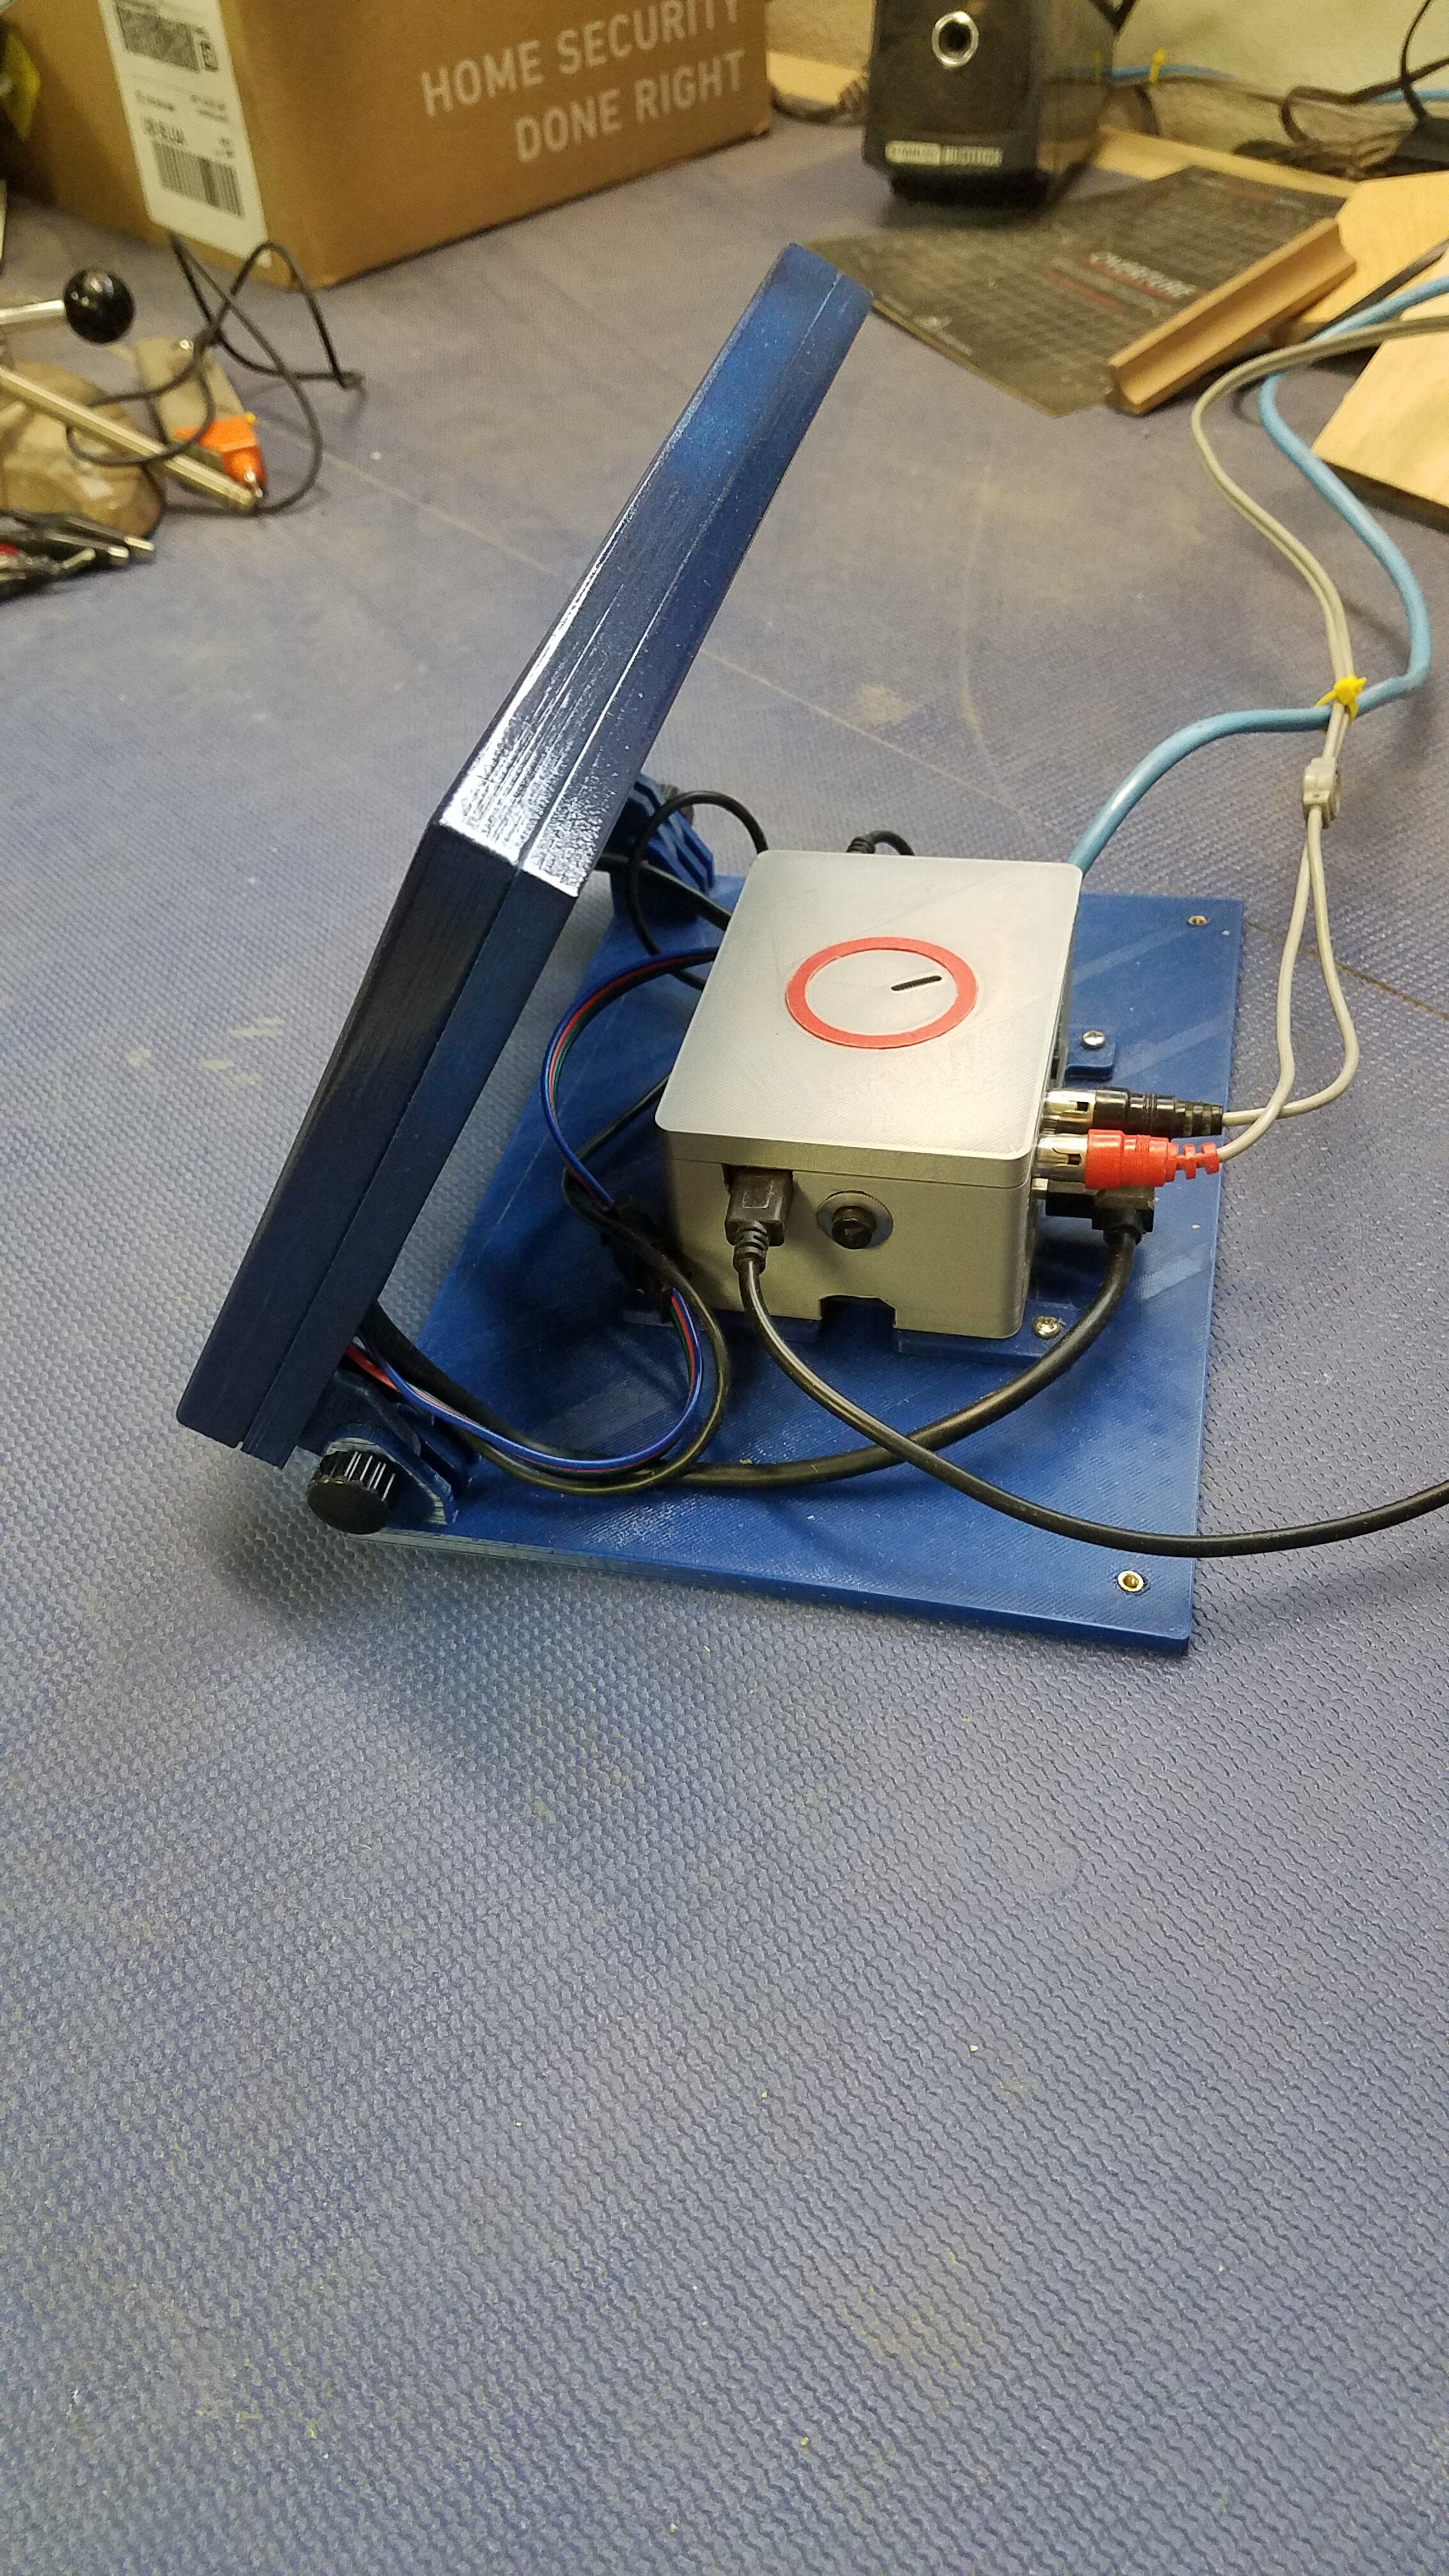
I designed simple hinges to connect the base plate and front bezel. I found some threaded knobs on Amazon and each hinge has an embedded nut for the threaded knob to screw into.
On both the front bezel and base plate I used brass threaded inserts designed for plastic that can be installed into the 3D printed parts using a soldering iron. Getting the hang of installing the inserts took some getting used to, but the end product was worth it.
I also embedded the “Volumio” logo on the front of the bezel. I am not entirely happy with my efforts to fill the letters with white paint, but was getting anxious to get the project finished. If I had it to do over again, I would have made the logo go all the way through the front bezel and designed a piece in white PLA that had the logo raised that would fit into the openings of the front bezel. Lessons learned.
I primed and painted the front and rear bezel pieces, but didn’t bother painting the base plate.
Here are three pictures of the final product.

Now that I have freed up the headless unit I had in the garage, I’m already working on making that my Volumio unit for my office. It will remain headless - with the exception of the 128x64 OLED display. I used Adrian’s mpd_oled project to get the display working and helped supercrab flush out some early issues with his plugin for the mpd_oled functionality.
I plan on designing and building a new case for this unit which will not only include the OLED display, but some simple front panel switches for stop/play, next/previous and volume up/down. I’ll be able to control this box from the webapp mostly, but having some front panel switches will make it a bit nicer.
Rick
