Hi @idiotek,
I‘m working at time on a final version for this PeppyMeter integration with all informations of Volumio play screen, therefore I have at time no complete guide to create your own PeppyMeter screen.
But I can also publish a sample for 800x480 resolution. It is the simplest way for you to see, how this additional parameters working.
At first it‘s important for you to set your 800x480 resolution in config.txt. This defined the work area to place a smaller PeppyMeter with x and y parameter
Then create you own folder ‘custom’ and copy your selected smaller PeppyMeter (bgr.png, fgr.png, needle.png) from small or medium folder to custom.
Then select the custom folder in config.txt.
At last create a meters.txt with the only one section of your copied meters and select this section in the config.txt. At first only all original values. If you now start PeppyMeter, you have a black screen with meters in the left upper corner (x=0, y=0). Look now in a sample of my custom folder for 1920, the section galaxy. Copy the position entry for meters and set your x,y position.
Your own background is defined with the ext entry. Copy a background picture with your screen resolution to your custom folder and set the ext entry.
I’ll create a complete galaxy screen as sample for 800x480
Hi @2aCD,
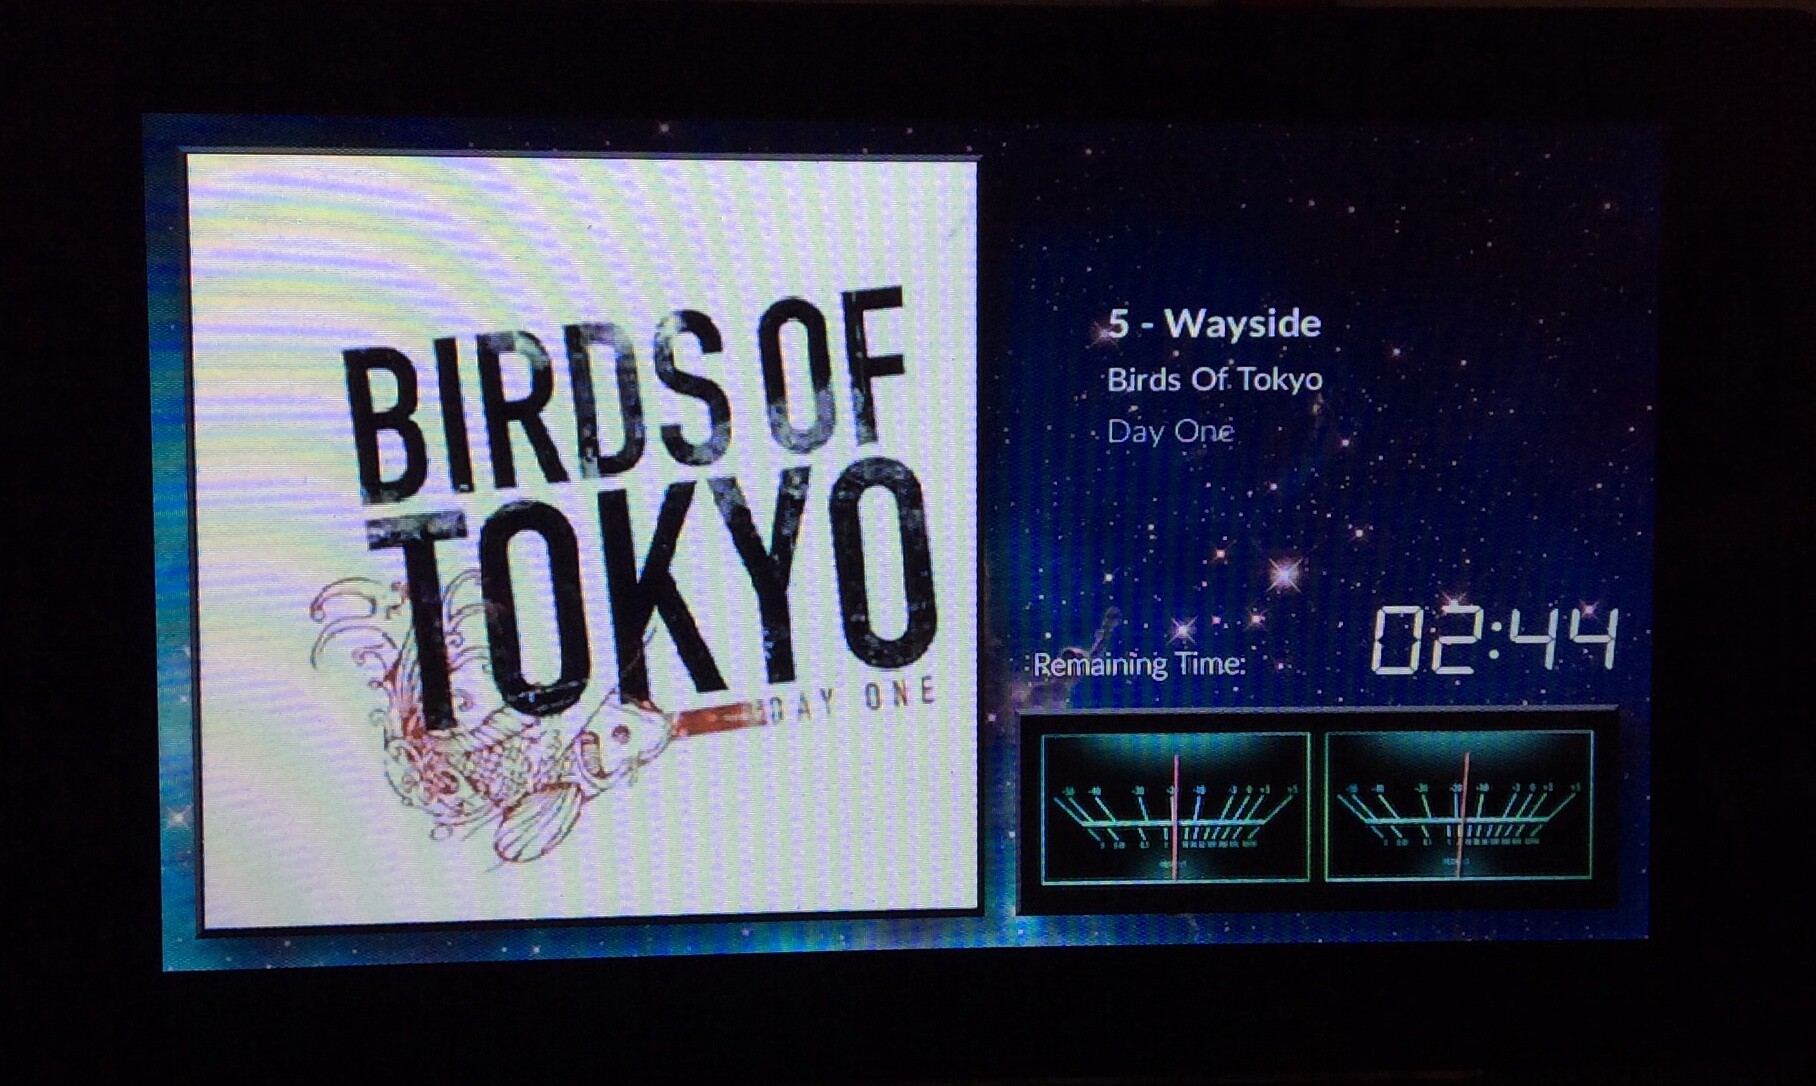
Thank you for your prompt reply and guidance. With the info given, I resized all the image assets using the ratio from 1920x1080 to 800x480 and got the VuMeter and track info to display. However, the album art is not being displayed. Looking back through the thread, there was suggestion to check the /tmp/playinfo file to see what’s being written out.
My /tmp/playinfo file (when I was playing a random song) looks like this:
[playinfo]
Title = “5 - Wayside”
Album = “Day One”
Artist = “Birds Of Tokyo”
Albumart = /data/albumart/folder/mntata=false/extralarge.jpeg
The Albumart directory does not exist, but is located at /data/albumart/folder/mnt/NAS/music/Birds Of Tokyo - Day One/extralarge.jpeg
I am not sure why the above path is being replaced by mntata=false? The mount point for my music on my Volumio instance looks like this:
//aaa.bbb.ccc.ddd/media\music\albums /mnt/NAS/music (obfuscated my IP address with letters)
The /tmp/playinfo file is produced by /volumio/app/statemachine.js? Perhaps line 763 and thereabouts, where the splitted_path variable is being populated is causing this error?
hi @idiotek
I have add an additional custom folder for 800x480 with 3 samples at time. please look at:
Download on post 7
For the better albumart support for all sources (online and local) I have add a modified albumart.py as beta for test
Download on post 73
This need an additional installation of socketIO-client, see also on post 73. This file is not complete ready but it’s working for the most sources.
Hi @2aCD
I managed to figure out the issue I was experiencing with the album art.
I ran journalctl -f on my Volumio shell and found my ALBUMART entry was being logged as follows:
Jun 11 14:31:14 daishi volumio[1269]: info: ALBUMART /albumart?cacheid=233&path=%2Fmnt%2FNAS%2Fmusic%2FBirds%20Of%20Tokyo%20-%20Day%20One%2F05%20-%20Wayside.flac&metadata=false
This means line 761 in /volumio/app/statemachine.js (for me at least) should be index [1] instead of index [2], as index [2] would set the splitted_path to metadata=false, instead of the album art path
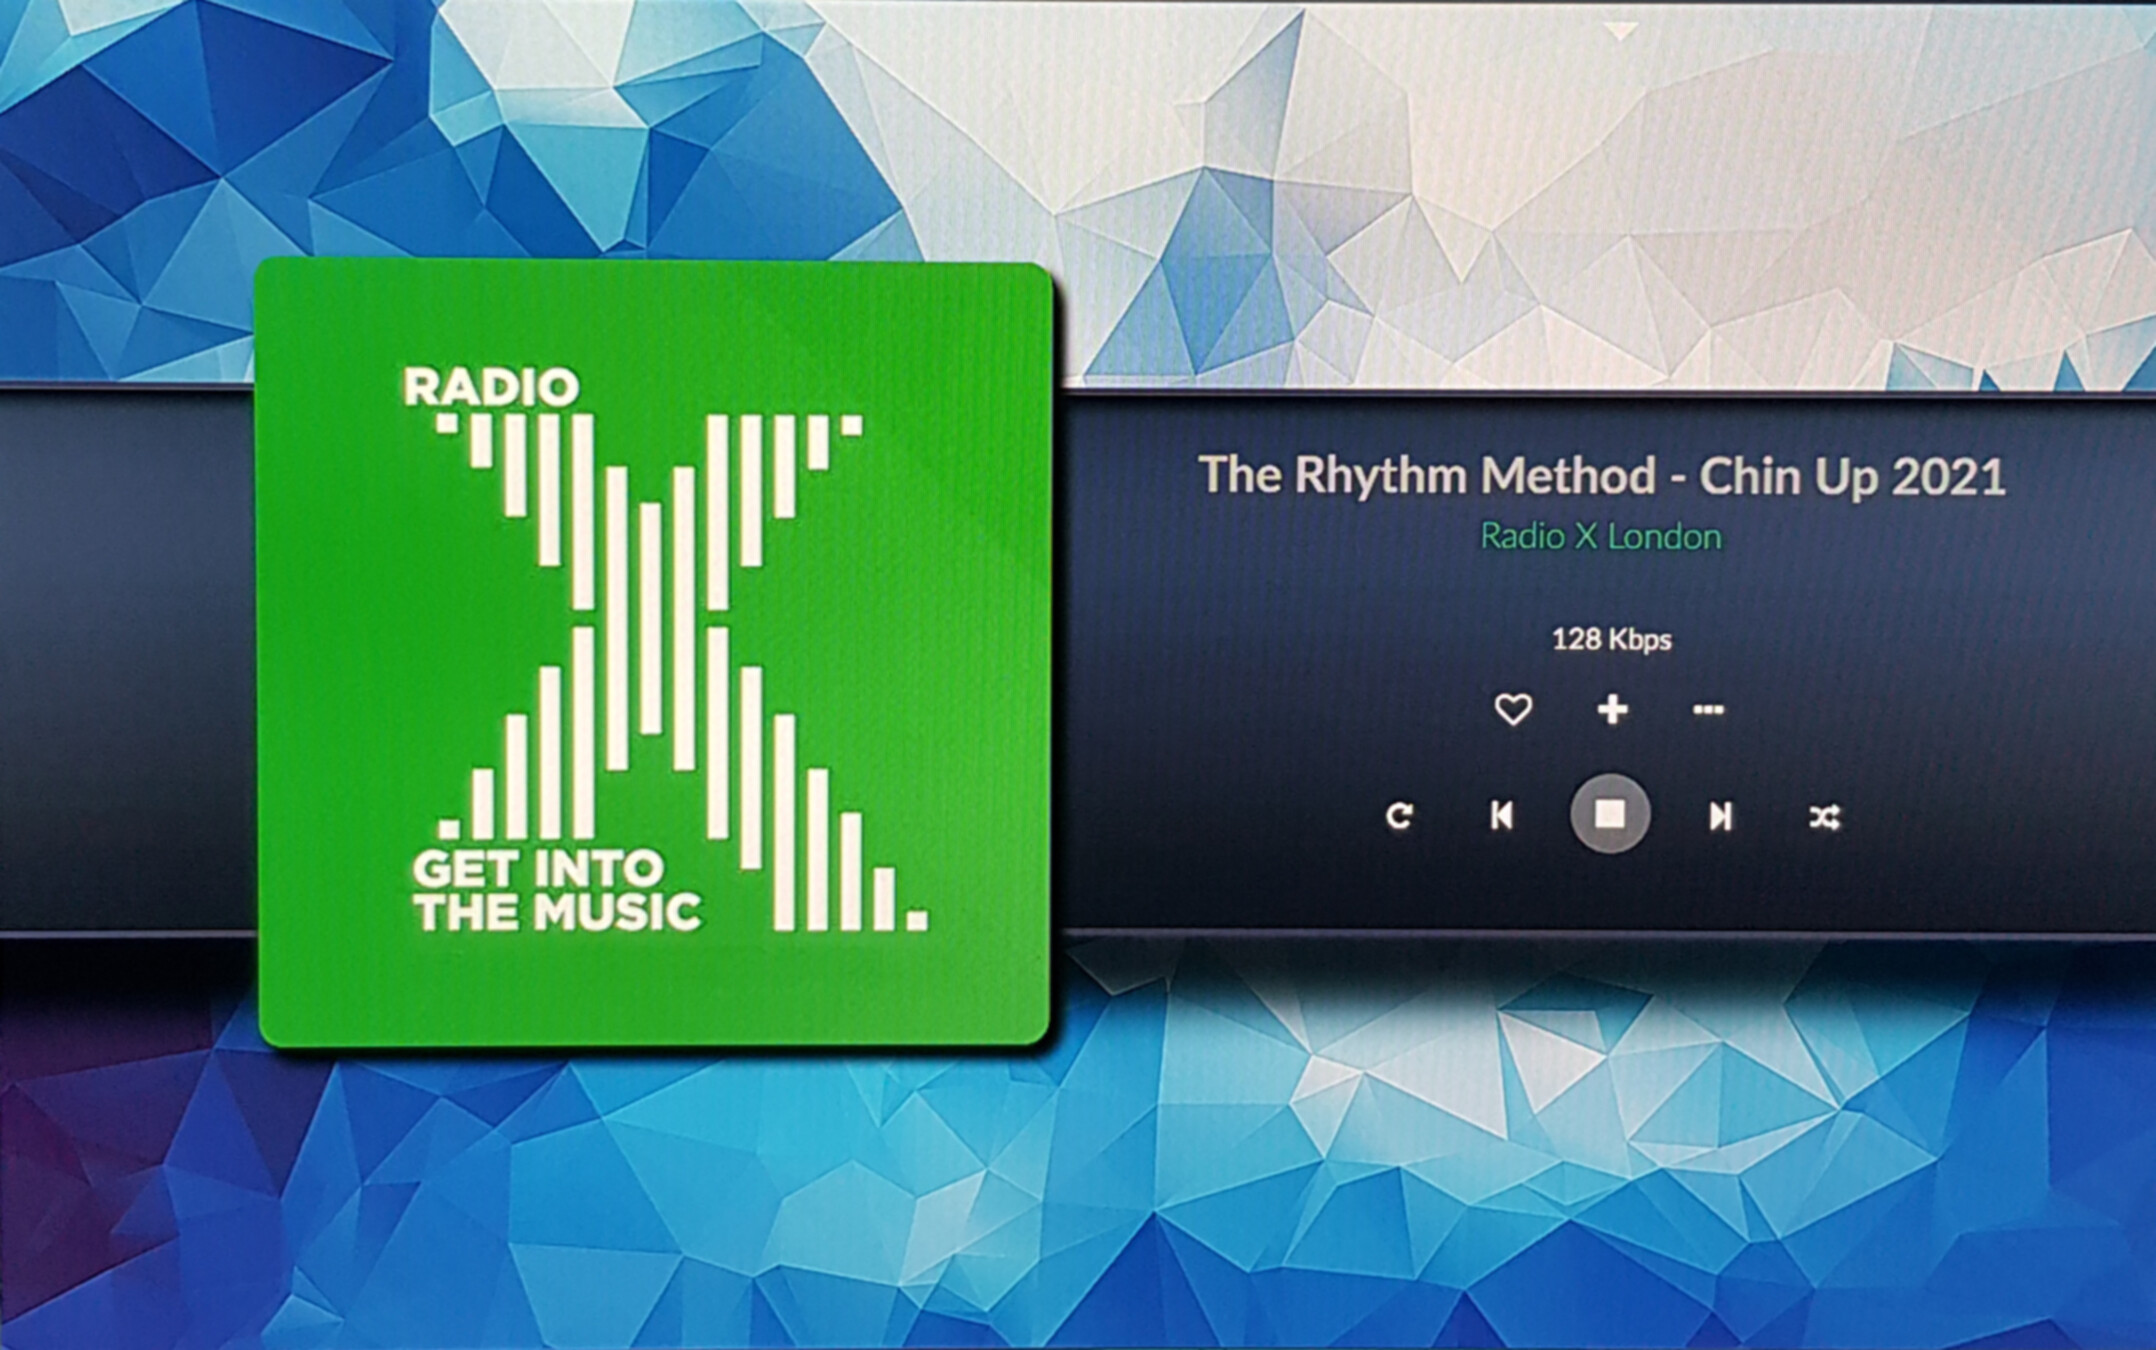
Once I updated this to index [1], rebooted my Volumio instance, your module works perfectly (photo from my potato phone camera)!!!
Thanks again for your help!

yes also very nice 

Hi @dvo,
For this cool background I can try to integrate a linear peppy meter on the right side. Is it possible that you send me a PM with this background picture as 1920x1080?
backgrounds are 2880x1920 (size of all backgrounds… ) it’s build for 1280x800
but i can build one 4 1920x1080 full screen
I think it’s better you give me two scaled versions for 1920 an 1280 then all positions are the same as use it ad background picture.
@2aCD is there a way to split it in to 3 backgrounds one for system UI , one for the front player and one for android screen?
because the system backend looks not nice btw i think we need 3 versions 1920x1080 ,1280x800, 800x480
the 1920x1080 is the hardst i have to rebuild my system to do that one … done!
btw it will screw up all screens only the player screen is oke the rest we have to rebuild with other images…
or is there away to put a white bg behind the rounded-box of albumart that would be the better way to go.
Hi @dvo
no it’s not possible to use different backgrounds for different views. What we can try is, to disable the background for other views. But I don’t know exactly if this possible with css.
Only on the Peppy screen I can link another background.
i already asked volumio dev if they could create it … if this happens we could make a
nice look…
it should not be a lot of work just make a few folders and copy the part 3x and link them to 3 diffent parts …
But have you later integrated the peppy screen as play screen, you can use another picture for other screens, or the same without the gray area
for most of the simple users it would be nice to have a simple thing instead of a lot of work to get peppy.
or peppy would be a simple like a plugin to install that is not yet the case…
Having an issue with the touch-display piece, I have ran the the change_touchscreen script and I assume the script ran successfully as I can select VU meters from the touch display plugin however, when I press apply nothing happens and the VU meters are random even though I have selected gold and made the change in the config.txt, see below:
[current]
meter = gold
random.meter.interval = 120
screen.size = custom
output.display = True
output.serial = False
output.i2c = False
output.pwm = False
use.logging = False
frame.rate = 30
frame.buffer.width = 800
frame.buffer.height = 400
font.path = /volumio/http/www3/app/themes/volumio3/assets/variants/volumio/fonts
font.light = /Lato-Light.ttf
font.regular = /Lato-Regular.ttf
font.bold = /Lato-Bold.ttf
for Thai —
#font.path = /usr/share/fonts/truetype
#font.light = /tlwg/Laksaman.ttf
#font.regular = /tlwg/Laksaman.ttf
#font.bold = /tlwg/Laksaman-Bold.ttf
for Chinese —
#font.path = /usr/share/fonts/truetype
#font.light = /arphic/ukai.ttc
#font.regular = /arphic/ukai.ttc
#font.bold = /arphic/ukai.ttc
[sdl.env]
framebuffer.device = /dev/fb0
mouse.device = /dev/input/event0
mouse.driver = TSLIB
mouse.nomouse = 0
video.driver = dummy
video.display = :0
[serial.interface]
device.name = /dev/serial0
baud.rate = 9600
include.time = False
update.period = 0.1
[i2c.interface]
port = 1
left.channel.address = 0x21
right.channel.address = 0x20
output.size = 10
update.period = 0.1
[pwm.interface]
frequency = 500
gpio.pin.left = 24
gpio.pin.right = 25
update.period = 0.1
[data.source]
type = pipe
polling.interval = 0.033
pipe.name = /tmp/myfifo
volume.constant = 80.0
volume.min = 0.0
volume.max = 100.0
volume.max.in.pipe = 100.0
step = 6
mono.algorithm = average
stereo.algorithm = new
smooth.buffer.size = 8
Also, if using an official pi display (800x400) I assume I don’t need to install the amoled script?
Thanks
Hi @guyp2k,
the install_amoled is not needed for the standard display, that’s right.
The only thing, what the UI do, is, to set the selected meter value to config.txt. In your config is ‘meter = gold’ then no random is running.
But have you change the setting while the meters running, it’s important to interrupt the meters screen and wait for the next start, then the new value is read.
Have you start the meters manually per console, be shure that no automatic stated python task is running at time. Otherwise you have two scripts running.
All good now, thanks for feedback and PeppyMeter!
Ok, I’m glad to hear this