Hi guys,
Here is my first ever Raspberry Pi project as a Volumio music player with Pirate Audio DAC board.
Wanted a dedicated media player to play music on my audio system but not from my laptop or phone.
Since I don’t like the new spartan designs or the small boxes ( hard to find a place for them in a hifi rack) and of course the prices , after a bit of research decided to make one myself. In the end now I have two of them. 
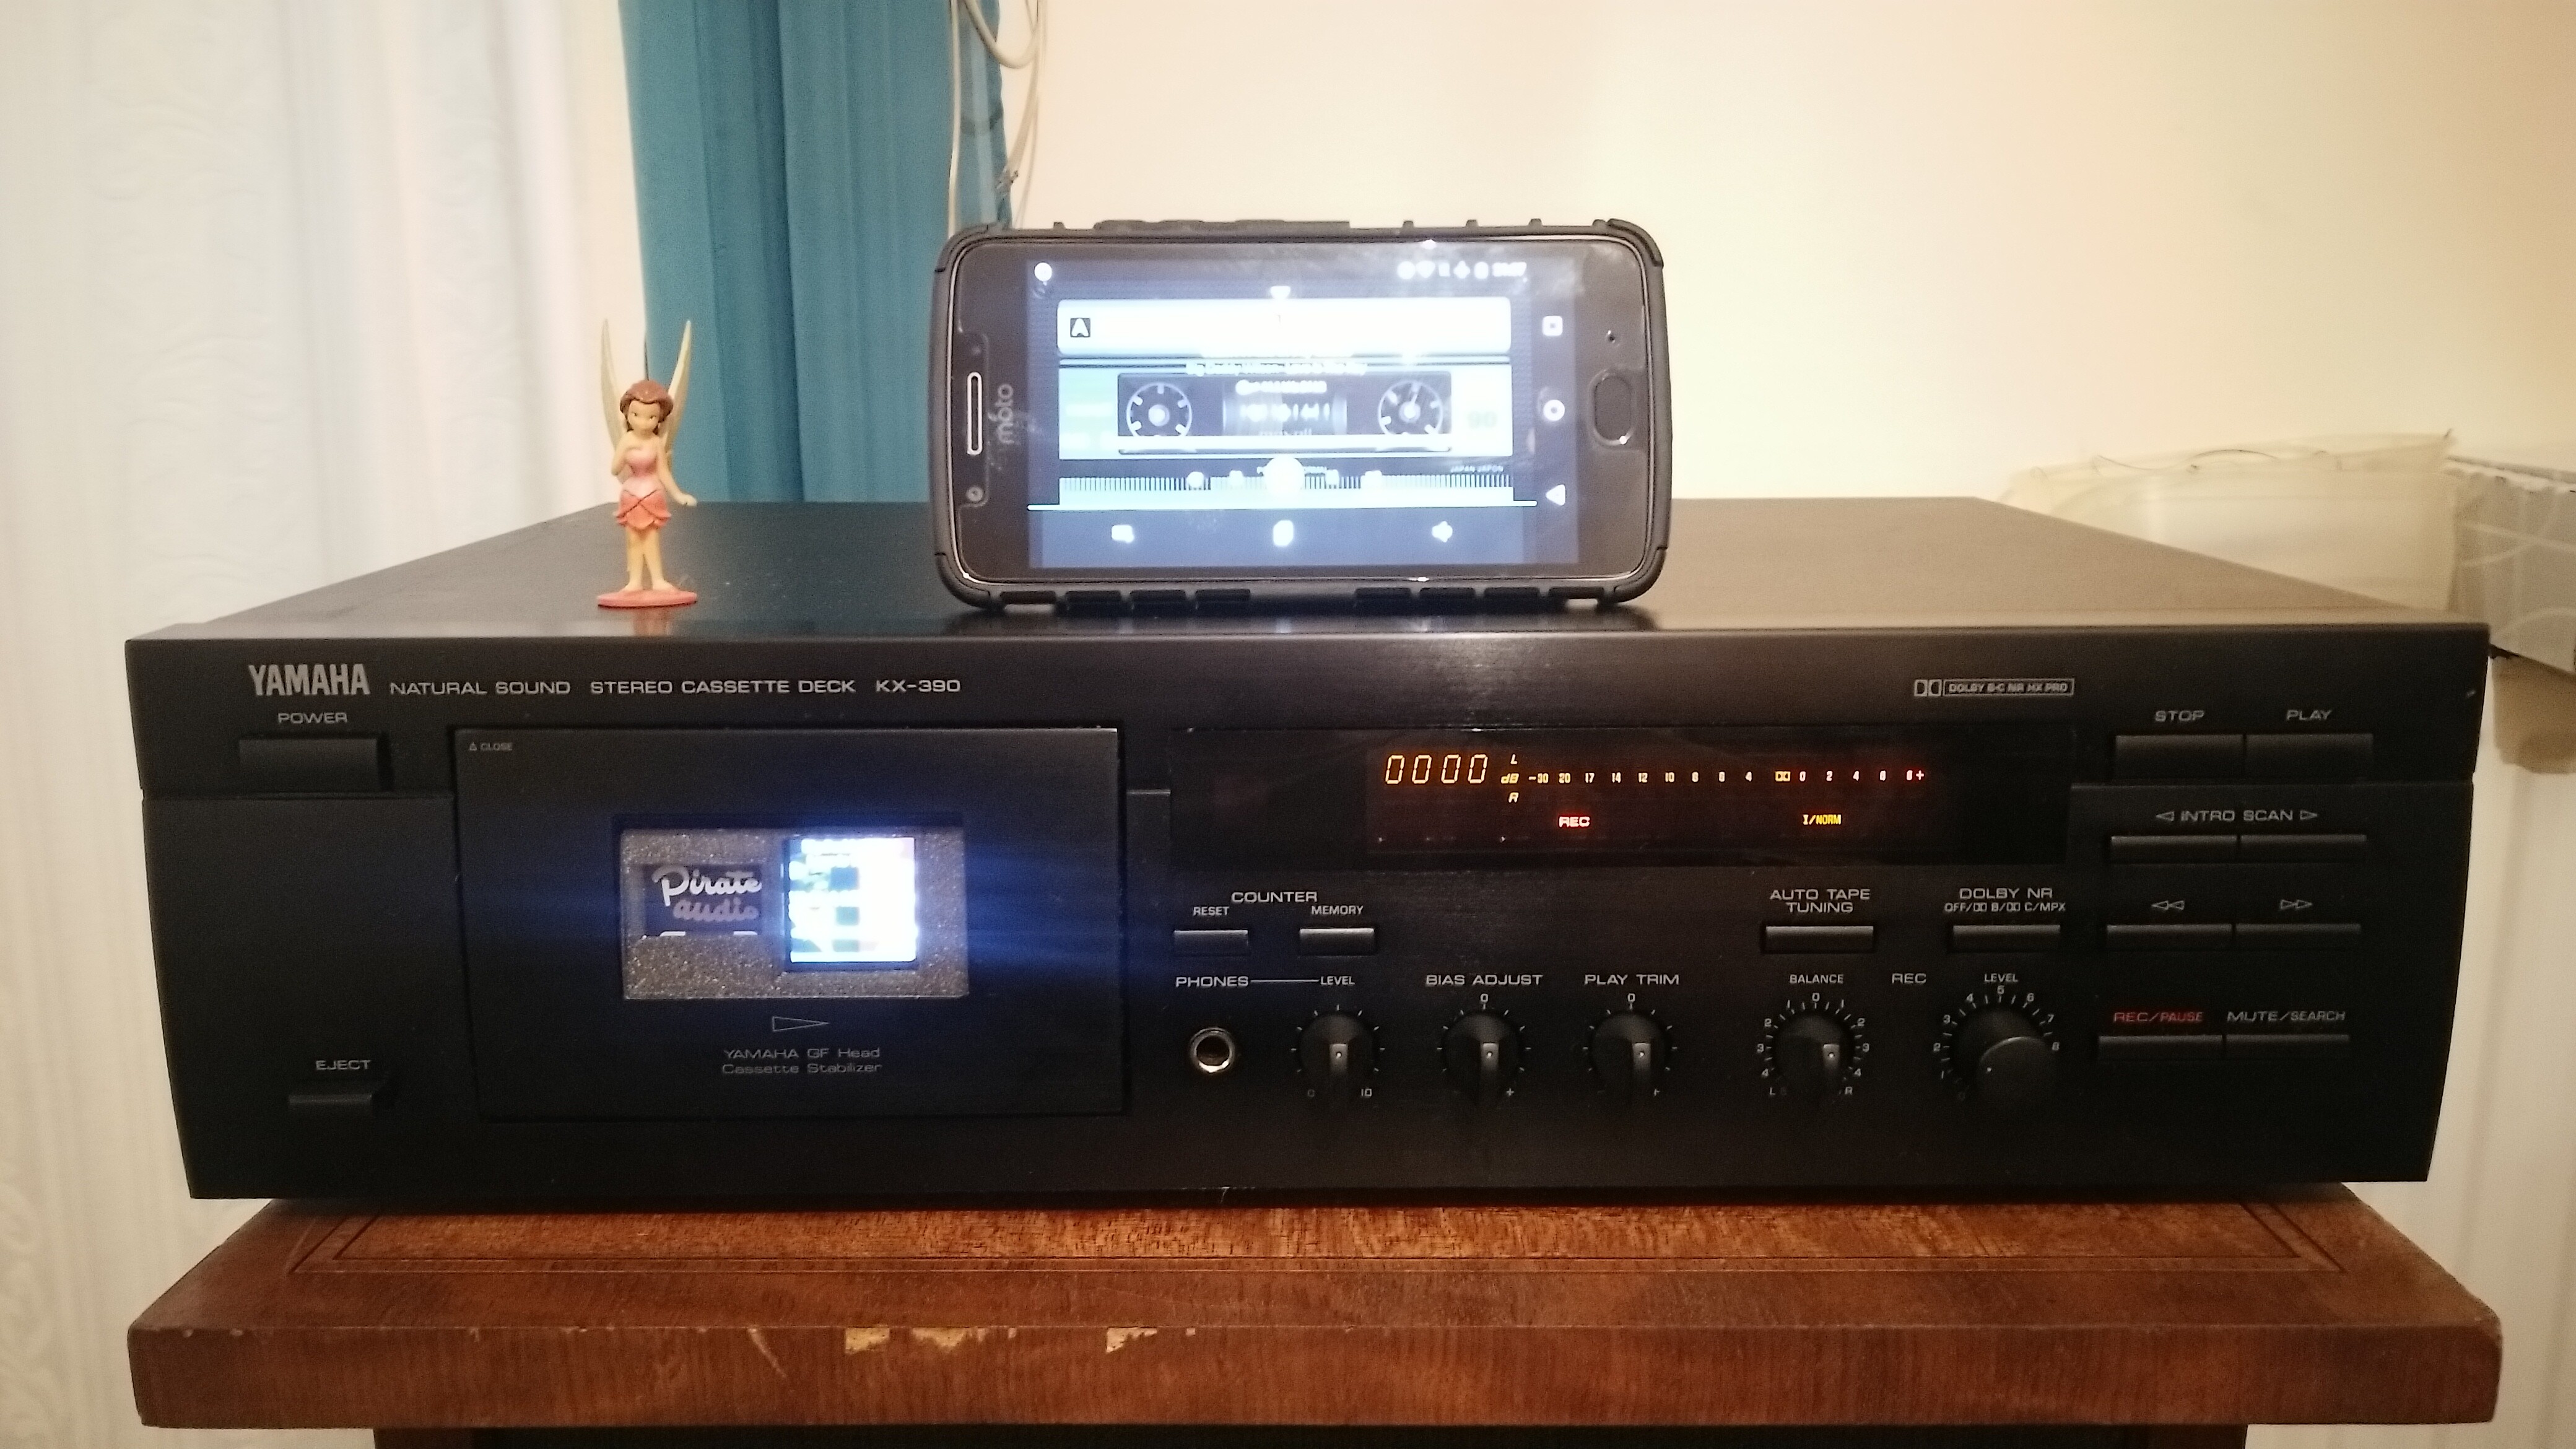
First one: Yamaha KX390 cassette player, Rapsberry PI 4 4 gb version, Pirate Audio DAC line out lots of bits and bobs. The player functions play/pause, next/previous and PI shutdown can be used from the touch buttons of the cassette player.
The cassette player record level control is used as a player volume control and the headphone stage of the deck is used for headphones.
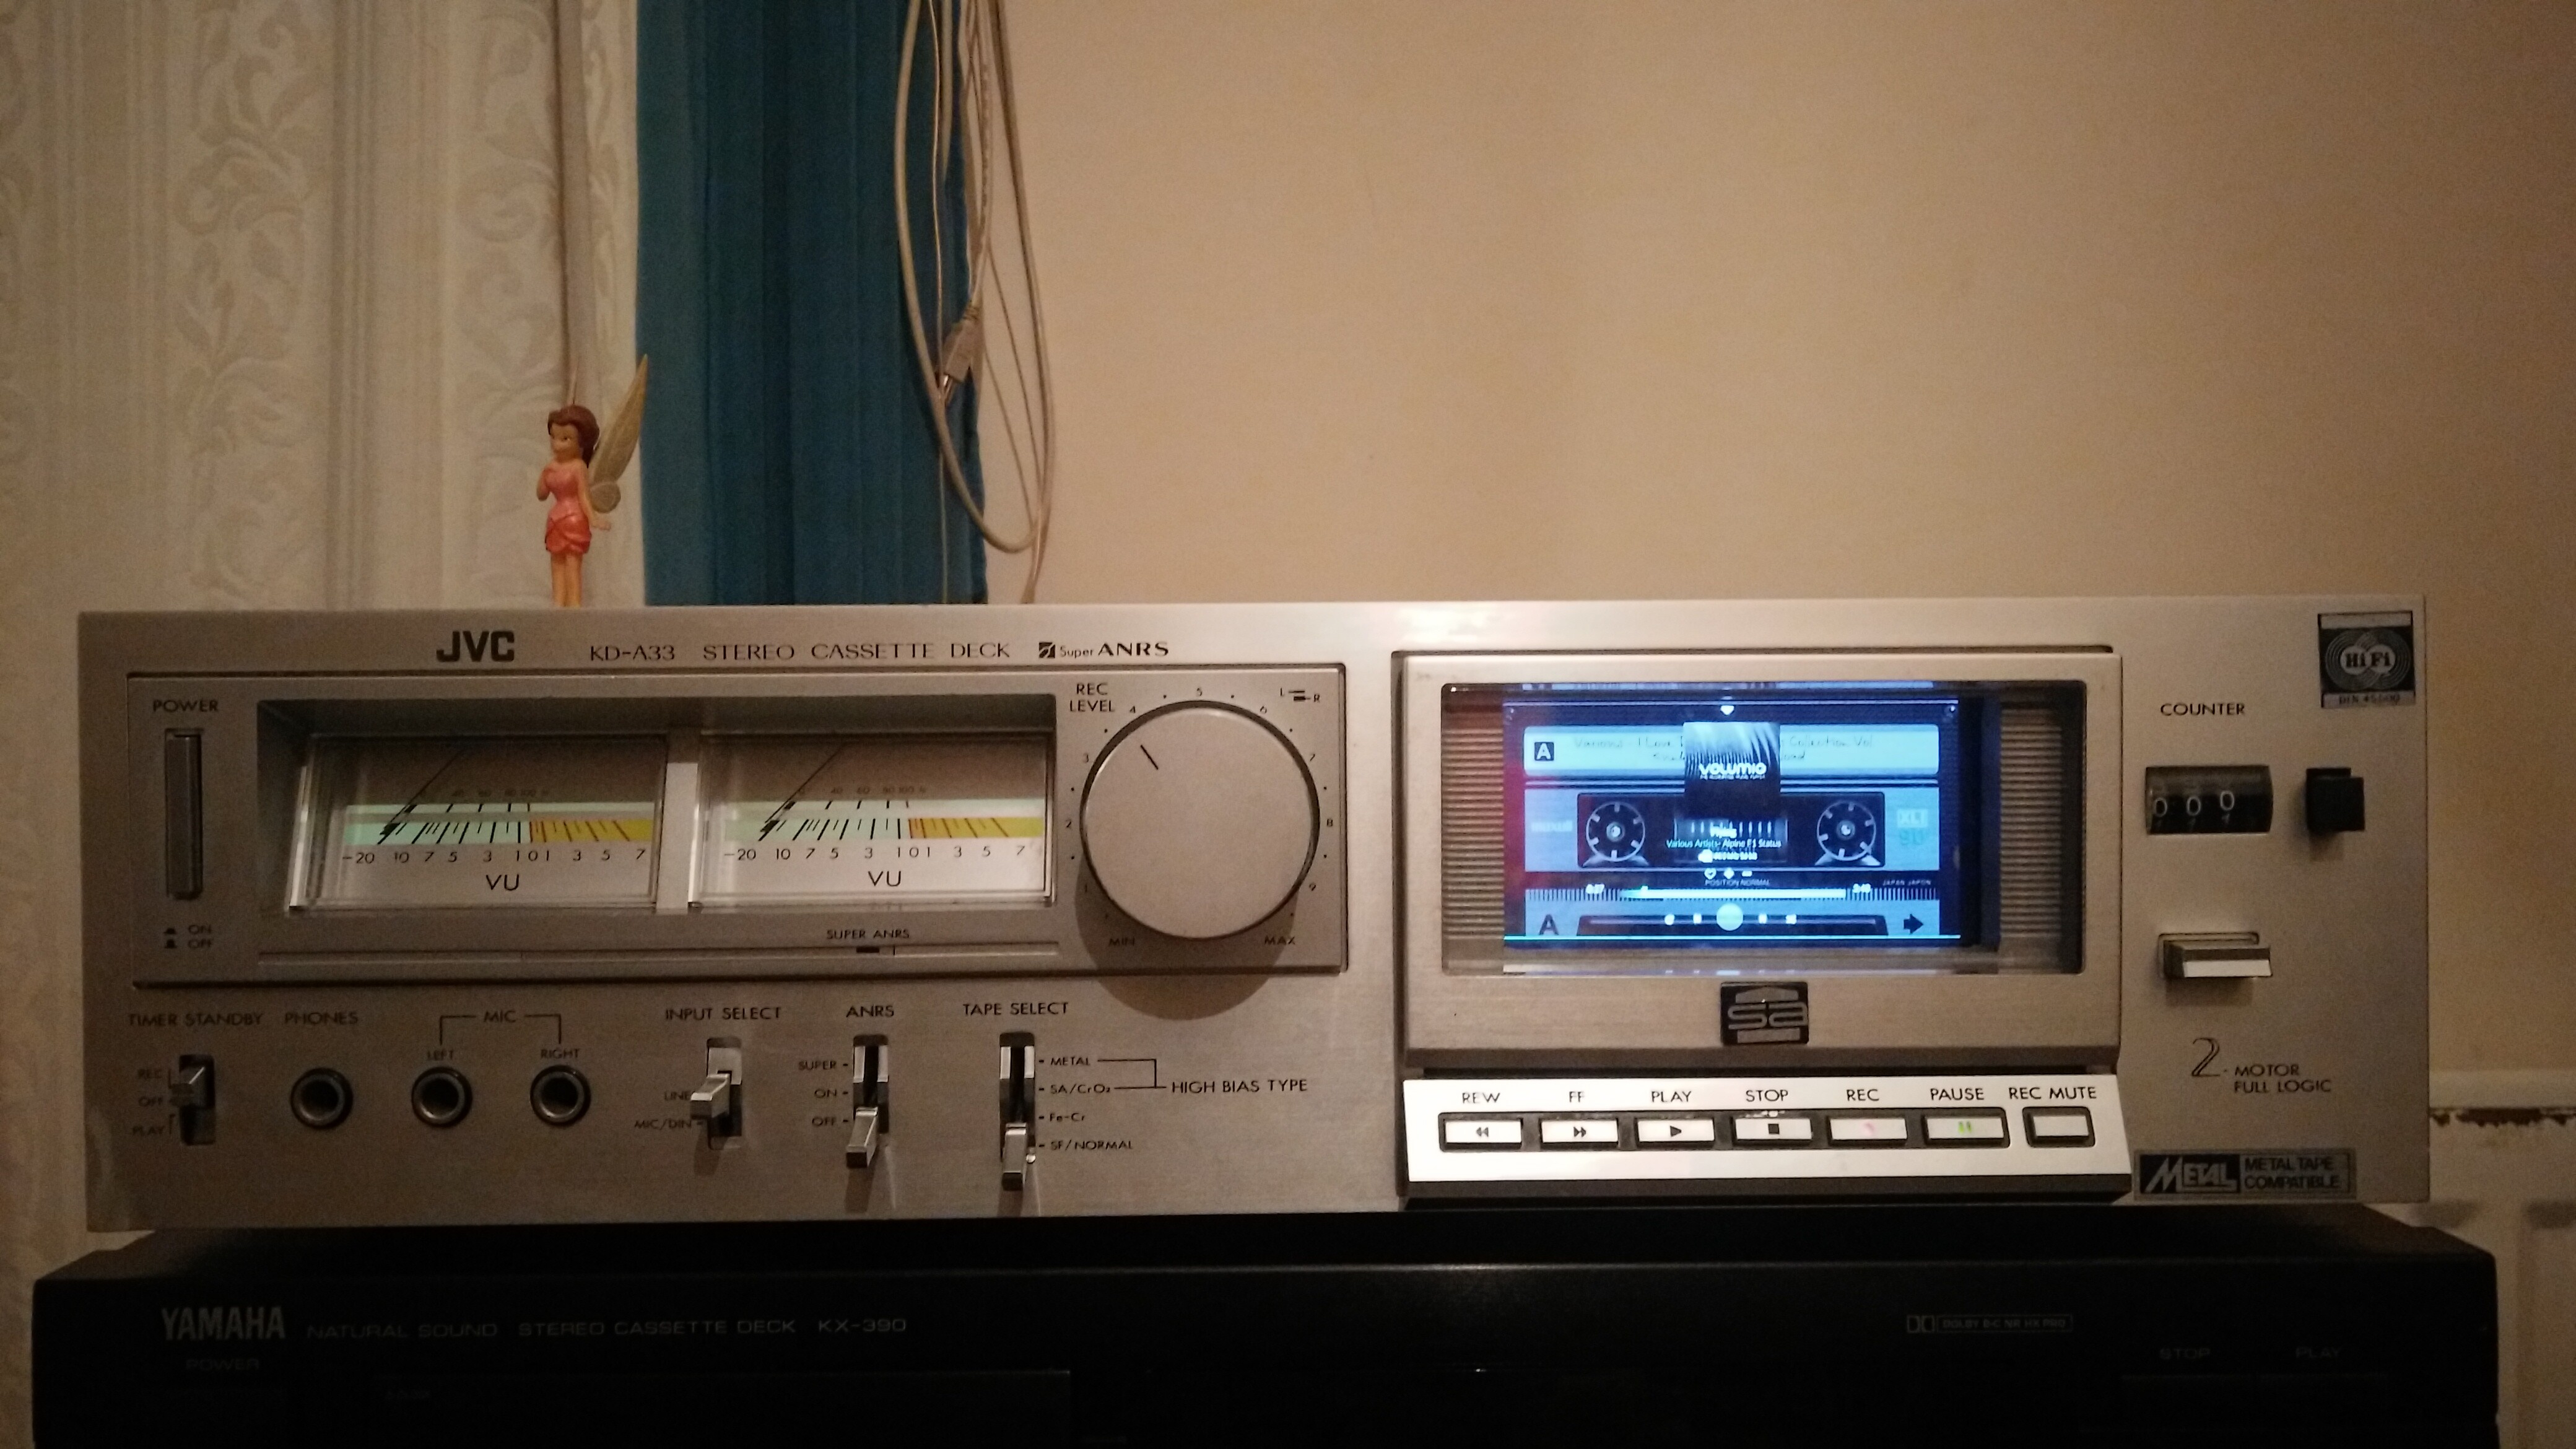
Second one: JVC KD A33 cassette player, Rapsberry PI 4 4gb version, Pirate audio DAC line out shim, Waveshare 4 inch display, same bits and bobs.
This one due to different internal electronic layout can’t be controlled from the cassette touch buttons only the on/off function, everything else is controlled from an old phone used as a remote controller.
Lot of work, cutting, drilling, glueing, soldering, 3D printing, software learning, research, digging for bits and bobs with a final cost for the materials of around 175 GBP per player.
Now I have them integrated in the audio system with excellent results, Volumio is a very good software a donation will be done soon. Hats off to the makers!
Some thoughts:
About the software: some customizable option regarding the artwork being optional leaving the screen with the background on demand, an on/off plugin for the display light , some improvements to the phone application, sometimes has a lot of lag when is communicating with the PI.
The 4 inch Waveshare display didn’t wanted to work with the touch screen enabled giving me a hard time and a lot of Kernel panics, in the end decided to use it without the touch function.
For the next player need to find a better one with the touch function working.
The Pirate Audio DAC is a good cheap option, need to experiment now with some better ones but again in the next player.
Hope you will like it and it will inspire you.
Thanks again to the Volumio TEAM and the other developers who contributed to this project.

Nice work!
Please, can you share how you used 4inch lcd, like software and wiring settings don’t you need to connect pi GPIO?
Thanks
Hi,
Thank you for your kind words, much appreciated.
Well this is my first project and I kinda need to get together all the steps for a good “how to”.
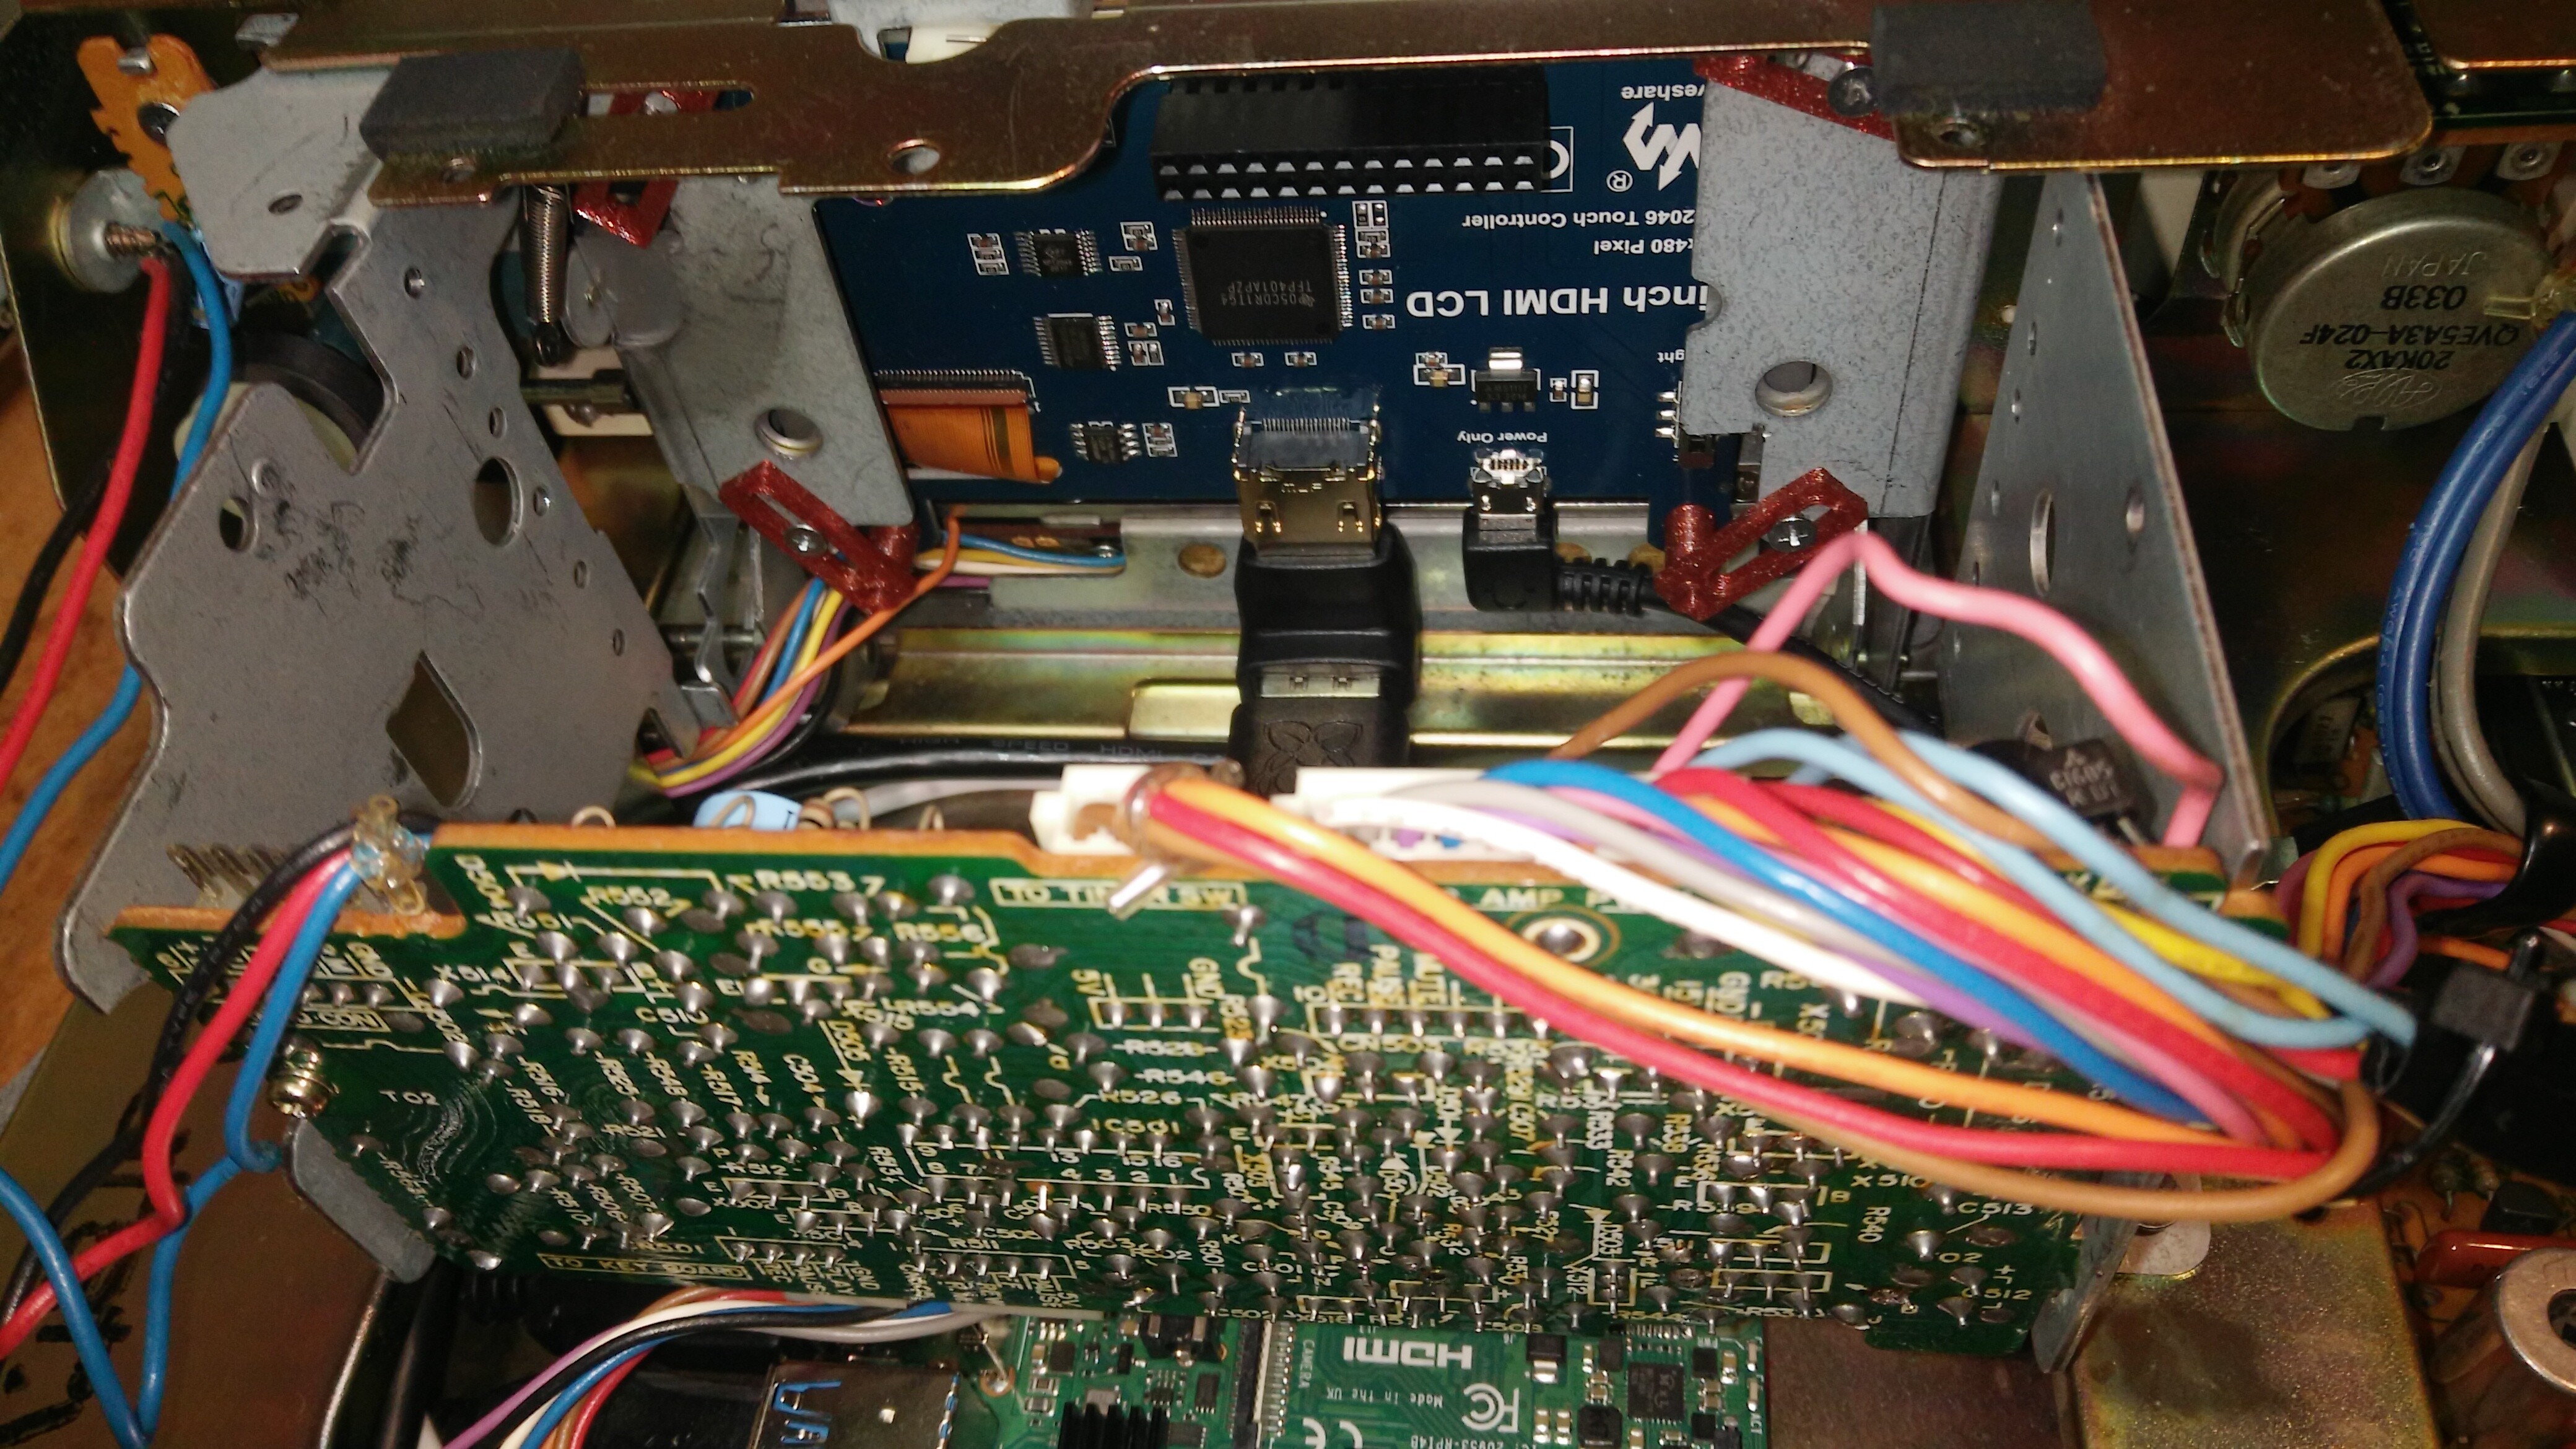
For now what I can tell regarding hardware:
The DAC goes straight to the PI GPIO slot
The display is connected to the PI HDMI display output in non - touch screen mode since the display is covered by the tape compartment lid
The DAC output is connected to the deck electronics with the option to have an alternative output directly from the DAC not thru the deck electronics so I can compare how is the sound.
To connect it to the deck is a bit complicated and you need to have some advanced electronics knowledge to read the schematics and to understand the circuits.
This the most complicated part and is not always the same for different decks.
For example the Yamaha will allow you to control physically the software from the deck but not possible on the JVC ( it might be possible )
The software part is quite simple if you follow the Volumio manual.
I’m not so good on explanations, I’m more of a tech guy good with tools not words. 
Hi
Many thanks for your response really appreciated!
I’ll keep an eye on your “how to” guide whenever you post please, keep me updated.
I see the display gpio only needed for touch which its good we can’t access through front door anyway.
Thank you for your help.
Amazing, how hard was it to look like a tape on the screen? I’m currently modelling a sharp boombox from the 80’s to 3d print and turn into a cool bt project but really wanted to use my pi.where there the casette is.
Very keen to do If.i can integrate it with the class d amp
Hi sandmanhuck,
amazing project! I like the idea of using vintage cassette decks to build a Volumio streamer and I made my own based on a Sony K361 some years ago (see my “Sonyberry project”, is still running perfectly).
How did you realized the power supply for the Raspberry Pi and the display? Do you just use the cassette deck’s power supply or do you have an additional one?
Best regards
-paganini
Sorry for my late reply, notification were off.
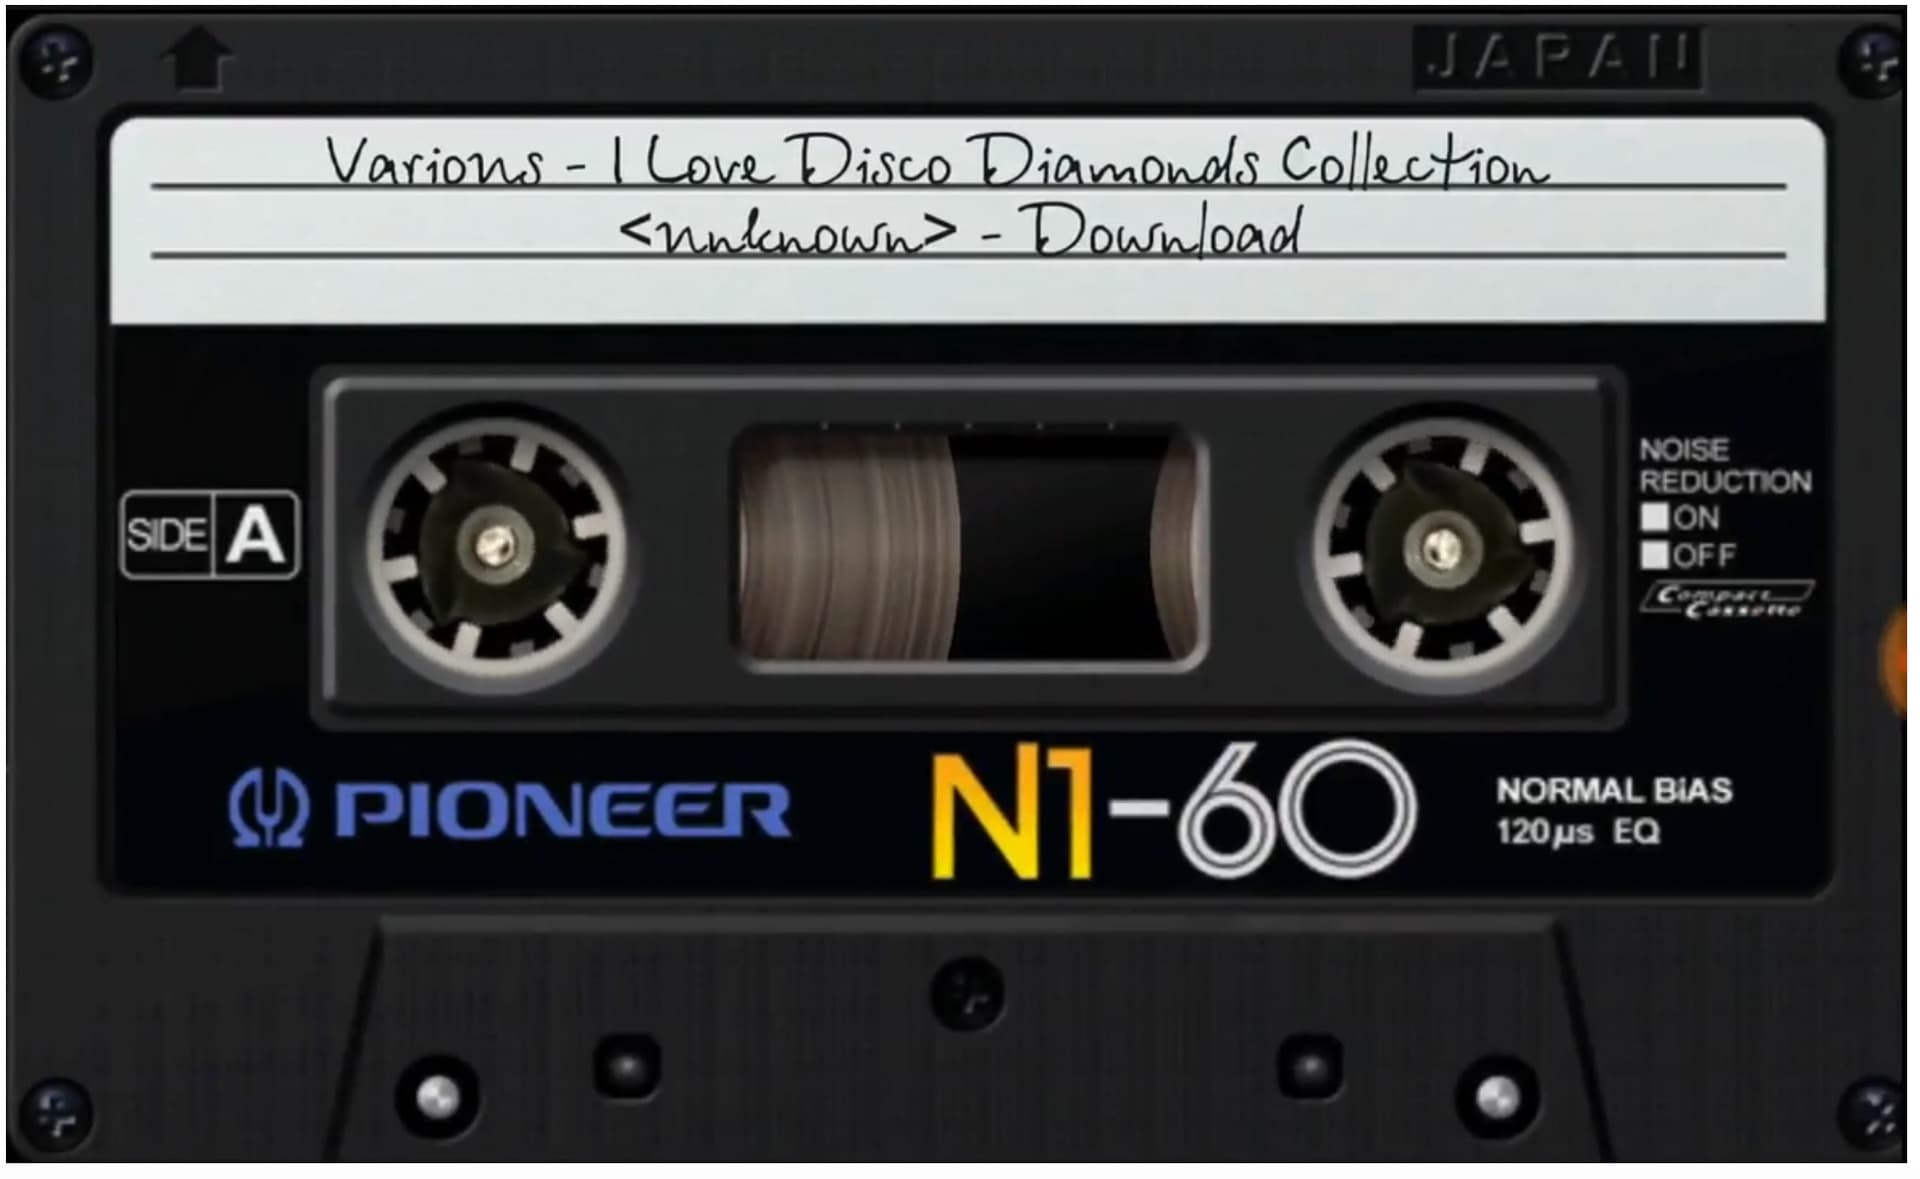
It is easy, just choose a photo with a tape and change the background with it.
You have plenty of space in a boombox , and if you remove completely the tape mechanism you have enough room for the PI and display.
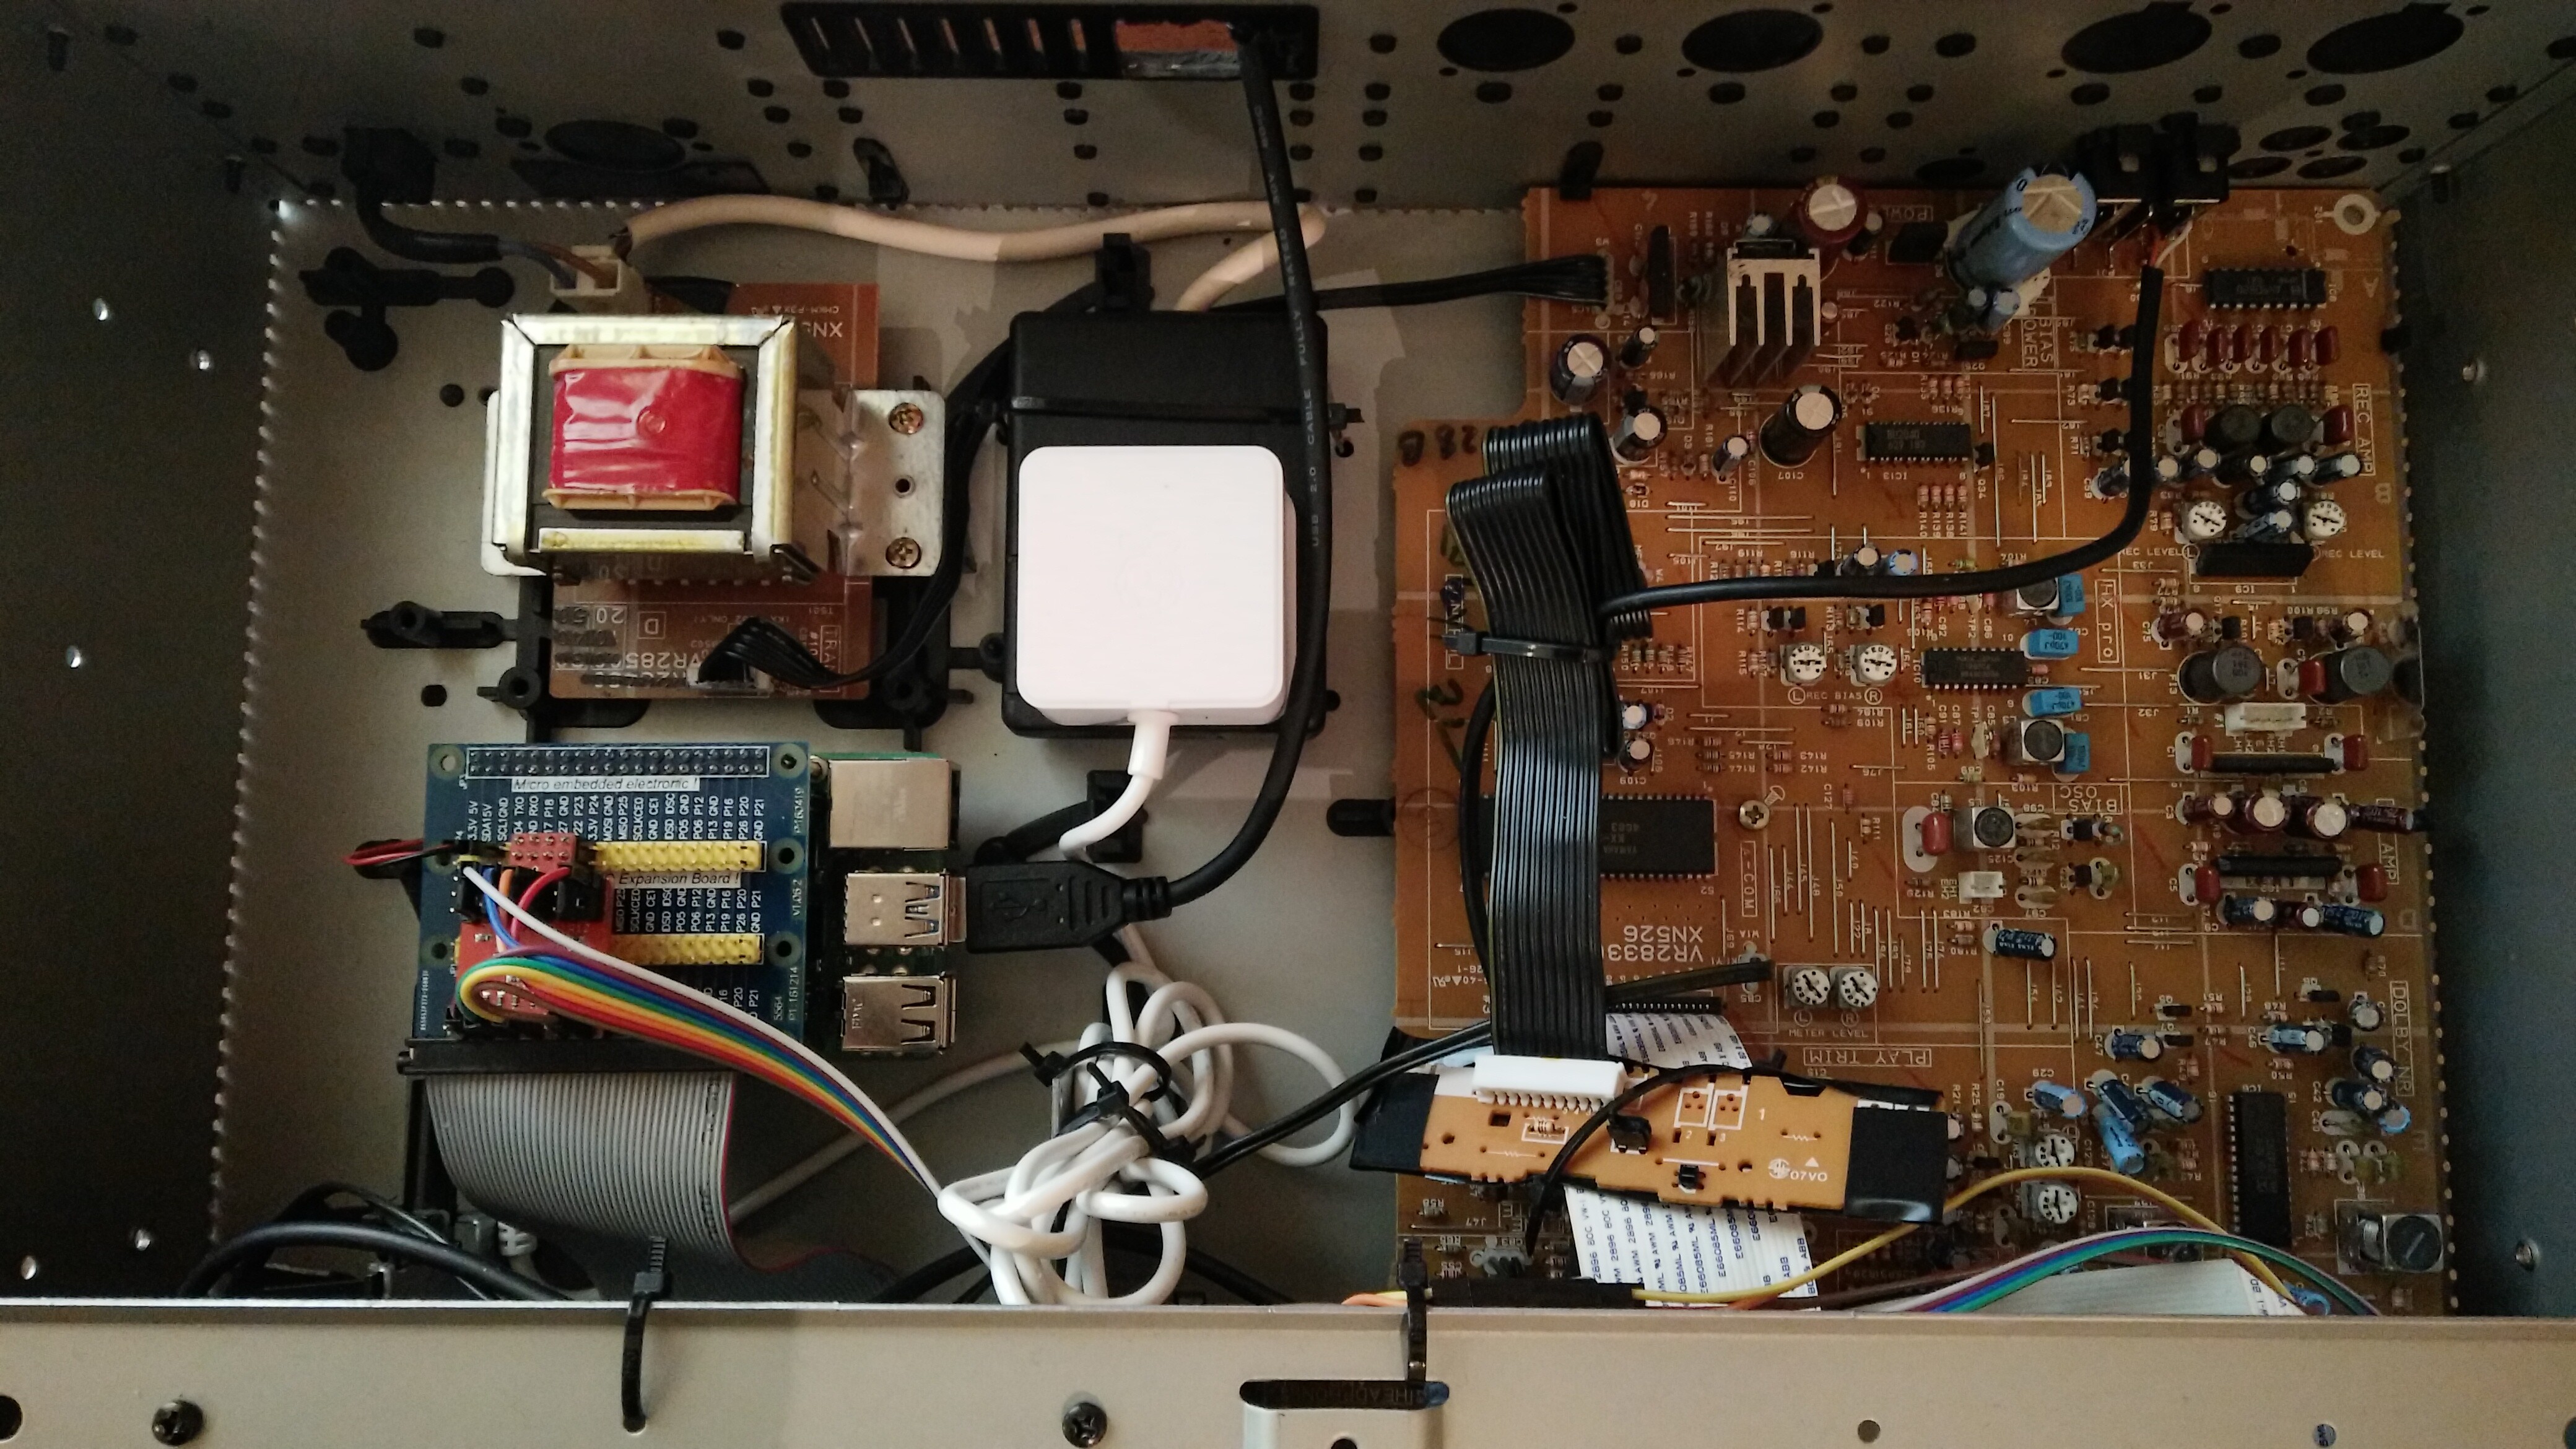
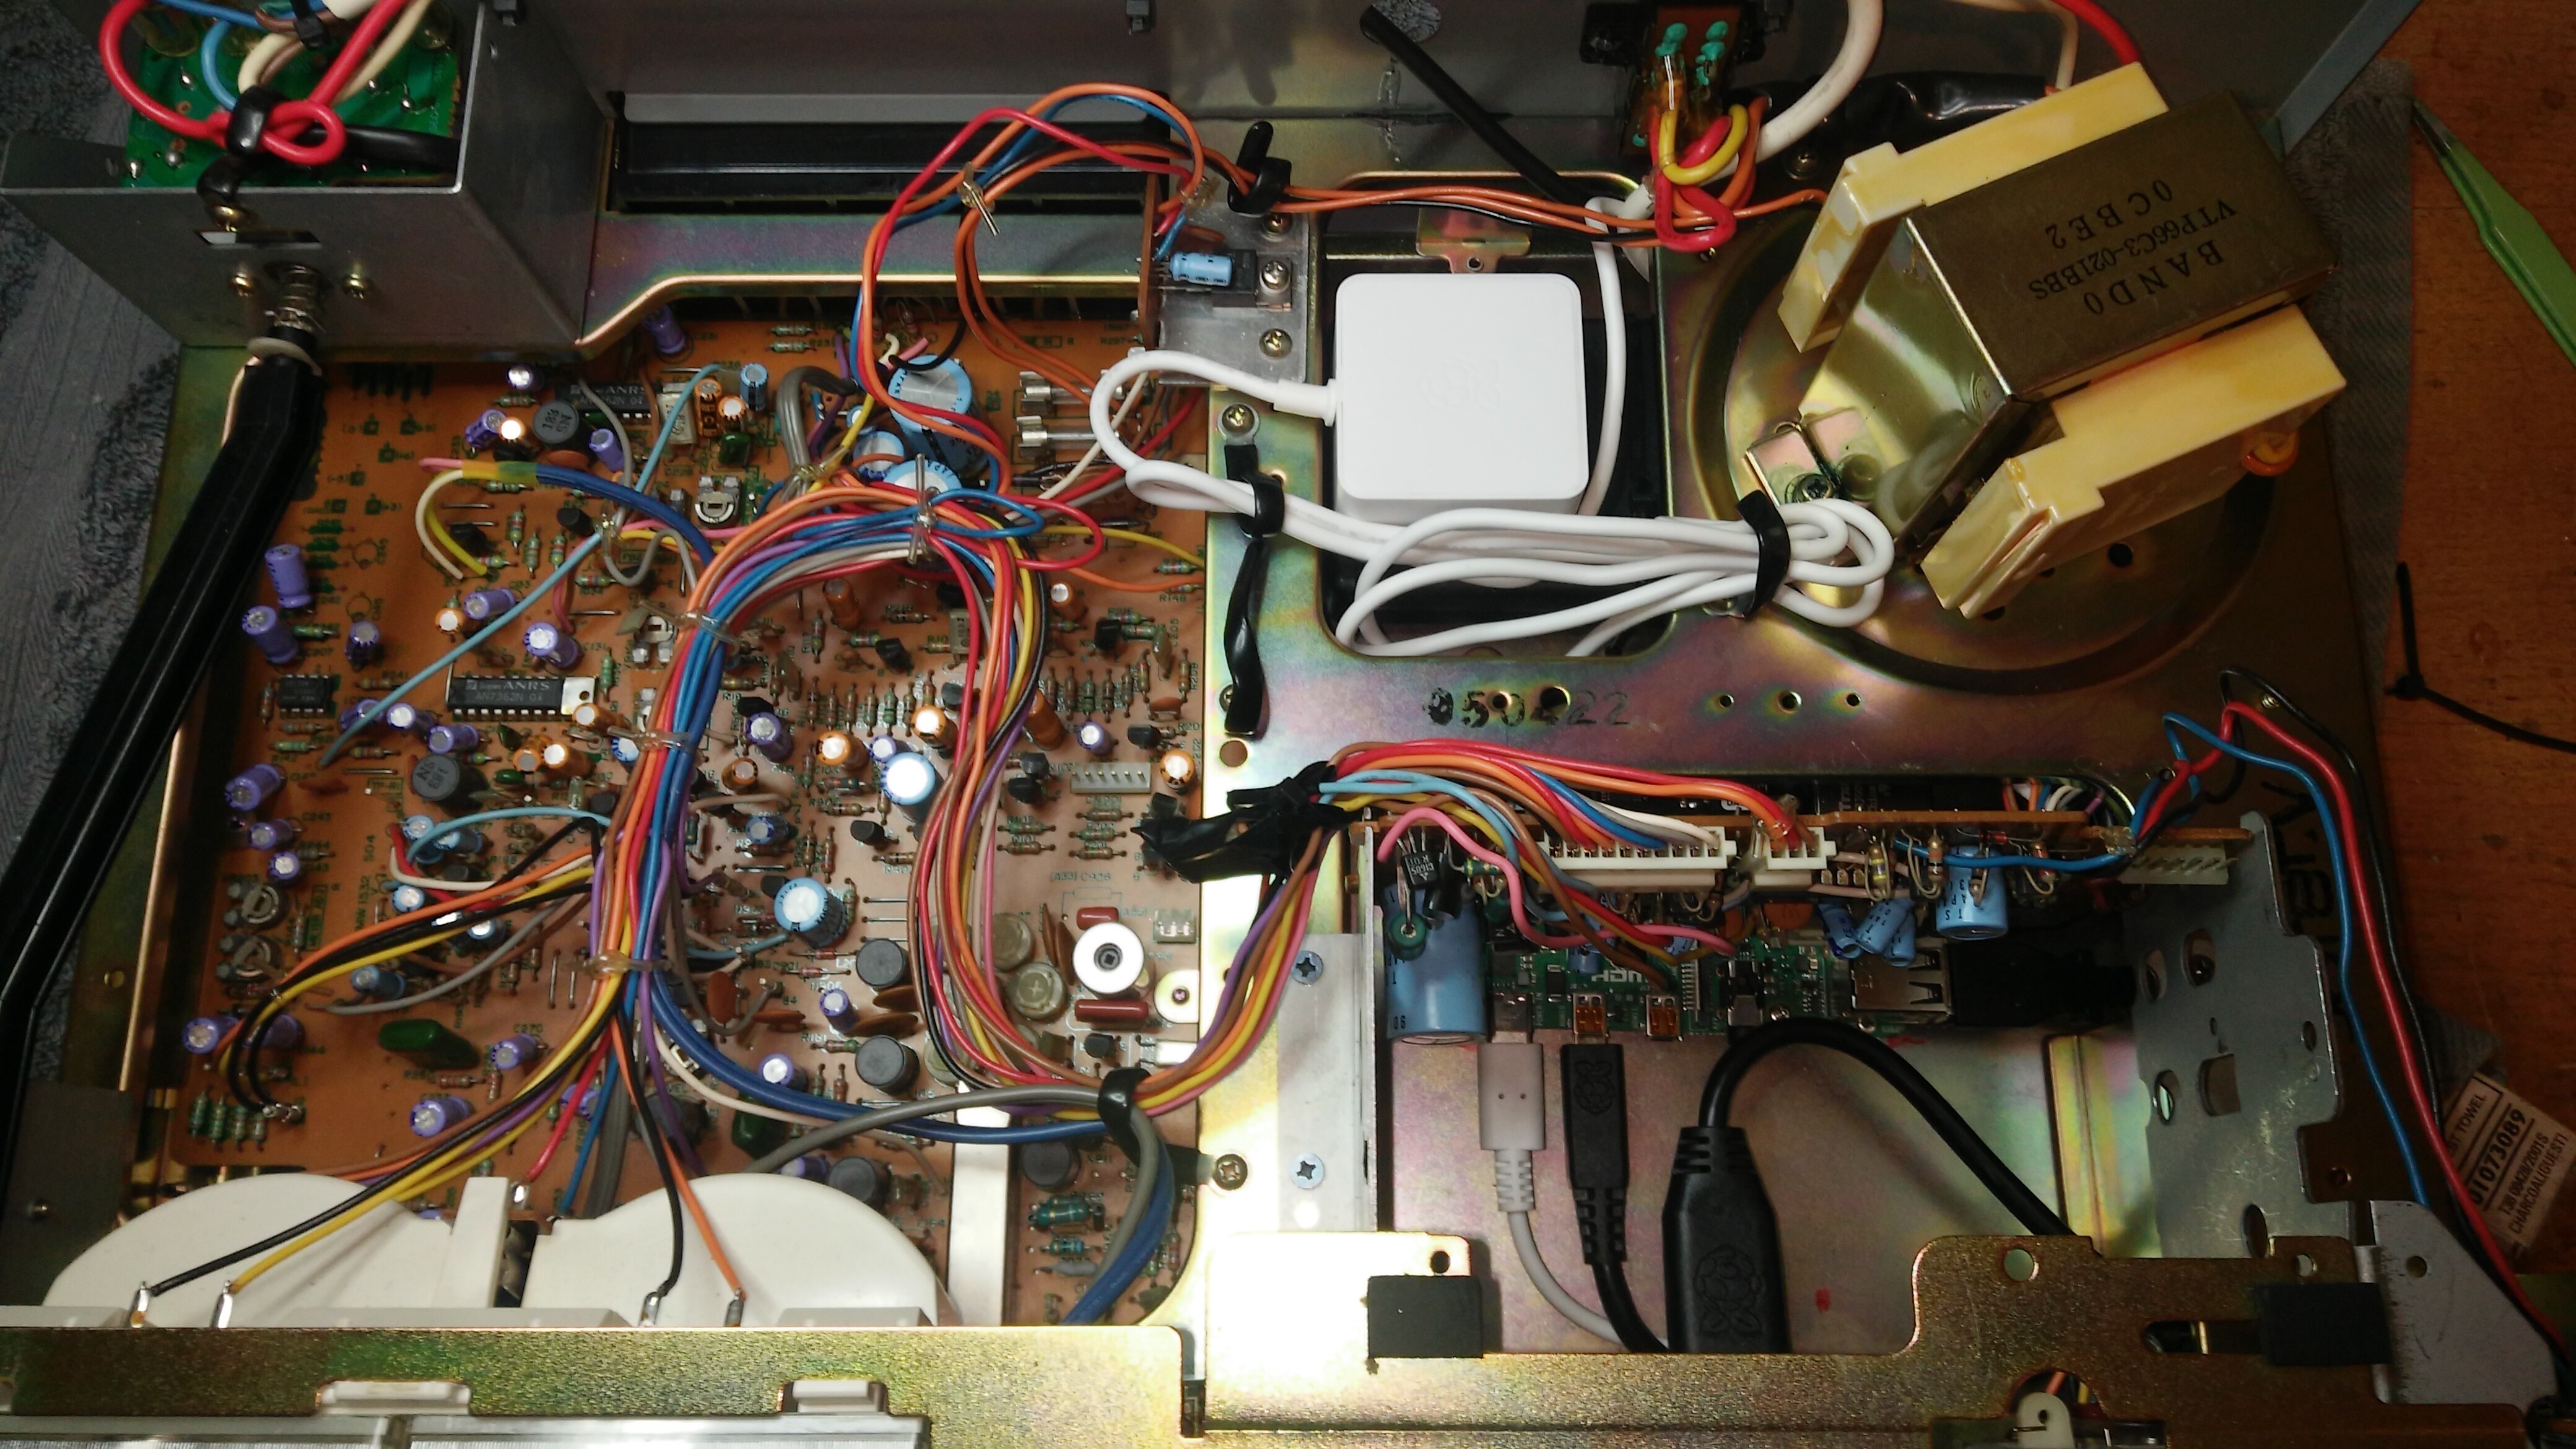
I’ve used the original PI power supply, wanted to be totally separated from the deck electronics.
For the original power supply I "ve used a waterproof 220V socket wired to the power cable of the deck after the power switch.The white brick near the transformer.
Ah, OK. I’ve used a separate switching power supply, too. Although my cassette deck has a 5V power supply I was not sure if it was powerful enough for the Raspi and the display.
-paganini
I always choose to make the design modular. If I want to make later changes it will be much easier. From my experience is better to have the original PI power supply installed separate from electronics to avoid any interference from the other electronics. Tried a few times with buck converters to power the PI and happened to have “noise” on the audio chain.Can be sorted with some noise loop filters but is an extra module to fit.
I have Pioneer CT-F500 and remove tape mechanism and installed 3.5 DSI display working well but I would like the cassette looking background with wheel running like one blow…how ddi you do yours?
@Gelo5 Hi Gelo5,
This will be a great addition to peppy meter skin . Would you please , if you have some spare time kindly pls add to ppepymeter .
Many thanks
Yes, please I love to have cassette skin that’ll look fantastic on 3.5 DSI display.
Many thanks all.
I will try to do this.
My attempt:
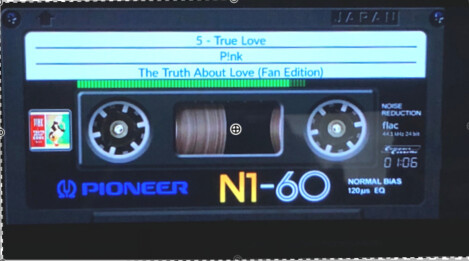
Did a fast try for the animation part, however Peppy won’t animate it:
pioneer-n1-60 (800x480).zip (201.7 KB)
Yea , but it looks really cool

Cool, I have one too, but for Kodi. This is what PeppyMeter lacks
Is it possible afterall???/
it looks like it  i would ask him the how to…