Hello, I would like to join the fantastic Peppy Meter software and the discussion “Project with PeppyMeter Screensaver Plugin for VOLUMIO v2.9xx and 3.0xx buster” to learn more about the subject.
First of all this is the link Meter Anatomy (thanks to Gelo5 for the report) to understand the technical aspect of the skins.
My intention is to publish, as soon as possible and we will have the skills and help of other enthusiasts, various configuration files (meter.txt) for the needs of each of us.
Meanwhile, let’s “study” the “Meter Anatomy” link
Hello everyone and see you soon
1 Like
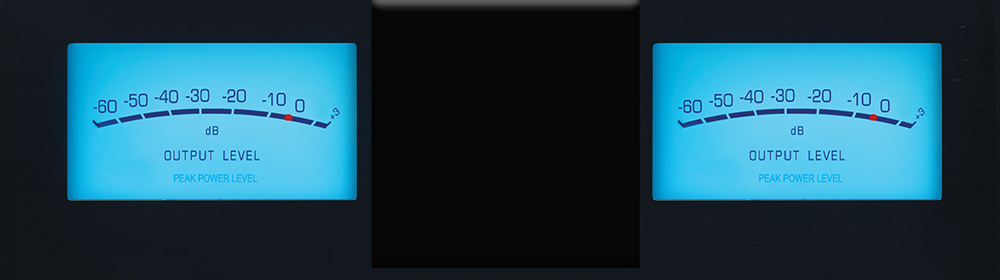
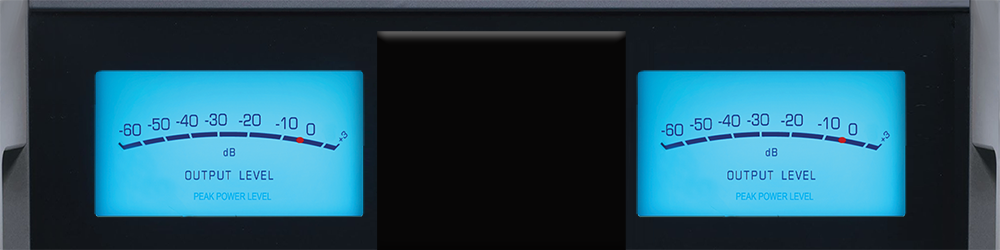
Example of a comment for a meter.txt file
What can be said about the album art and subsequent information contained in the meter.txt file
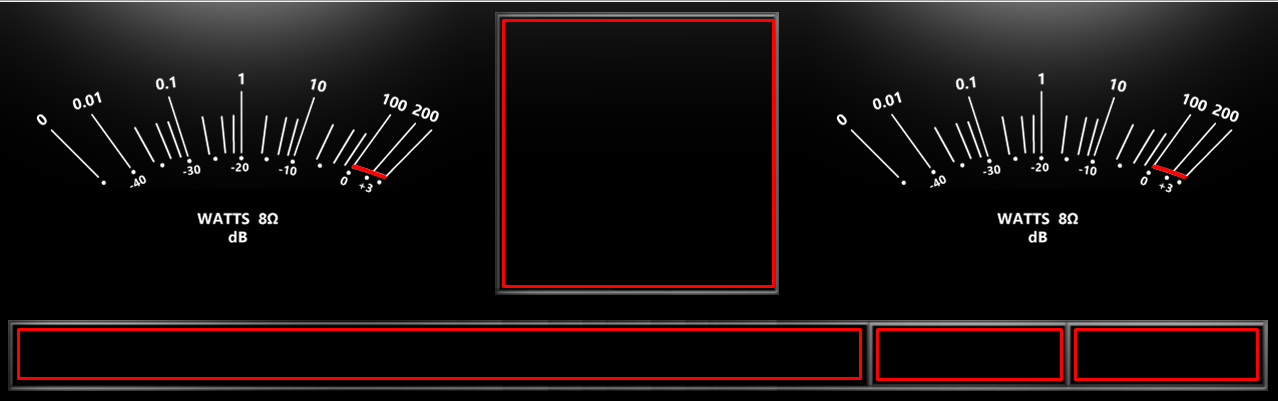
galaxy meter
I can’t find any documentation online
of the skin that I believe is the easiest to edit “Galaxy” shared here?
Project Skin
Thanks bye
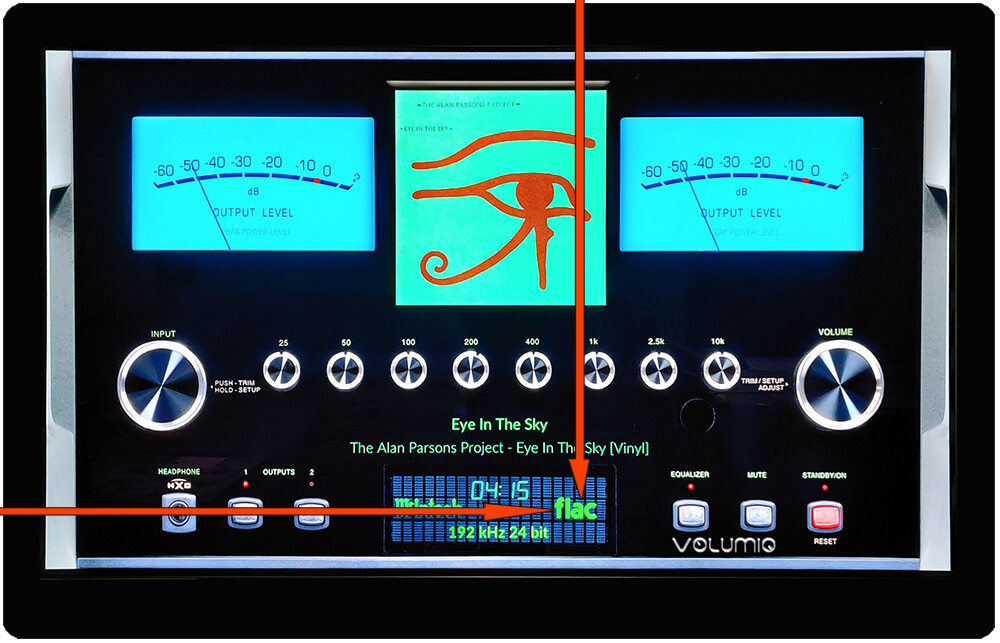
For Volumio additional tags have been added to meters.txt:
# --- volumio optional entries -------
config.extend = True
# Start position albumart Left-Top position
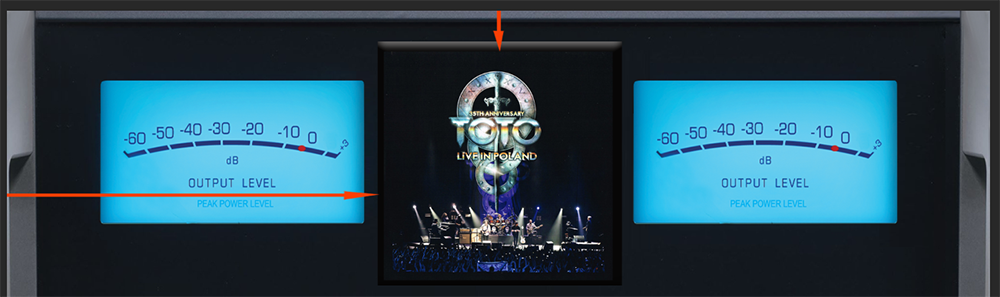
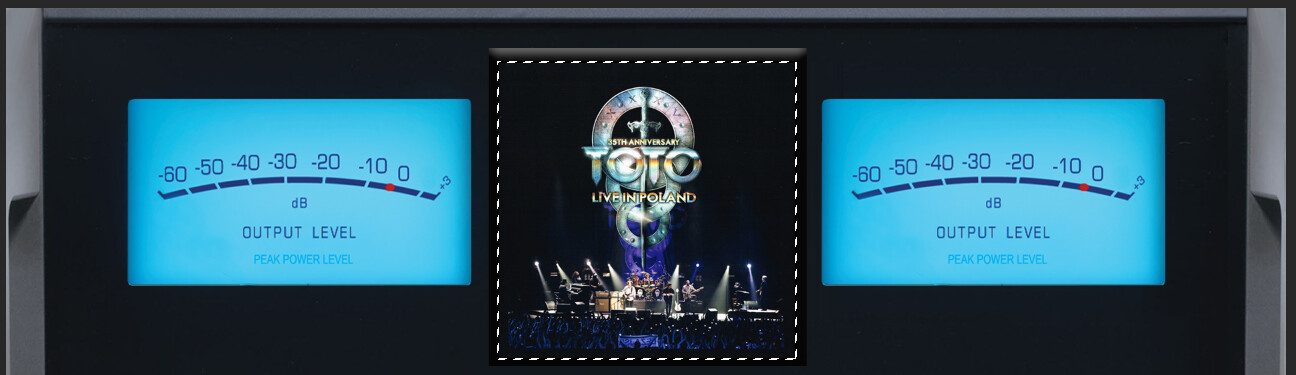
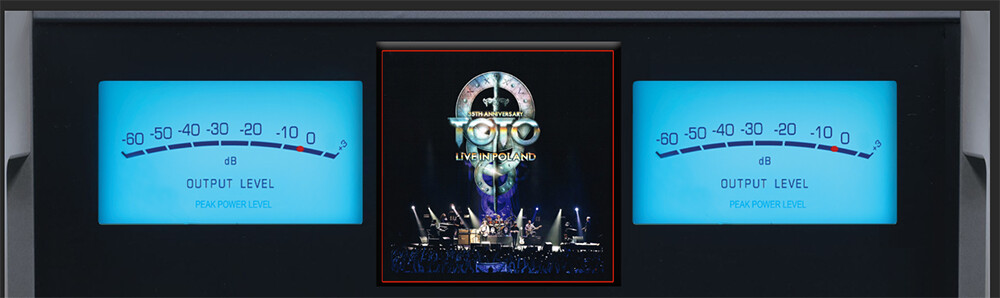
albumart.pos = 30,20
# Album-art size
albumart.dimension = 116,117
# Position track
playinfo.title.pos = 200,25,bold
# Position Artist name
playinfo.artist.pos = 200,48,light
# Align Left or centered
playinfo.center = False
# Max length
playinfo.maxwidth = 900
# Icon source position
playinfo.type.pos = 918,27
# Font color
playinfo.type.color = 180,180,180
# Size source icon
playinfo.type.dimension = 38,38
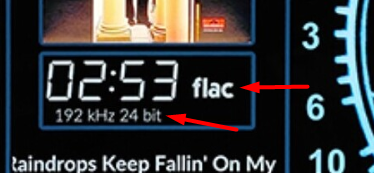
# Sample-rate
playinfo.samplerate.pos = 975,38,regular
# Time remaining Top-Left position
time.remaining.pos = 1115,31
# Font color
time.remaining.color = 180,180,180
font.size.digi = 32
font.size.light = 18
font.size.regular = 16
font.size.bold = 19
font.color = 180,180,180
albumart.pos =30,20
Pos.1 - “30” - distance from the left side
Pos.2- “20” - Distance from the top
albumart.dimension = 117,117
Album cover size 117x117
albumart.border=1, 2 …
album cover border
all numbers are in pixels
and what are the allowed values (max)
The max values are depending on your screen size, hence all the different screens developed by @Gelo5
Every screen size is a new meters.txt and images. 800x400, 800x600, 1280x400, …
ok, so an image must be placed in a grid to understand the pixel coordinates and thus choose where to put the player information
So if your screen size is 1280*400, you create an image of this size. On here you define the position of all information you want to display.
1 Like
ok, so these points, steps ad other… remain to be clarified:
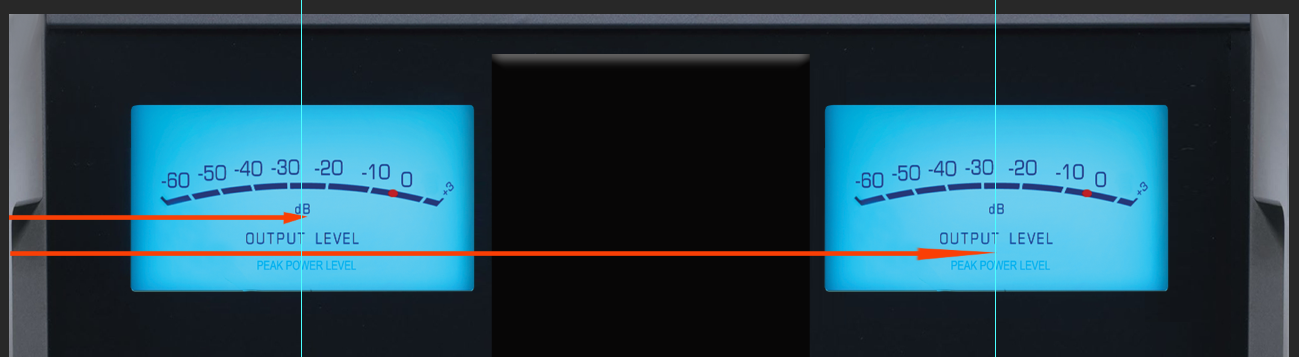
ui.refresh.period = 0.033
ok----bgr.filename = galaxy-bgr.png
ok —fgr.filename = galaxy-fgr.png
ok----indicator.filename = galaxy-needle.png
steps.per.degree = 2
start.angle = 47
stop.angle = -47
distance = 100
left.origin.x = 208
left.origin.y = 267
right.origin.x = 584
right.origin.y = 267
meter.x = 1080
meter.y = 765
1 Like
That is well defined on the webpage from peppy_meter.
1 Like
I’ll try to study and if so I’ll answer here
Thanks for now
fantastic
Thanks, I need some clarifications:
ok then: the values entered indicate the distance from the right and from the top;
the length of the field: it will depend on the font size with a maximum defined by “maxwidth”
what is meant by “Icon source position” and “Sample-rate”
what determines the background of the “playinfo.type.color”? Is that of the backgroud image left?
Font colors eg 180, is there a table explaining what color is 180 (and the others)?
finally the most important thing: how to test the new skin without having to load it on Raspberry and start the whole system? Is there a simulation environment that I can set up?
In the “Start & Stop” section of the “PeppyMeter.doc” there is a Python command which appears to provide a test environment
Thanks again and see you soon, bye
Just start playing with it and you’ll find what it does.
Place the images + meters.txt in on of the folders, run volumio vrestart. This will load the changes.
Make modifications to meters.txt and play a track. it will load peppy with the changes.
background image
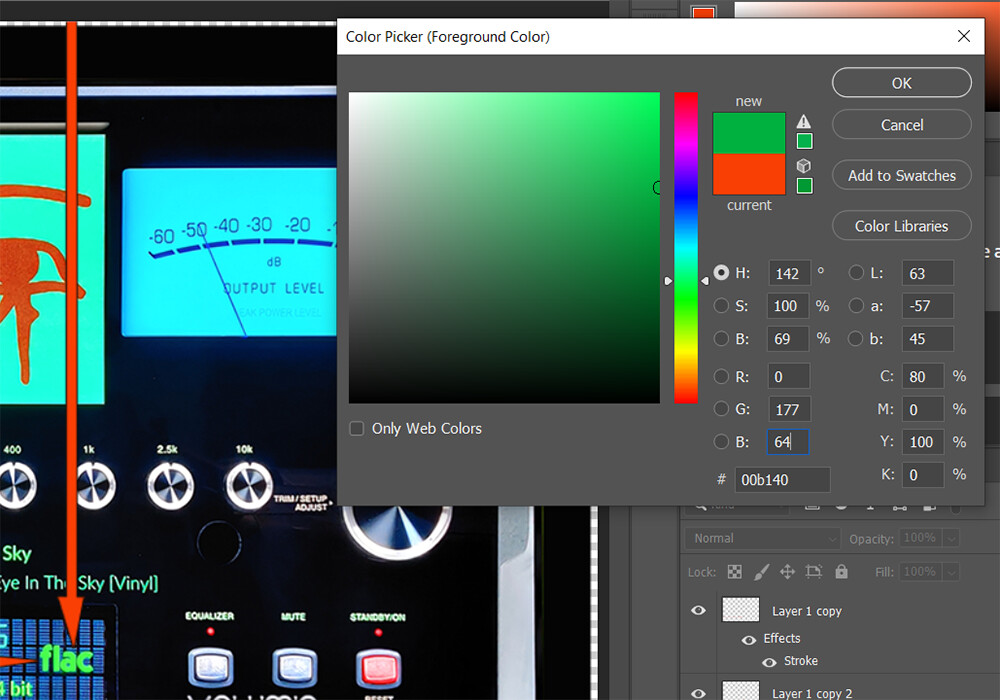
Google on it, it’s the rgb value like 106,178,175

Mcintosh 1920x1080 skin
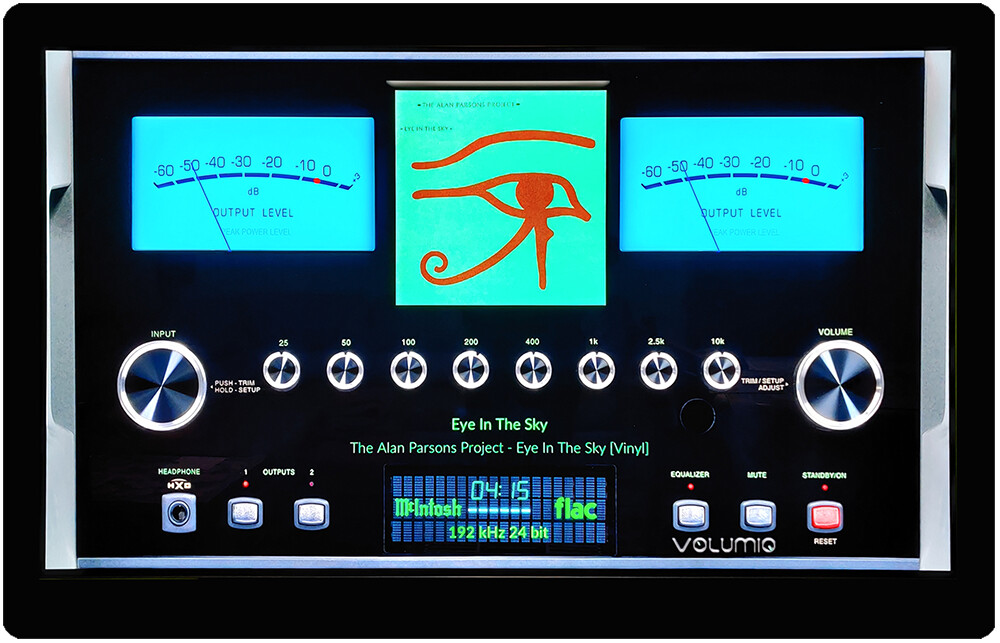
#-----------------------01 MCINTOSH ---------------------------
[Gelo5_McIntosh]
meter.type = circular - Leverage indicators
channels = 2 - number of channels
ui.refresh.period = 0.033 - we don’t move
bgr.filename = Mcintosh_vu.png
fgr.filename = Mcintosh_frg.png
indicator.filename = Mcintosh_needle.png
steps.per.degree = 4 - we don’t move
start.angle = 41
stop.angle = -41
distance = 207
left.origin.x = 380
left.origin.y = 460
right.origin.x = 1420
right.origin.y = 460
meter.x = 60
meter.y = 60
screen.bgr = Mcintosh.jpg
1.First, specify what resolution you will set (on the example of a 1920x1080 skin)
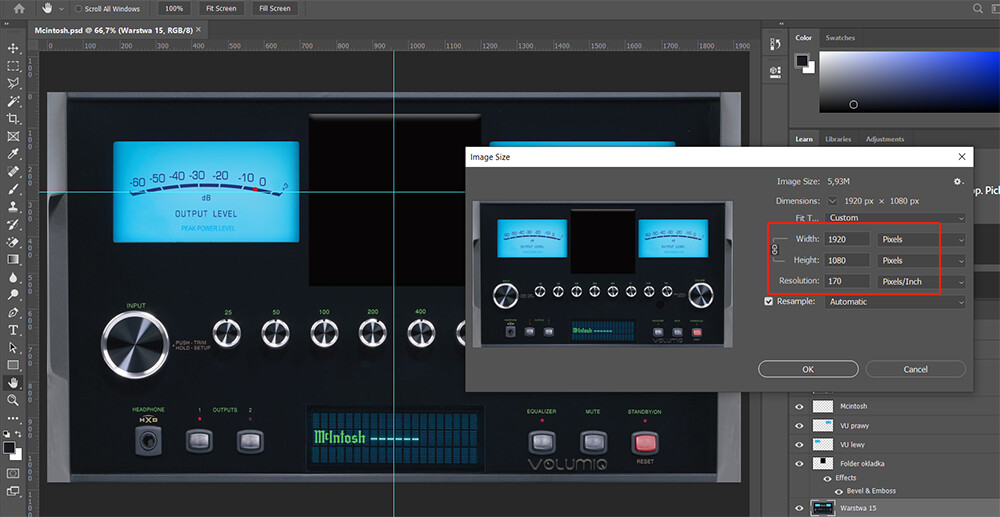
2.Select a photo and place it at the specified resolution (here 1920x1080).
a/width 1920px
b/height 1080px
c/resolution 170 dpi (170px/inch)
3.Save as .jpg - this will be our:
screen.bgr = Mcintosh.jpg
4.Open the Mcintosh.jpg image and replace it with .png (with transparency).
Now we create the background for the indicators
5.Save as .png - this will be our:
bgr.filename = Mcintosh_vu.png
6.Placing the background under the indicators:
meter.x = 60
meter.y = 60
Attention! if we work on the whole area (1920x1080) and make the background for the indicators like this:
The image will be aligned to the upper left corner (This is the easiest way) and:
meter.x = 0
meter.y = 0
7.We cover unnecessary elements on the background of indicators.
The indicators will be covered and not visible on this part

Save as .png - this will be our:
fgr.filename = Mcintosh_frg.png
8.All that’s left to do is pointers. We save it as .png - this will be our:
indicator.filename = Mcintosh_needle.png
![]()
9.We specify the distance from the left side of our pointers (here: 380 and 1420 pixels - to the center of the scale)
left.origin.x = 380
right.origin.x = 1420
10.We determine (from the top) where the end of our arrow is.
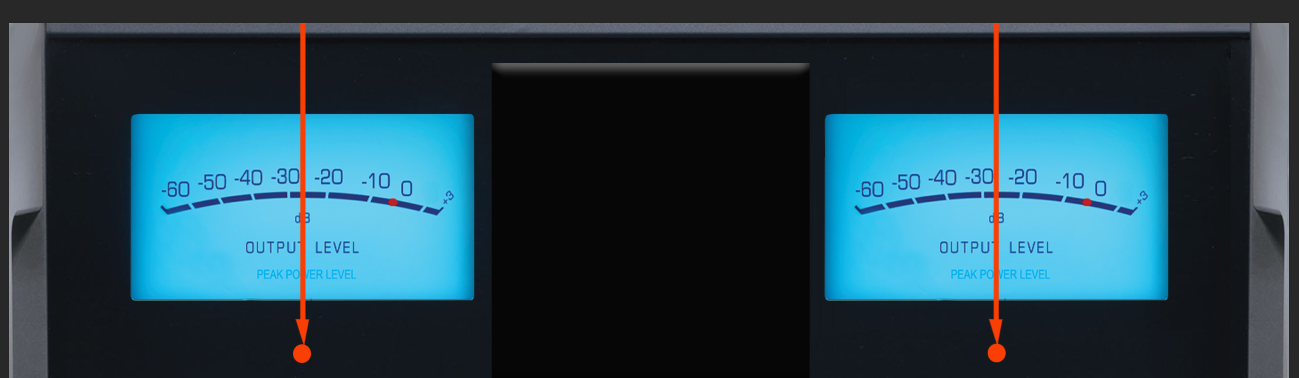
In a landscape layout, left and right should be the same
left.origin.y = 460
right.origin.y = 460
11. We specify the angles in which to move with the arrows.
Start - plus
Stop - minus
start.angle = 41
stop.angle = -41
The rest is described in the WIKI
Now we can check how our indicators work (without additional descriptions, covers, etc…).
Of course, at the beginning we only give the entry as above
Now we add additional elements to our skin
— volumio optional entries -------
config.extend = True
albumart.pos = 740,80
albumart.dimension = 450,450
albumart.border = 1
albumart.pos = 740,80
740 pixels from left
80 pixels from top
albumart.dimension = 450,450
The size of the cover in pixels
albumart.border = 1
Border around the album: 1 pixel. There may be more, e.g. 2, 3 pixels. The border color is the same as the text color. If you don’t want a border - put “#” at the beginning before the whole line
#albumart.border = 1
playinfo.type.pos = 1080,910
playinfo.type.color = 0,177,64
playinfo.type.dimension = 90,90
playinfo.type.pos = 1080,910
1080 pixels from left
910 pixels from top
playinfo.type.color = 0,177,64
RGB

playinfo.type.dimension = 90,90
The size in pixels of the file type (90x90)
time.remaining.pos = 900,900
time.remaining.color = 67,194,139
font.size.digi = 37

time.remaining.pos = 900,900
900 pixels from left
900 pixels from top
time.remaining.color = 67,194,139
Same as above
font.size.digi = 37
The DIGI font is responsible for the passing time. Its size is set in pixels (37)
playinfo.maxwidth = 1200
playinfo.center = True
We define where the information about the artist, song, album will be
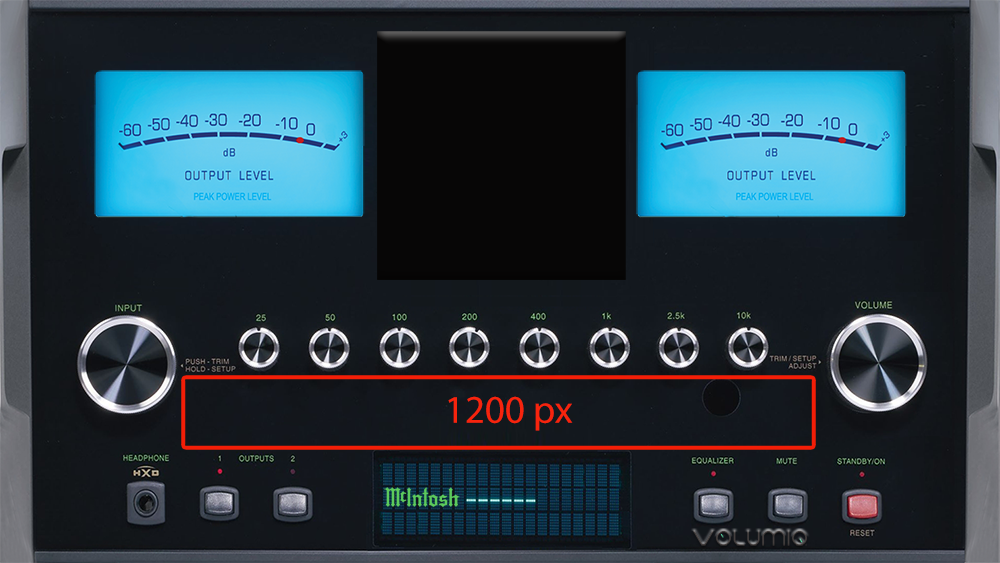
playinfo.maxwidth = 1200
Here this size is 1200 pixels
playinfo.center = True
Specify whether the text will start from the left (frame) or in the center of the frame
True = center
False = from the left
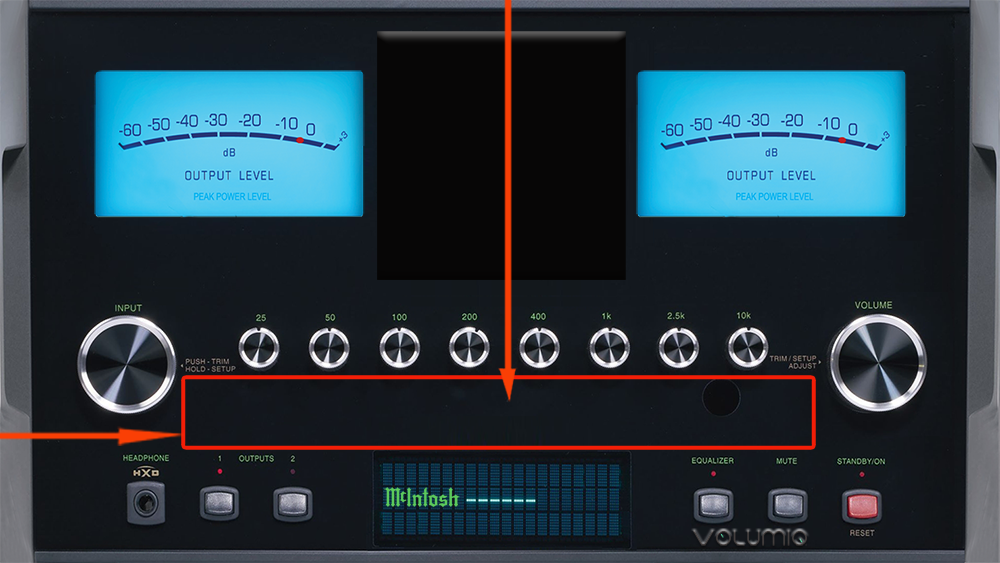
playinfo.title.pos = 362,760,regular
Placement of the song title:
362 pixels from left
760 pixels from top
regular=font type
playinfo.artist.pos = 362,810,light
Placement of the artist:
362 pixels from left
810 pixels from top
light=font type
Attention! If there is ONLY: playinfo.artist.pos - ARTIST+ALBUM will be displayed
If we want to separate the artist and the album - we have to enter:
#playinfo.album.pos = 365,940,light —> playinfo.album.pos = 365,940,light
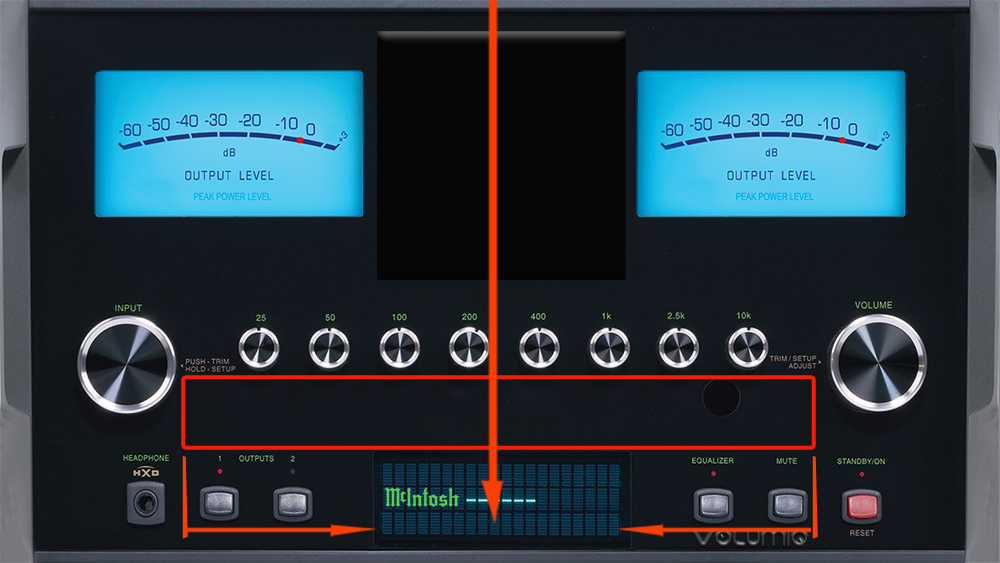
playinfo.samplerate.pos = 360,985,bold
In this case it’s simple - because the samplerate is centered like Artist, Album and Title
Placement of the samplerate:
360* pixels from left (In the middle of the selected box 1200px)
*If we want to shift to the left - we decrease this value, which can also be “-”
If to the right - we increase this value
985 pixels from top
The samplerate color is the same as the type color
font.size.light = 30
font.size.regular = 32
font.size.bold = 32
font.color = 0,177,64
Greatest:
Steps 4 and 5: Did you cut out the indicator section you want to use from the “screen.bgr”?
points 6 and 7: why do WE MAKE indicators with “fgr.filename” invisible? (I tried to read the project doc but I didn’t understand)
I’m cataloging the existing skins to have a selection table
based on what the user wants to highlight, disc covers rather than markers or other information.
for the table the size of the images is clear
the type of indicators too
for the size of the indicators I obtain a “comparison value” by taking the height y and calculating the width by subtracting the values of the two x’s approximately, in the example 460;1000
(it is not a precise value but only a term of comparison)
I will make the file available as soon as it is ready to cpair and improve and correct.
bye, see you soon
1 Like
No
This is an overlay to cover up the bottom of the needle. You only need to use is if the bottom of the needle extends the bottom on the indicator.
Not needed:
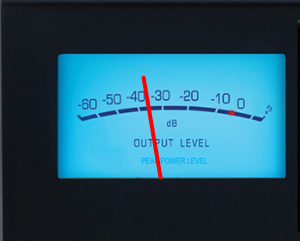
Needed:
ok let’s go step by step:
points 1, 2 and 3 all clear, size 1920x1080, but the resolution of the image I have is 300px/inch
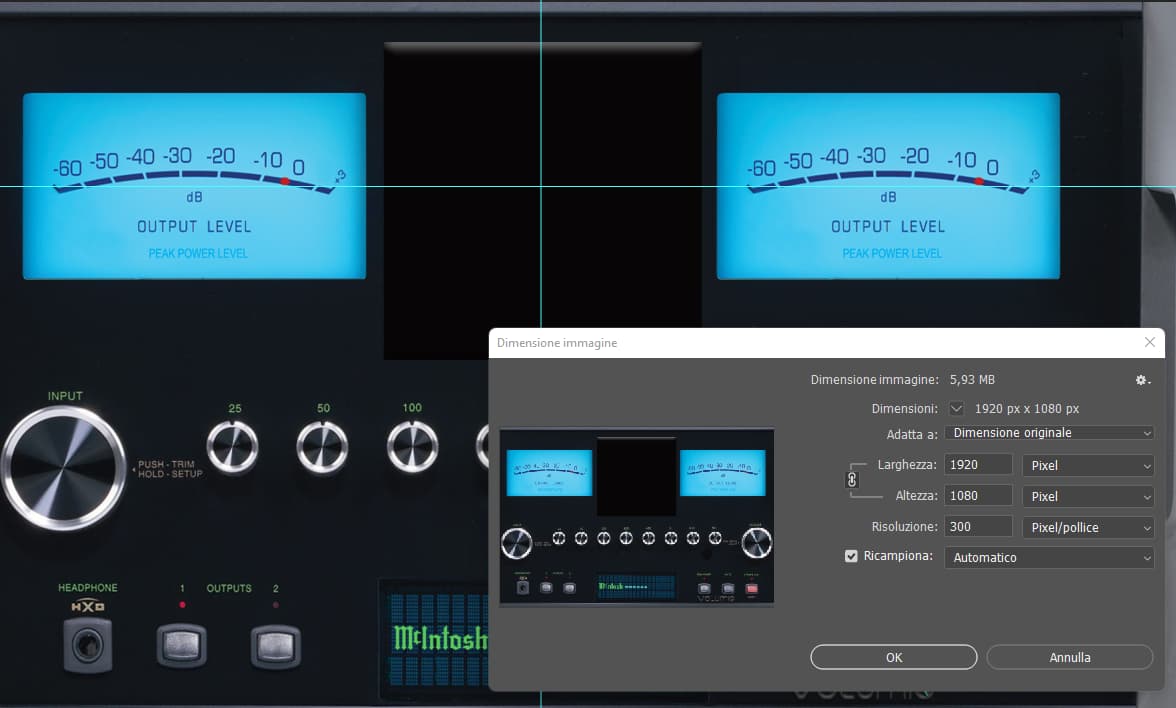
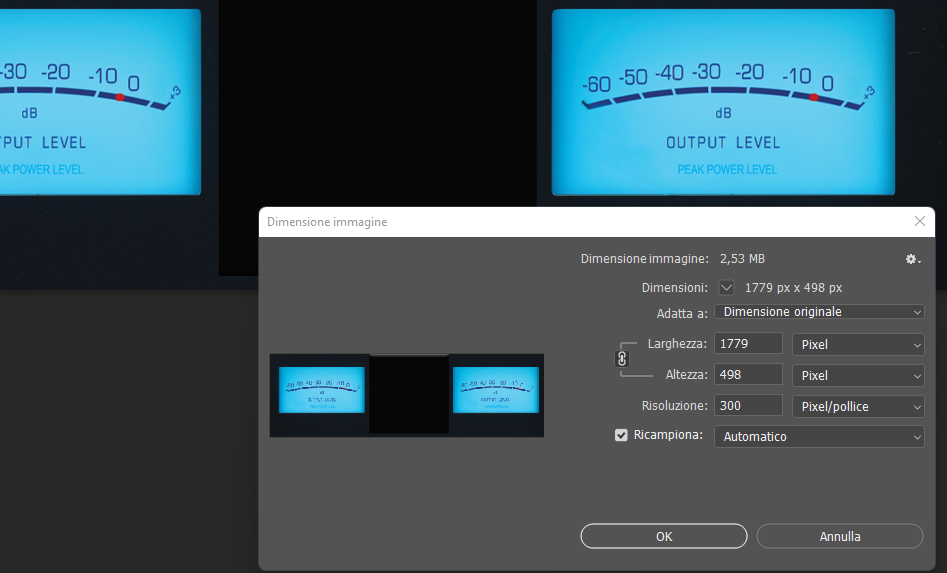
points 4,5 and 6 the indicator image has the same resolution of 300 px but the dimensions are 1779x498, how did you get there? (did you grab a part of the screen.bgr?)
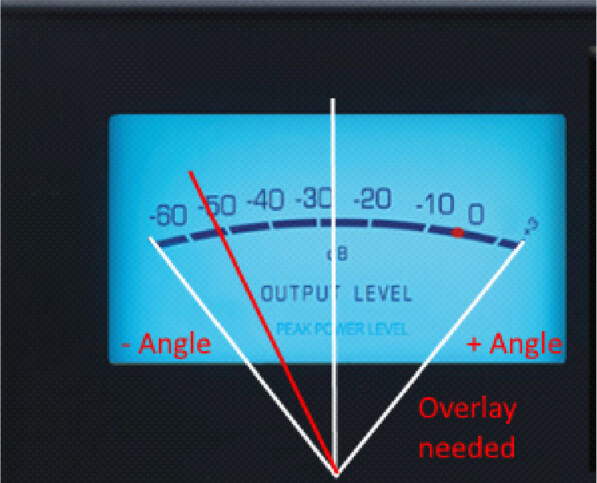
The attention note of point 5 applies if the indicators are for example in the lower part of the image, where it is necessary to indicate the x and y coordinates, right?
point 7 this image, the same size as the previous one but with little texture, must cover part of the indicators: WHY? (why isn’t the hedged part necessary?) to be a realistic indicator and cover the basis of the indicator?
In the meantime, I continue to catalog 
Thanks bye
I think it’s time you start playing around with it. Just do some trail and error based discovery 