Hello All-
I am new to the Volumio community, but have been using Volumio for a while now. Originally I just had a headless Pi running the software and connected to my network/DAC and running into my stereo equipment.
Then after reading through this forum and looking at all the awesome builds, I decided to try my hand at it. Although I feal that mine is really no where near what others have done (they all look so professional), I did have fun building it and I do enjoy looking at it while listing to music.
Here is my parts list with links to where I purchased incase others are interested
Amazon:
Teninyu 2 Ports Dual USB 2.0 Male to USB 2.0 Female (3FT) – (1ea)
Batige 2 Ports Dual USB 3.0 Male to USB 3.0 Female (3FT) – (1ea)
PiShop:
1201 Official Raspberry Pi 7” Touch Screen Display with 10 finger Capacitive Touch (1ea)
Adafruit:
[Raspberry Pi 4 Model B – 2GB RAM]
915 Rugged Metal On/Off Switch with Blue LED Ring – 16mm Blue On/off (1ea)
4130 RJ-45 Ethernet Round Panel Mount Adapter Plug (1ea)
5051 Black Anodized Bumper Feet – Pack of 2 (2ea)
4261 USB C Jack to USB C Jack Round Panel Mount Adapter
Bonanza:
(USA) Aluminum 3U 120x300x300 mm. Electronic Enclosure Heat Sink Dust Free DIY
The Build:
Making a stencil for the 7" touch screen:
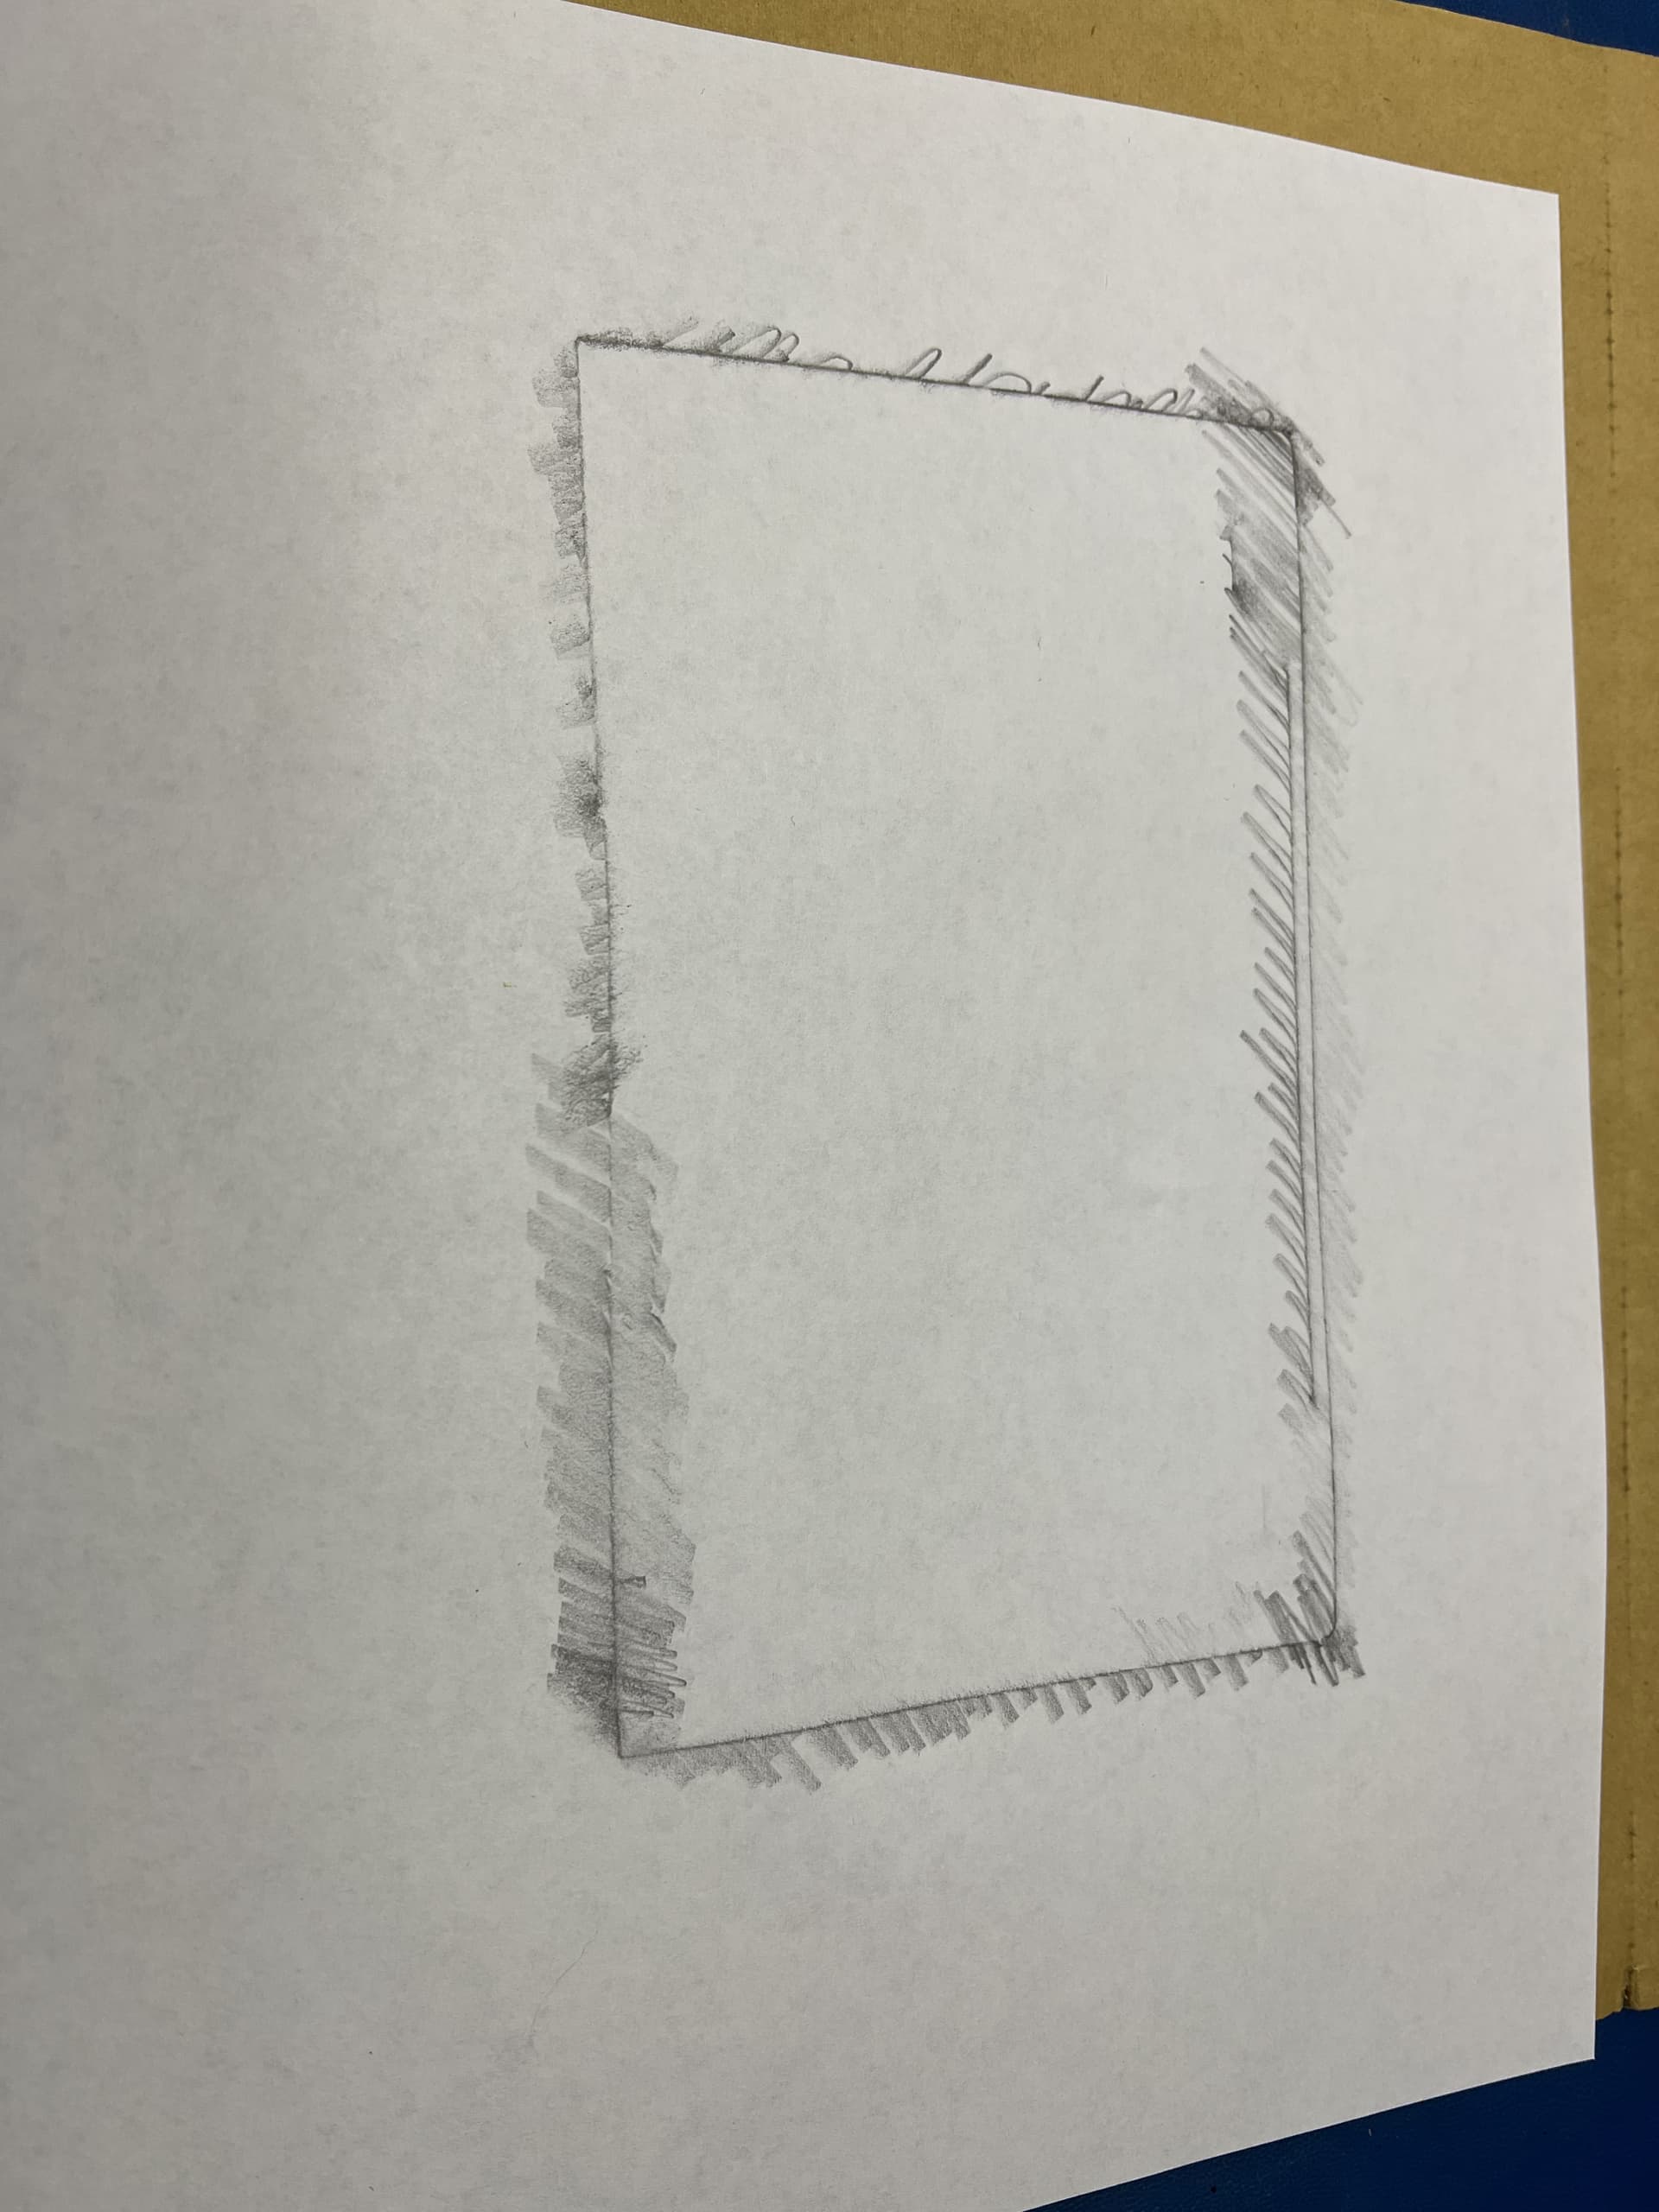
Cutting the stencil out of cardboard:
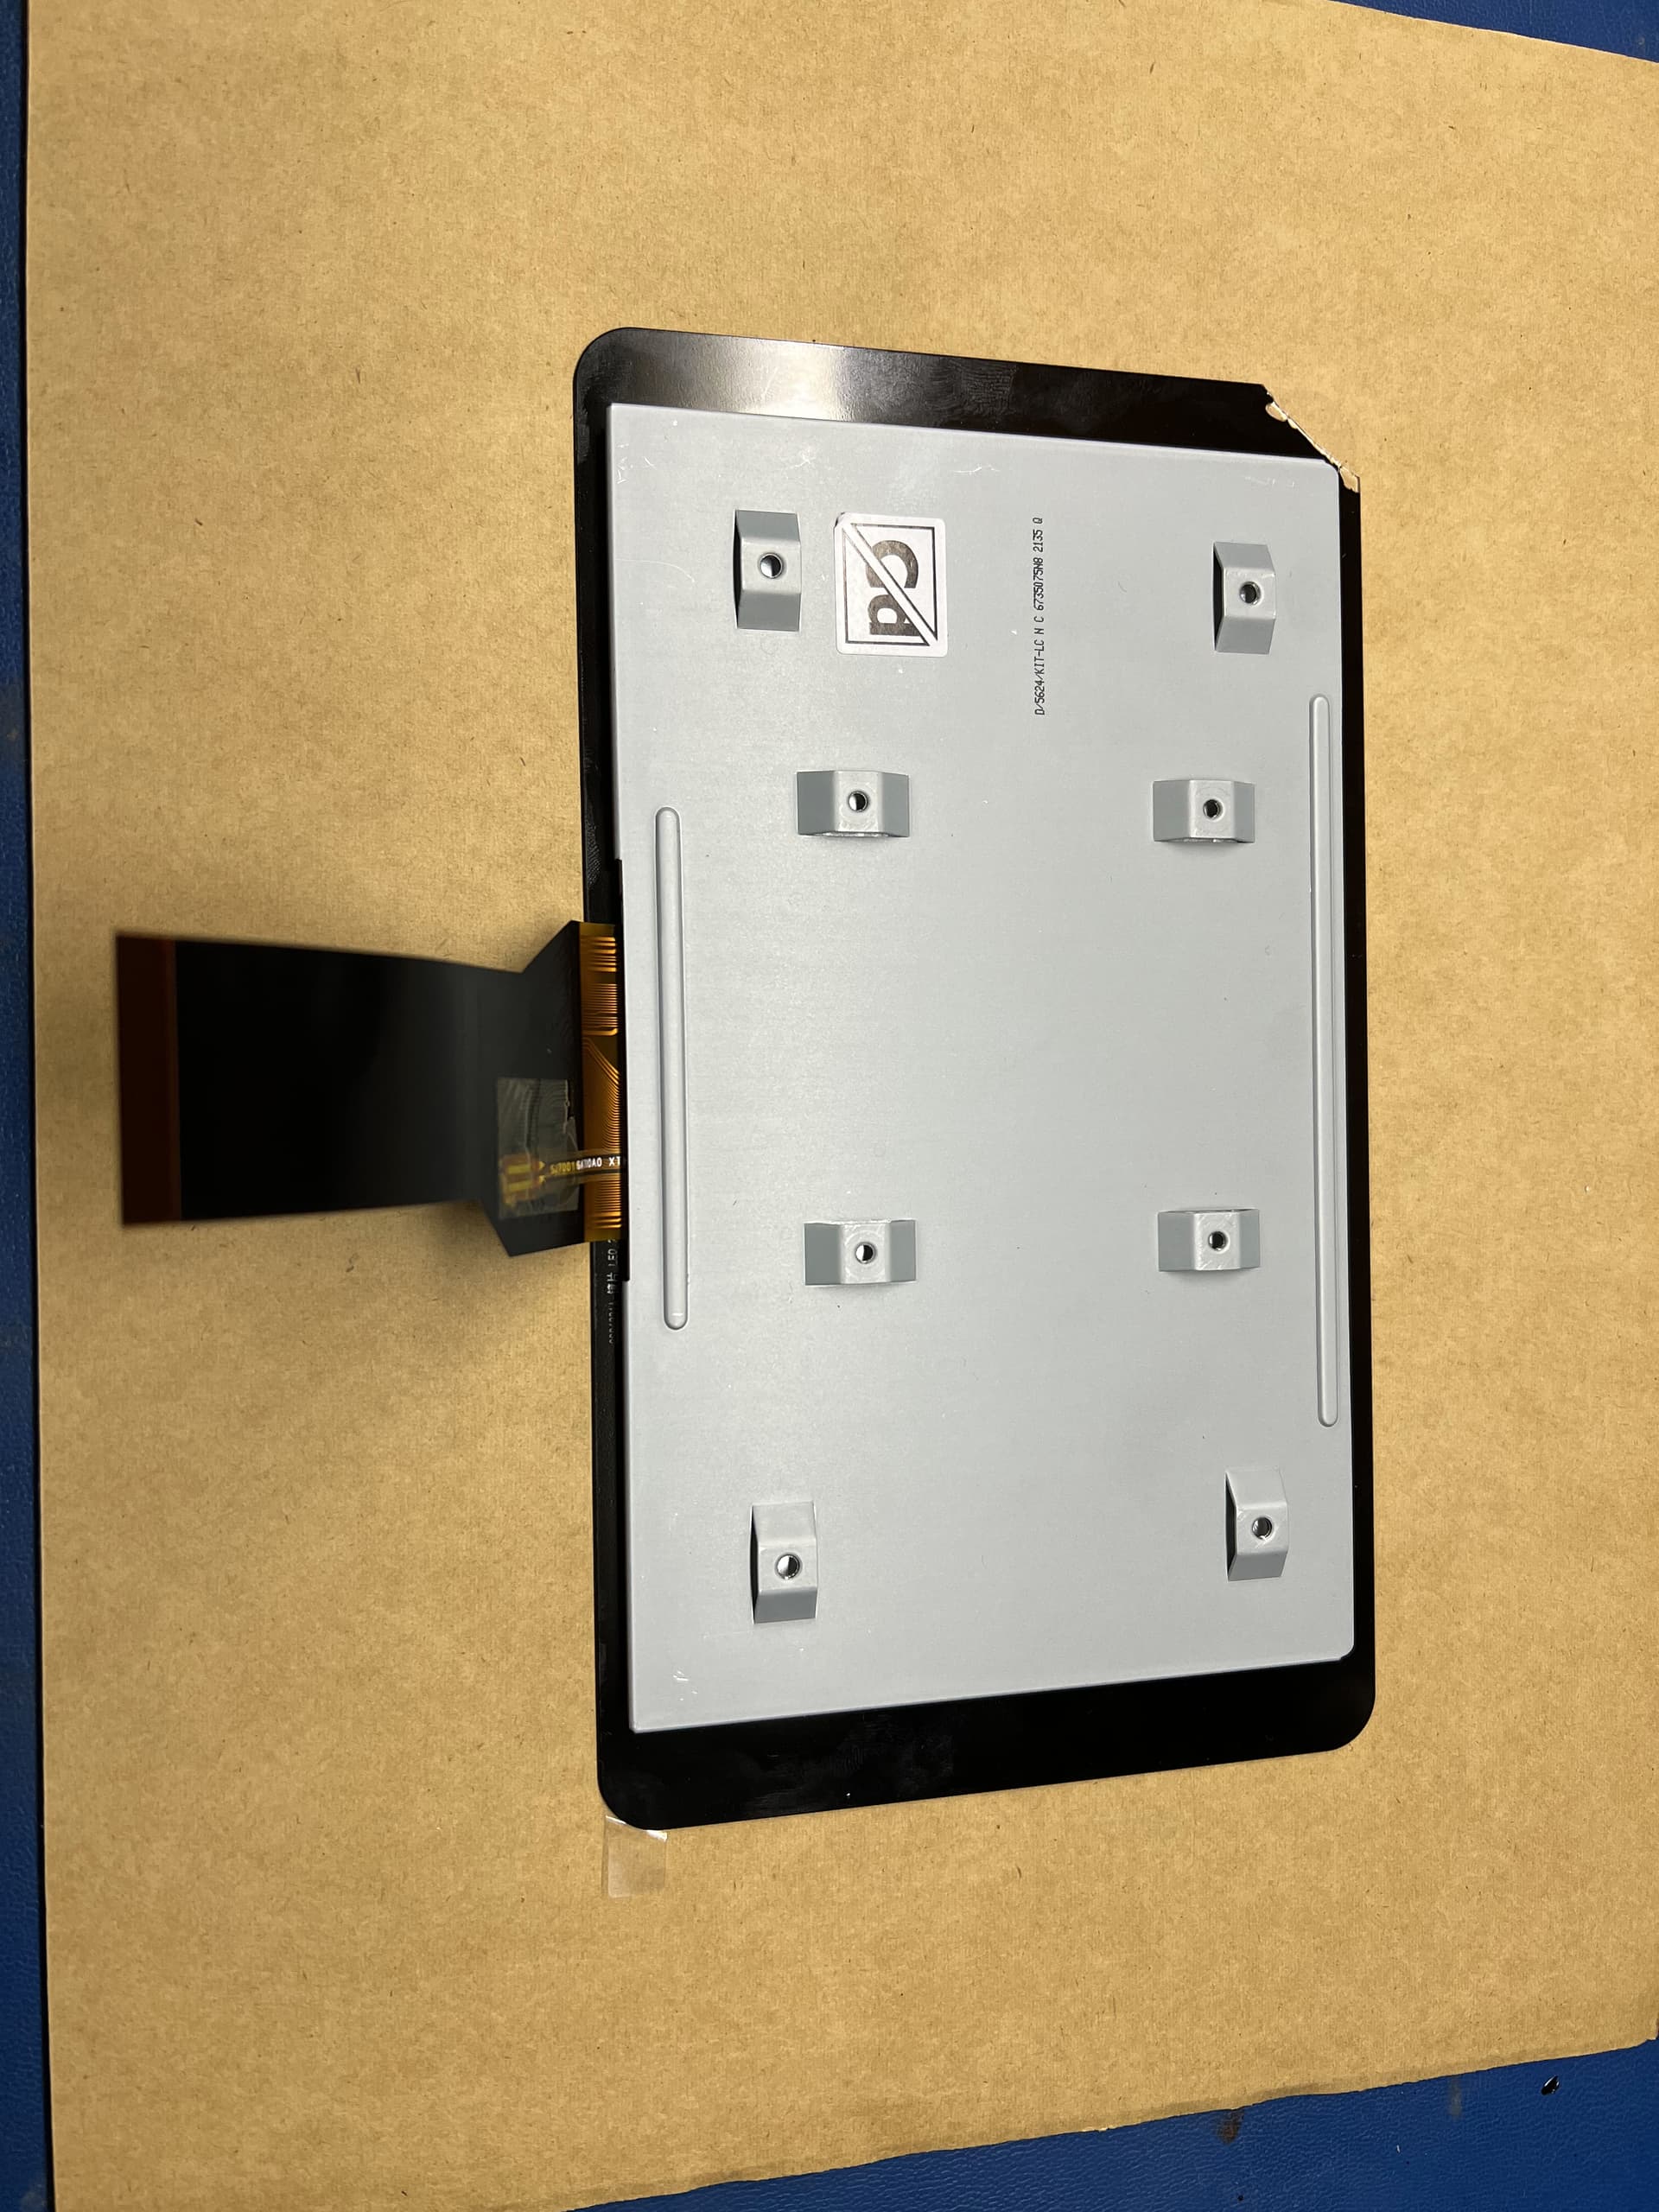
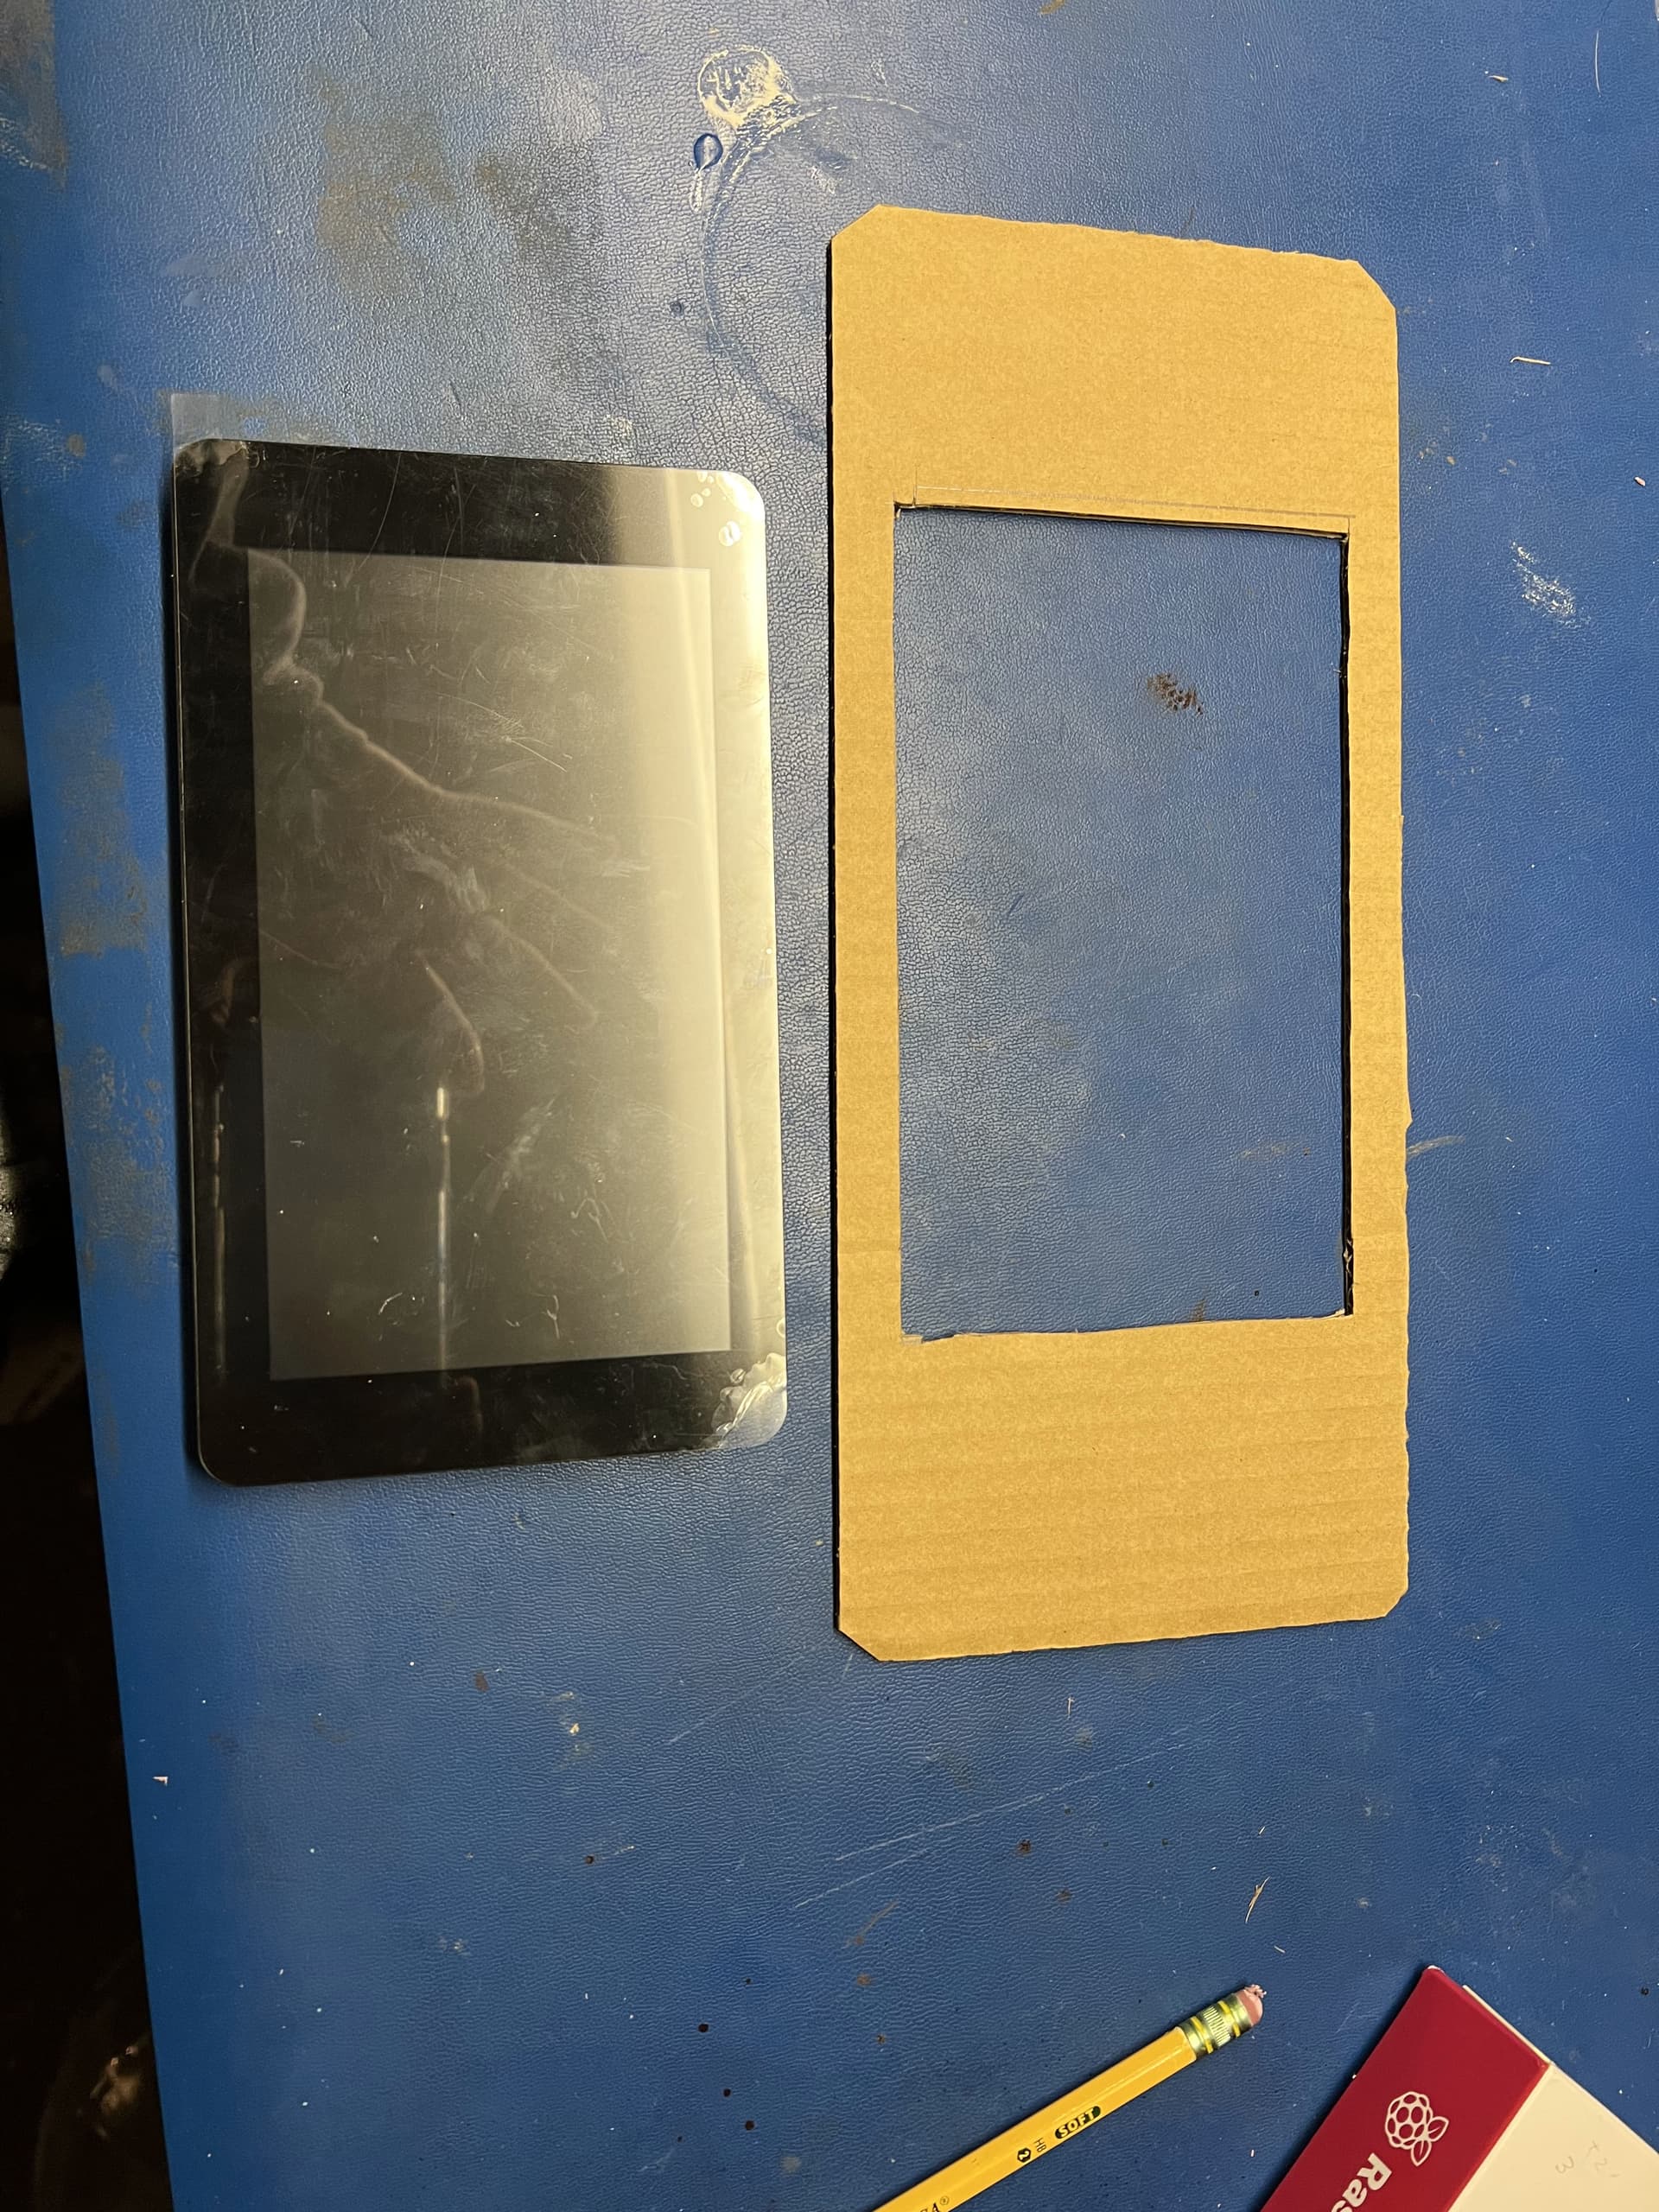
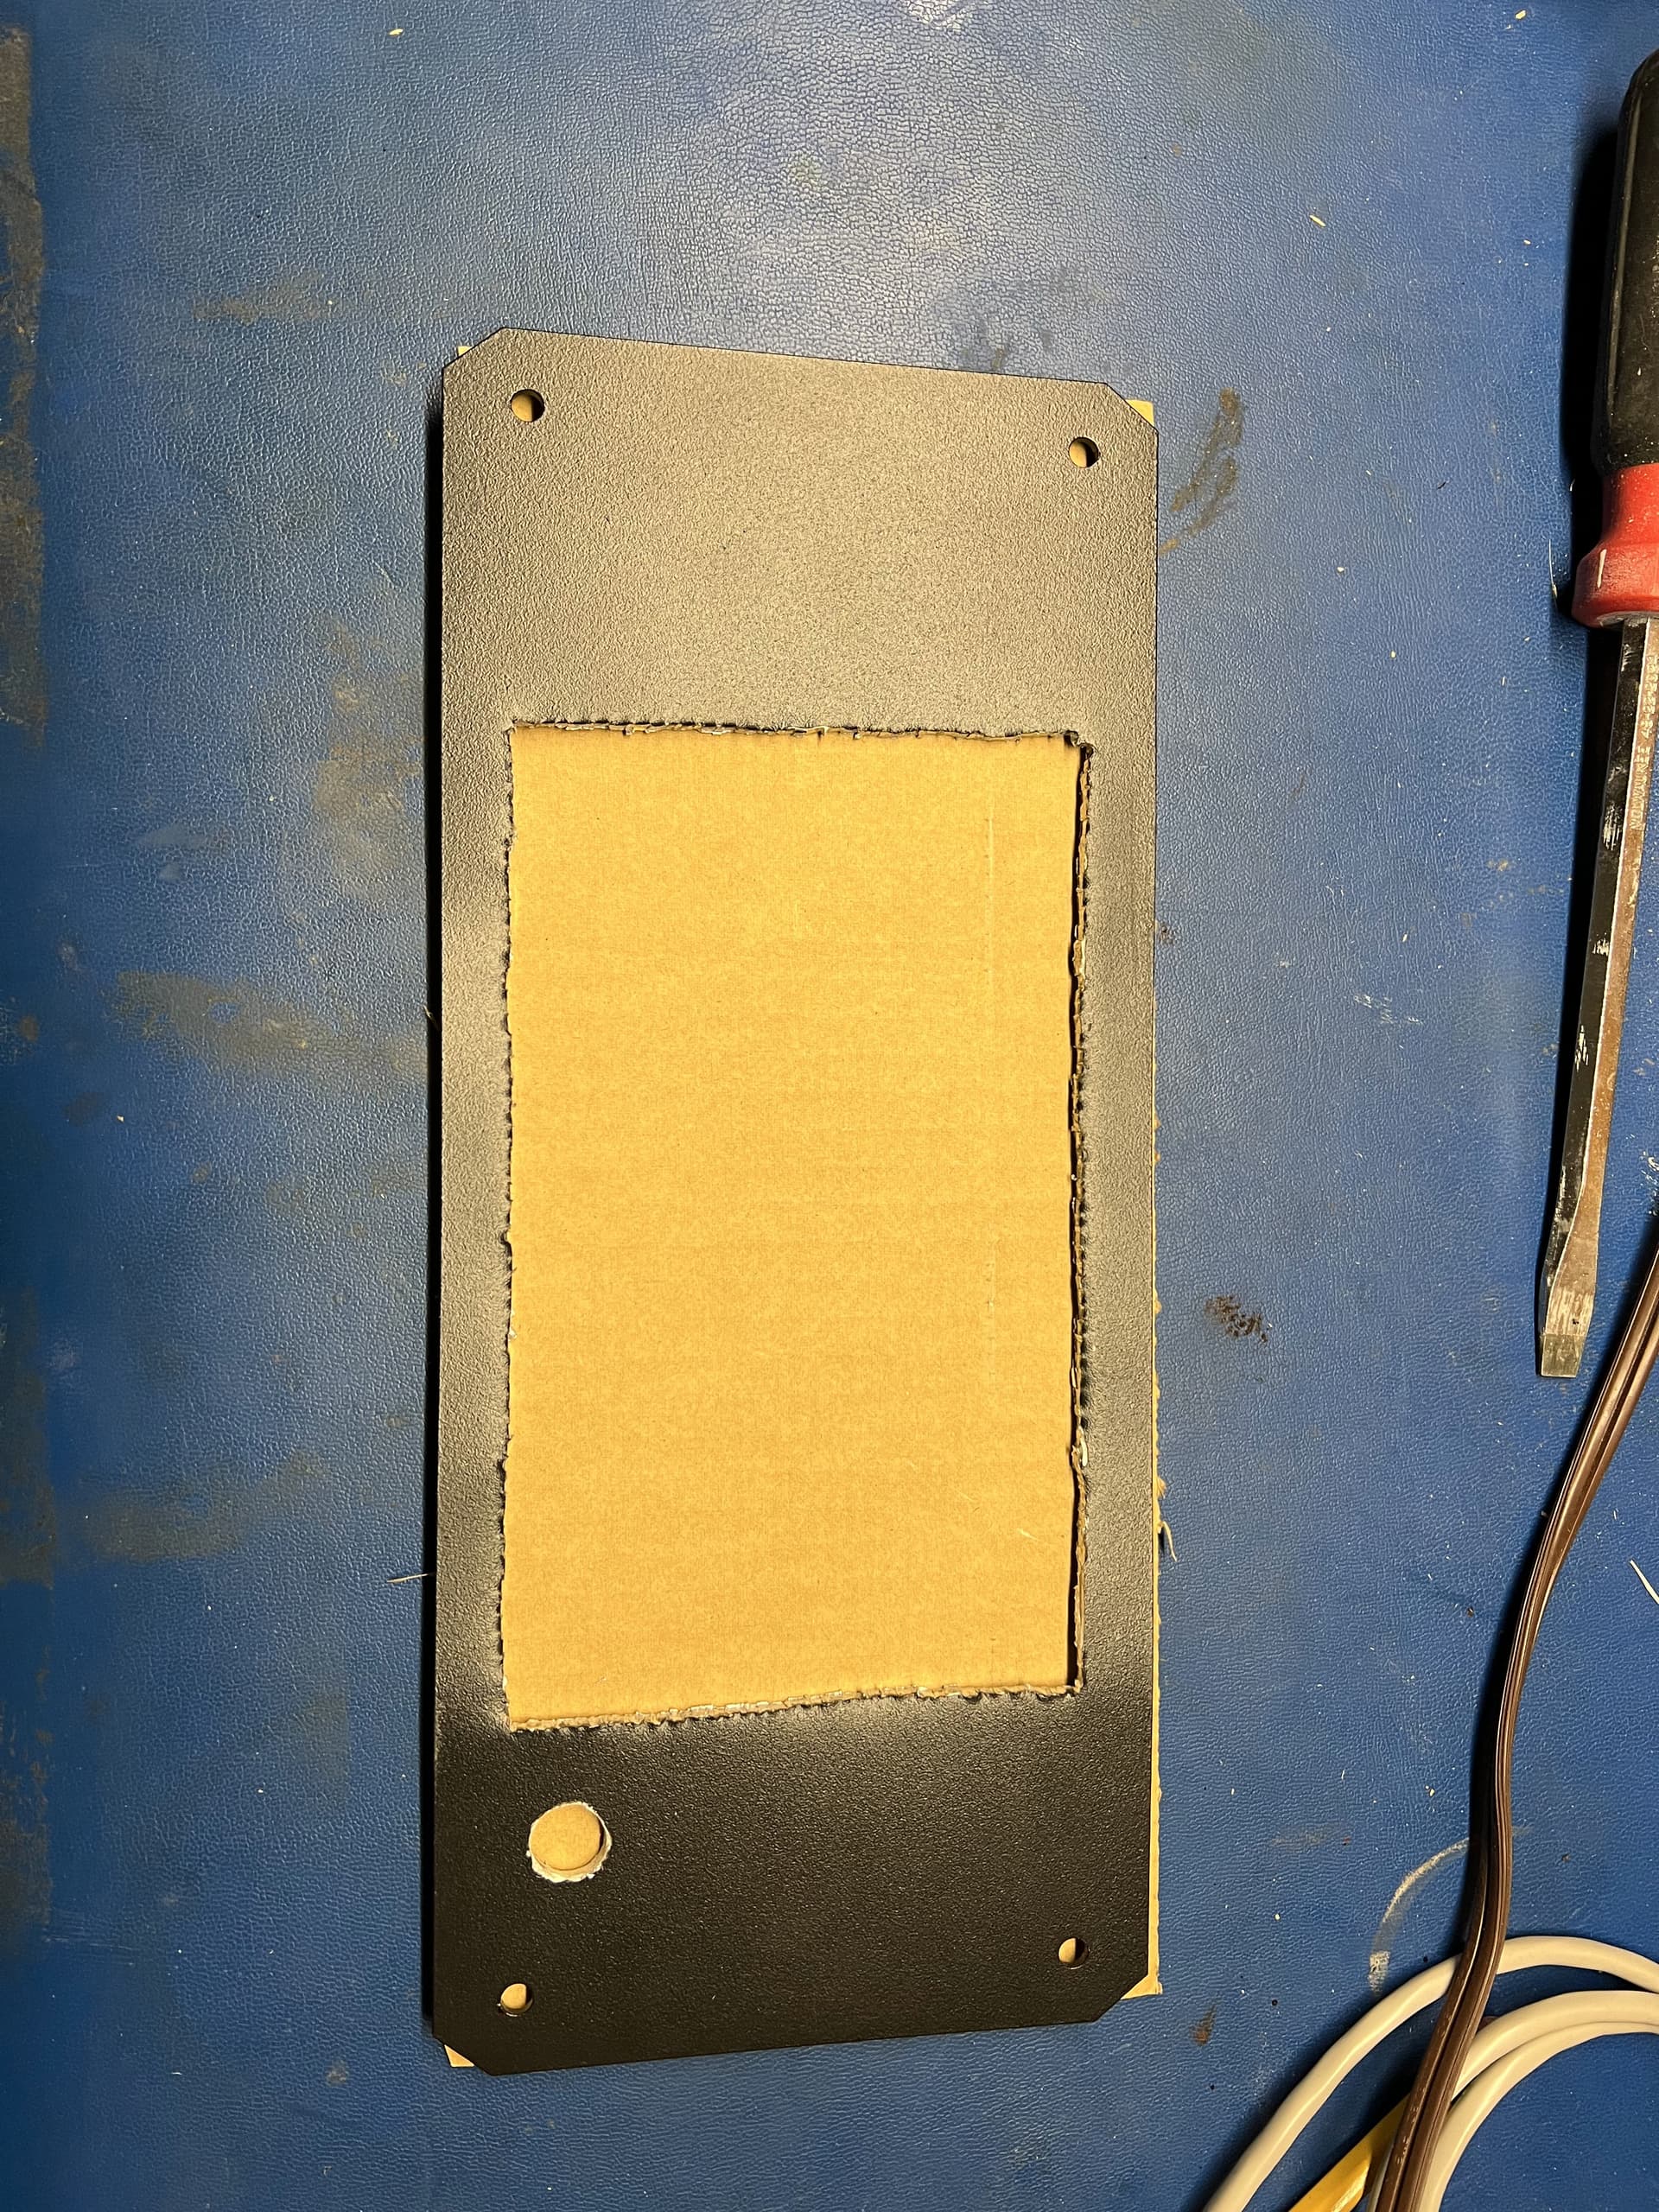
Stencil complete next to touch screen:
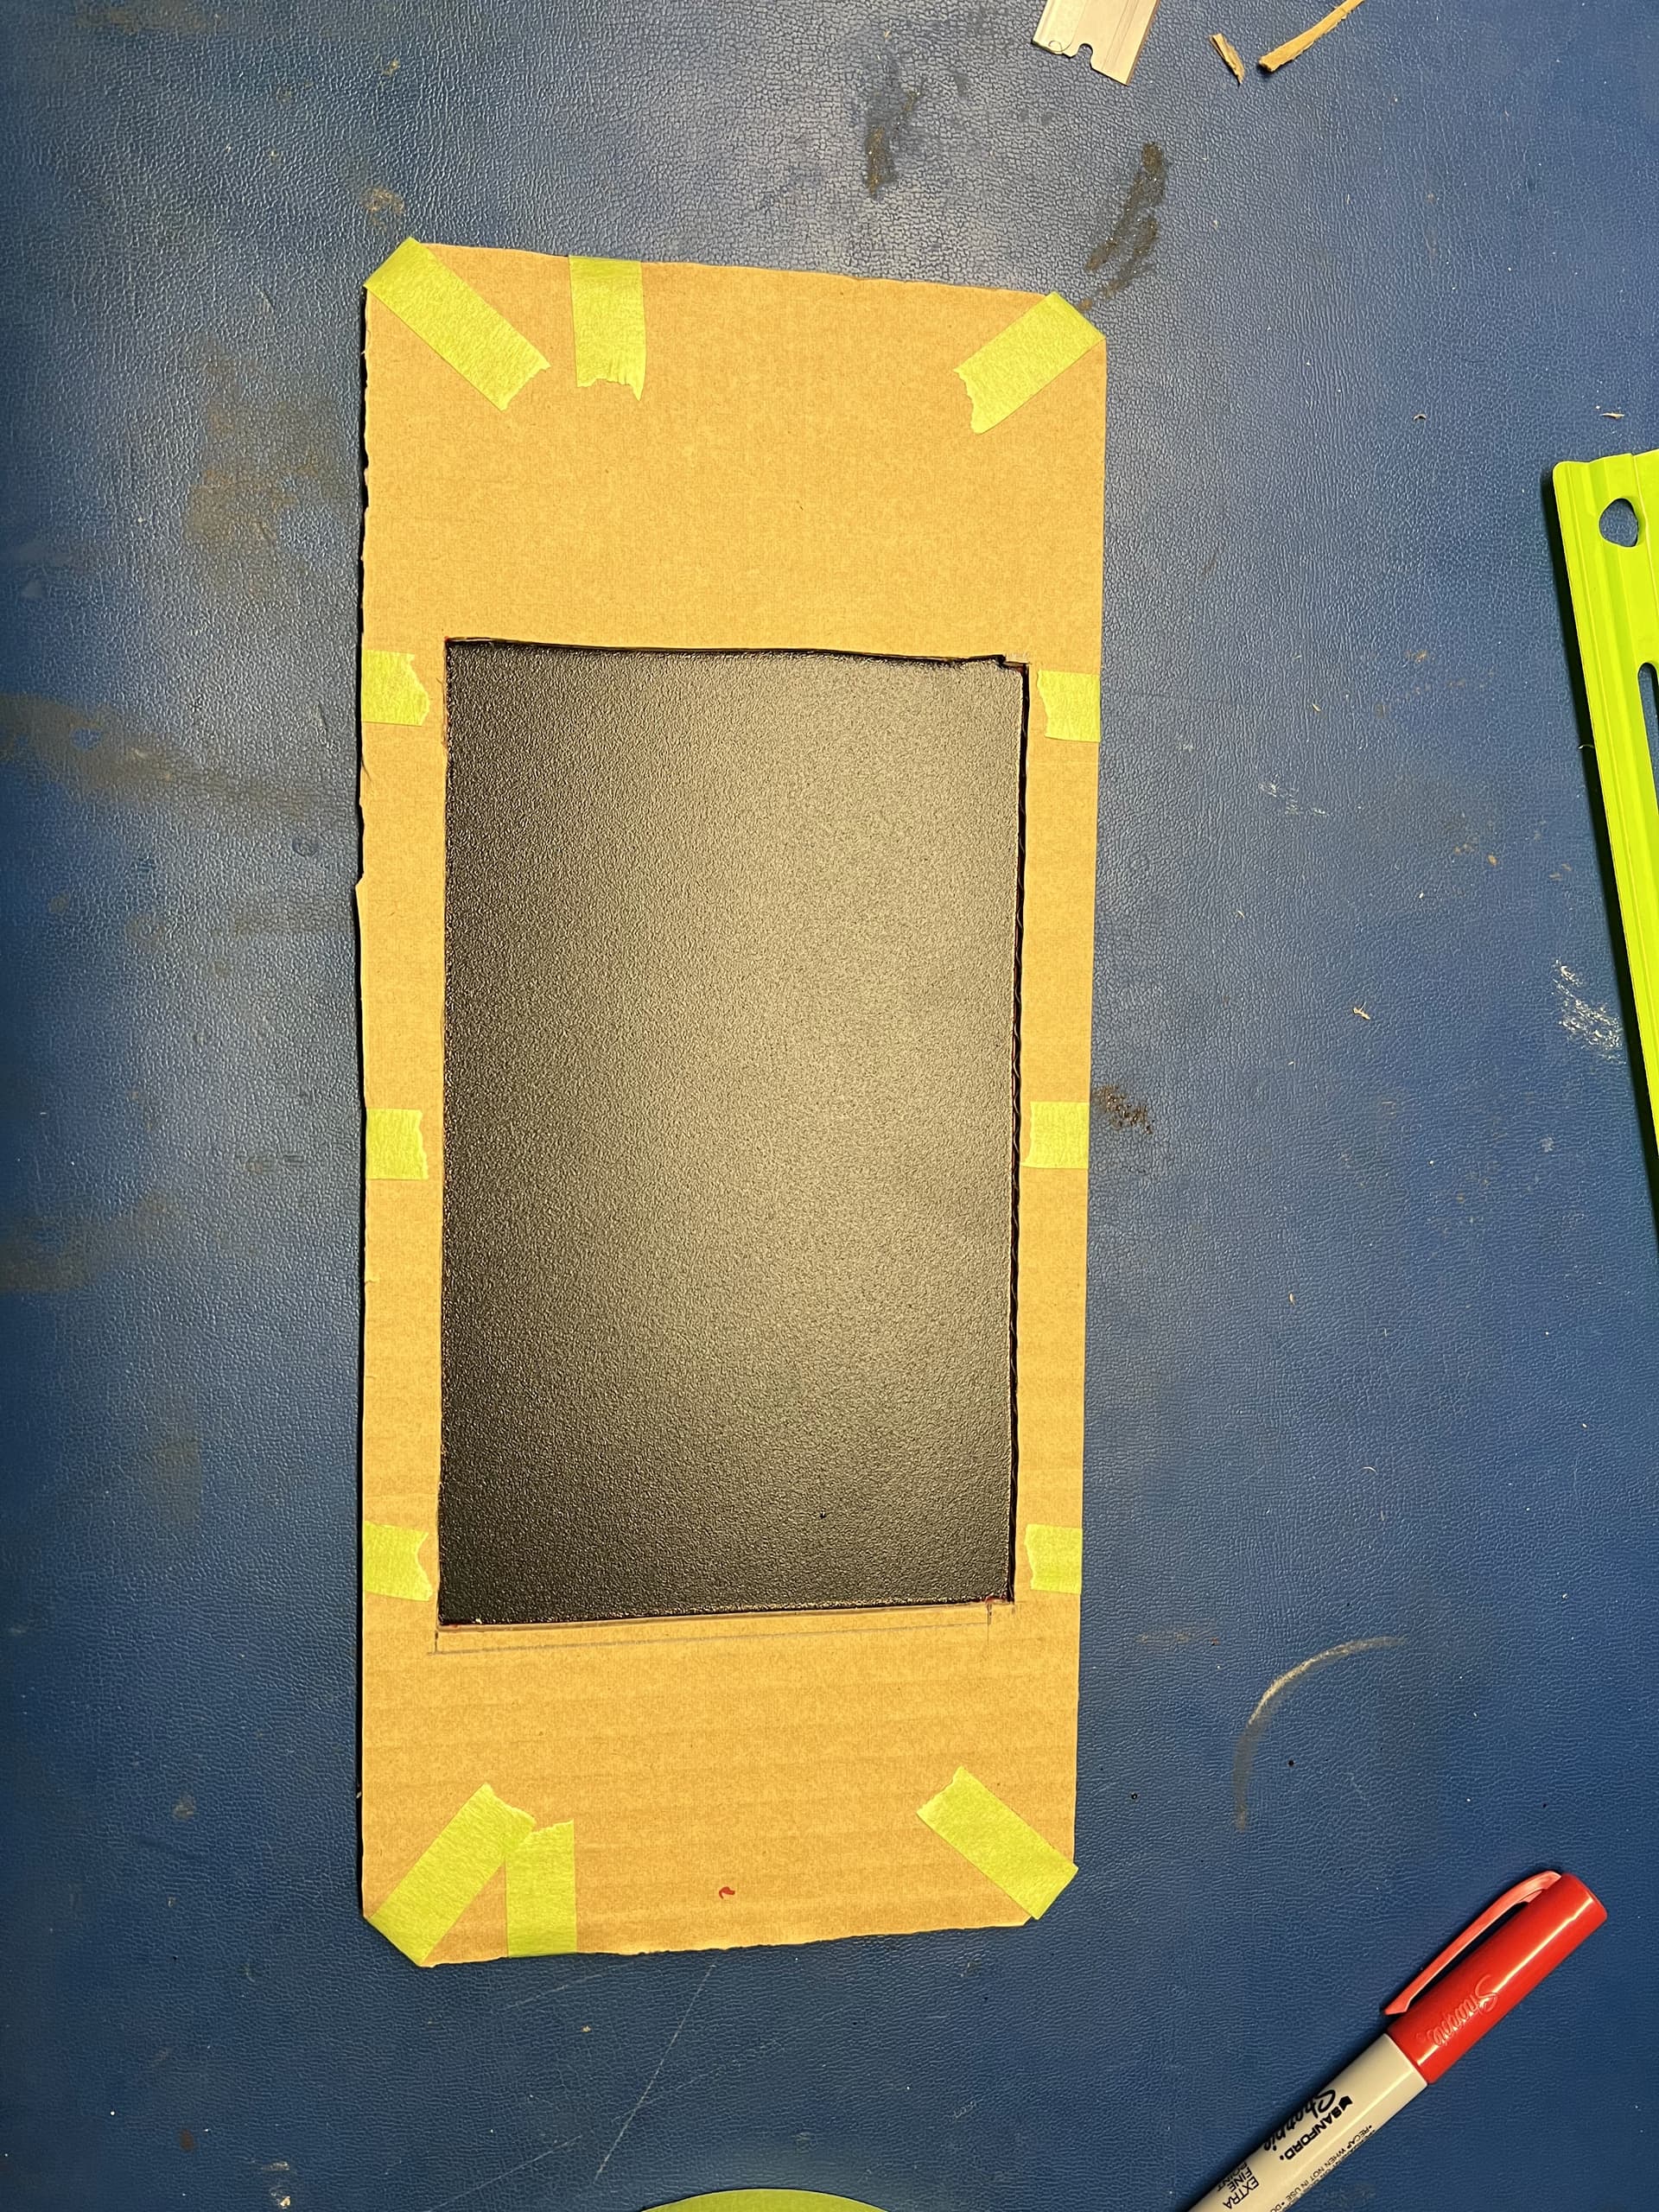
Stencil taped to front metal bracket.
Metal bracket cut for screen to fit. Yes it looks janky, I ended up using a flat head screw driver to punch around the cutout area. My Dremel tool broke and it was late at night.
Adding the metal feet to the bottom of the enclosure:
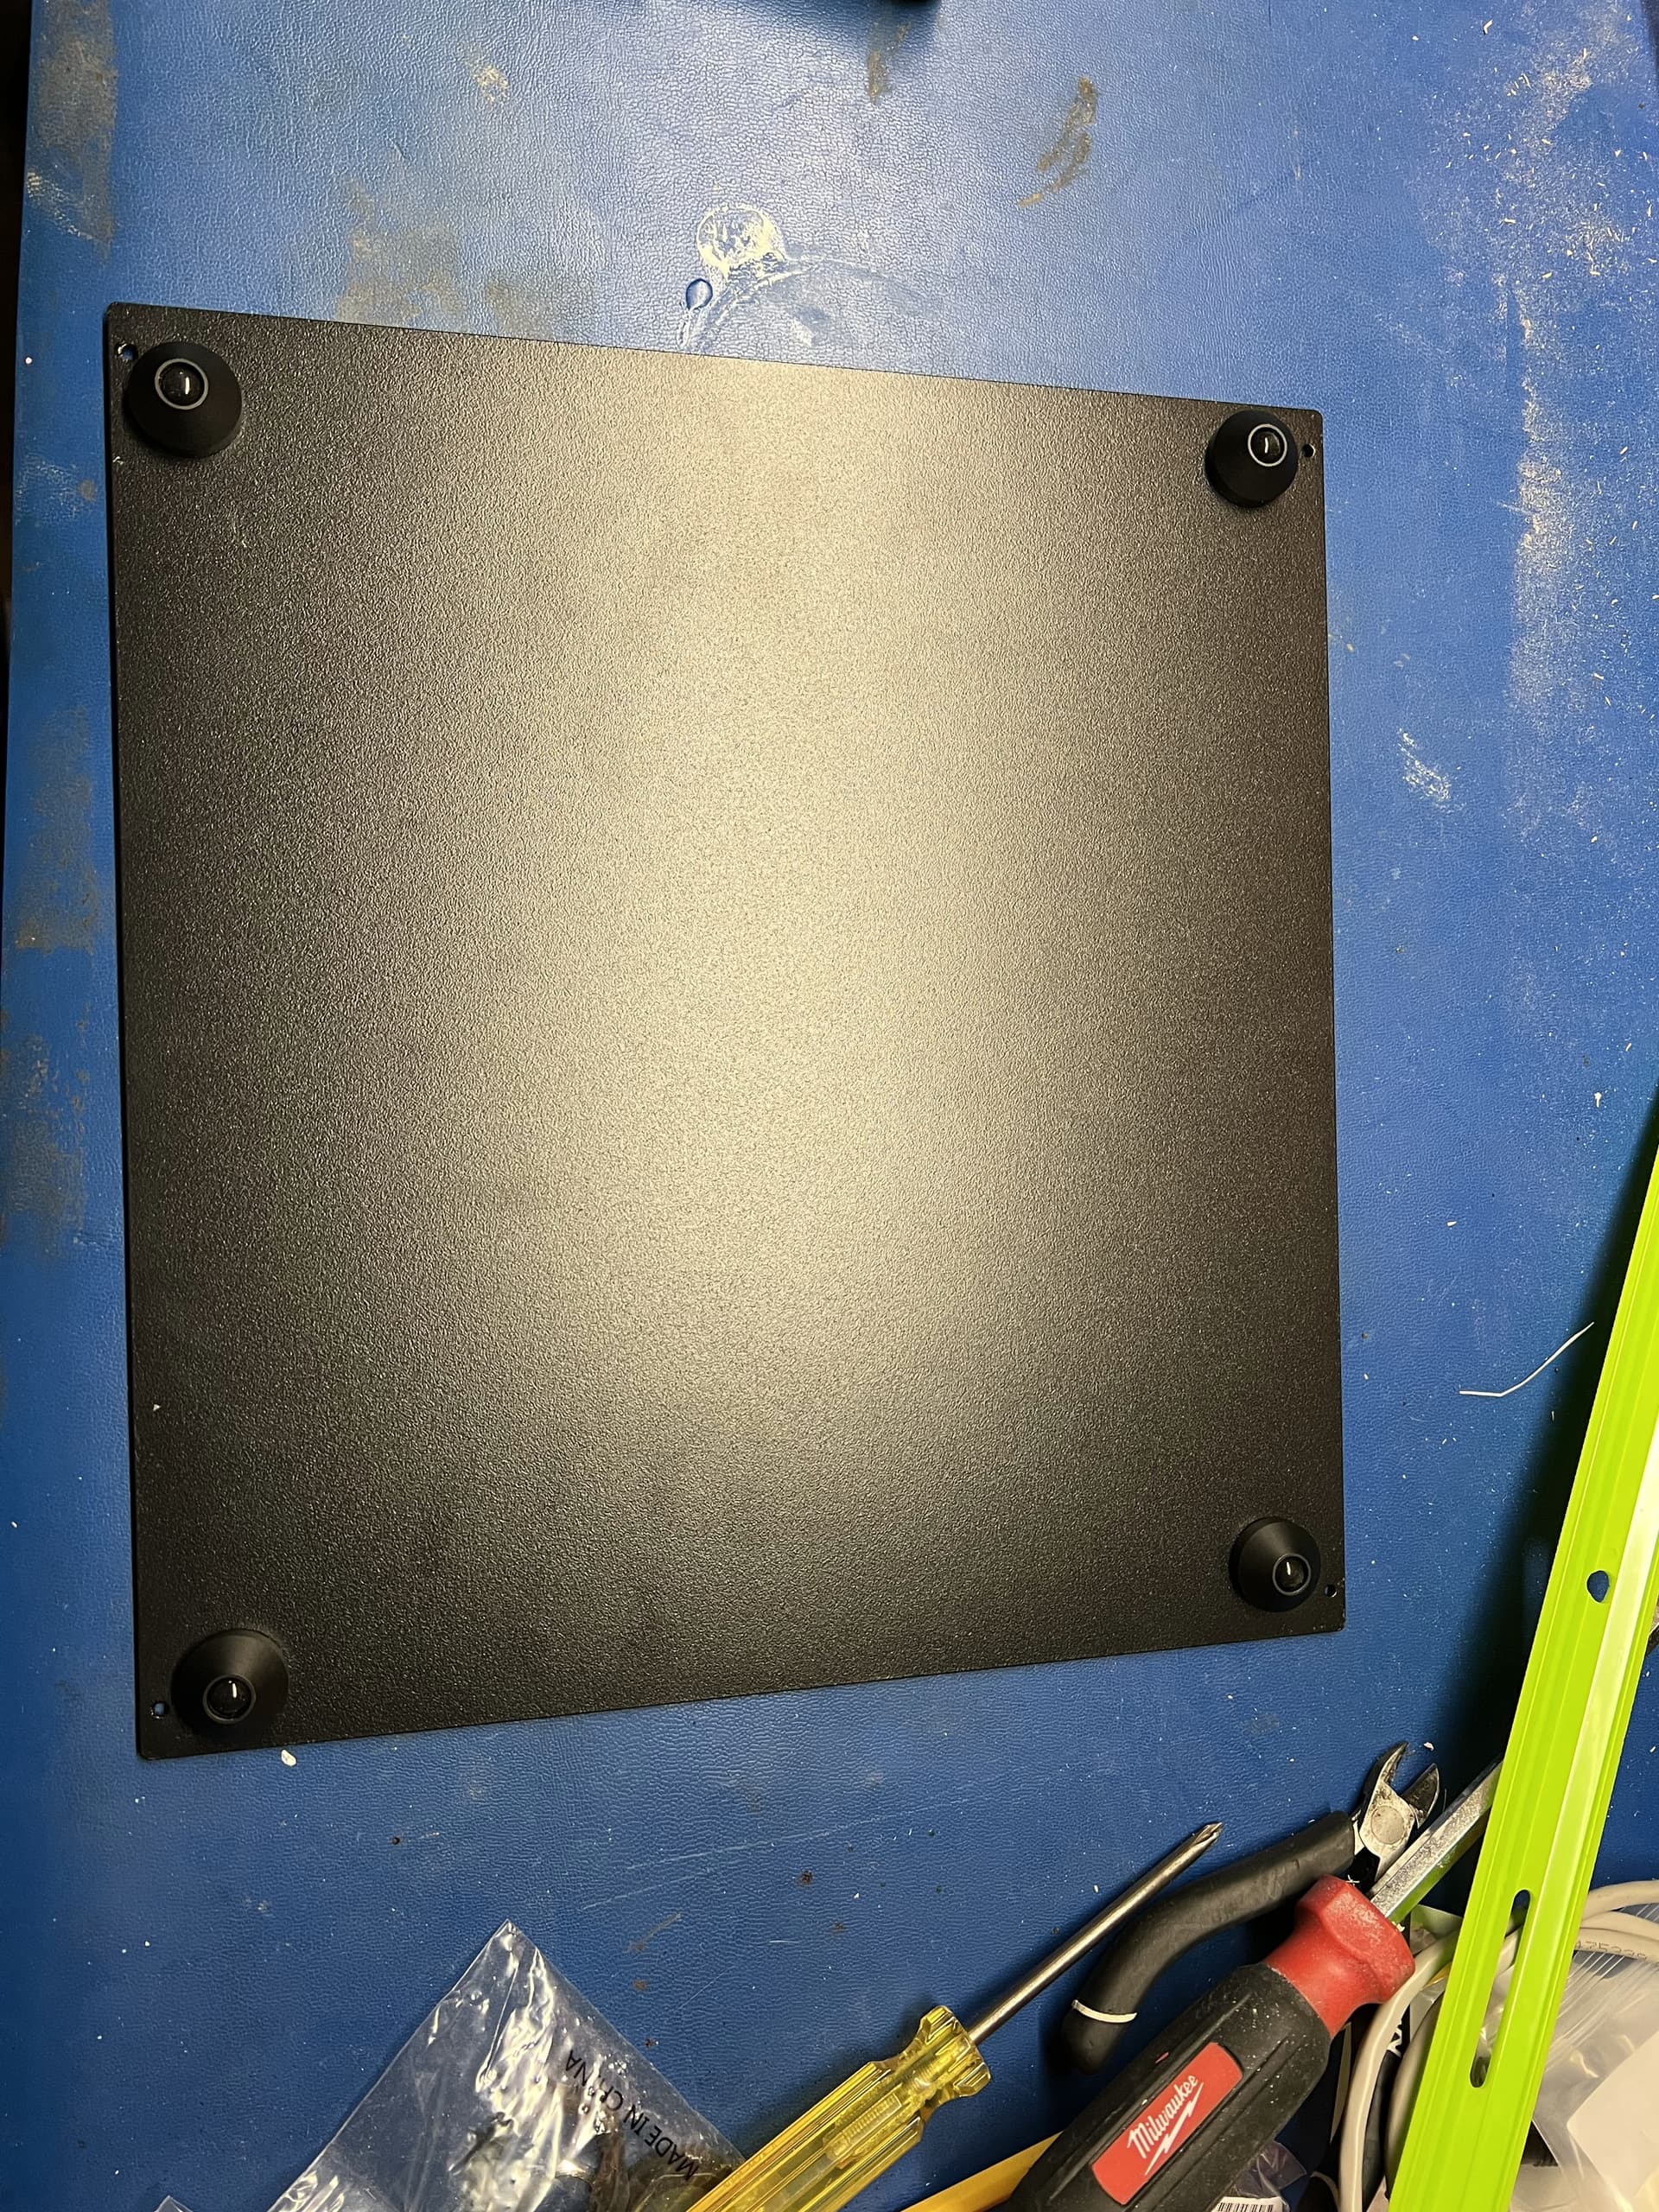
Bottom enclosure flipped to make sure the feet were even:
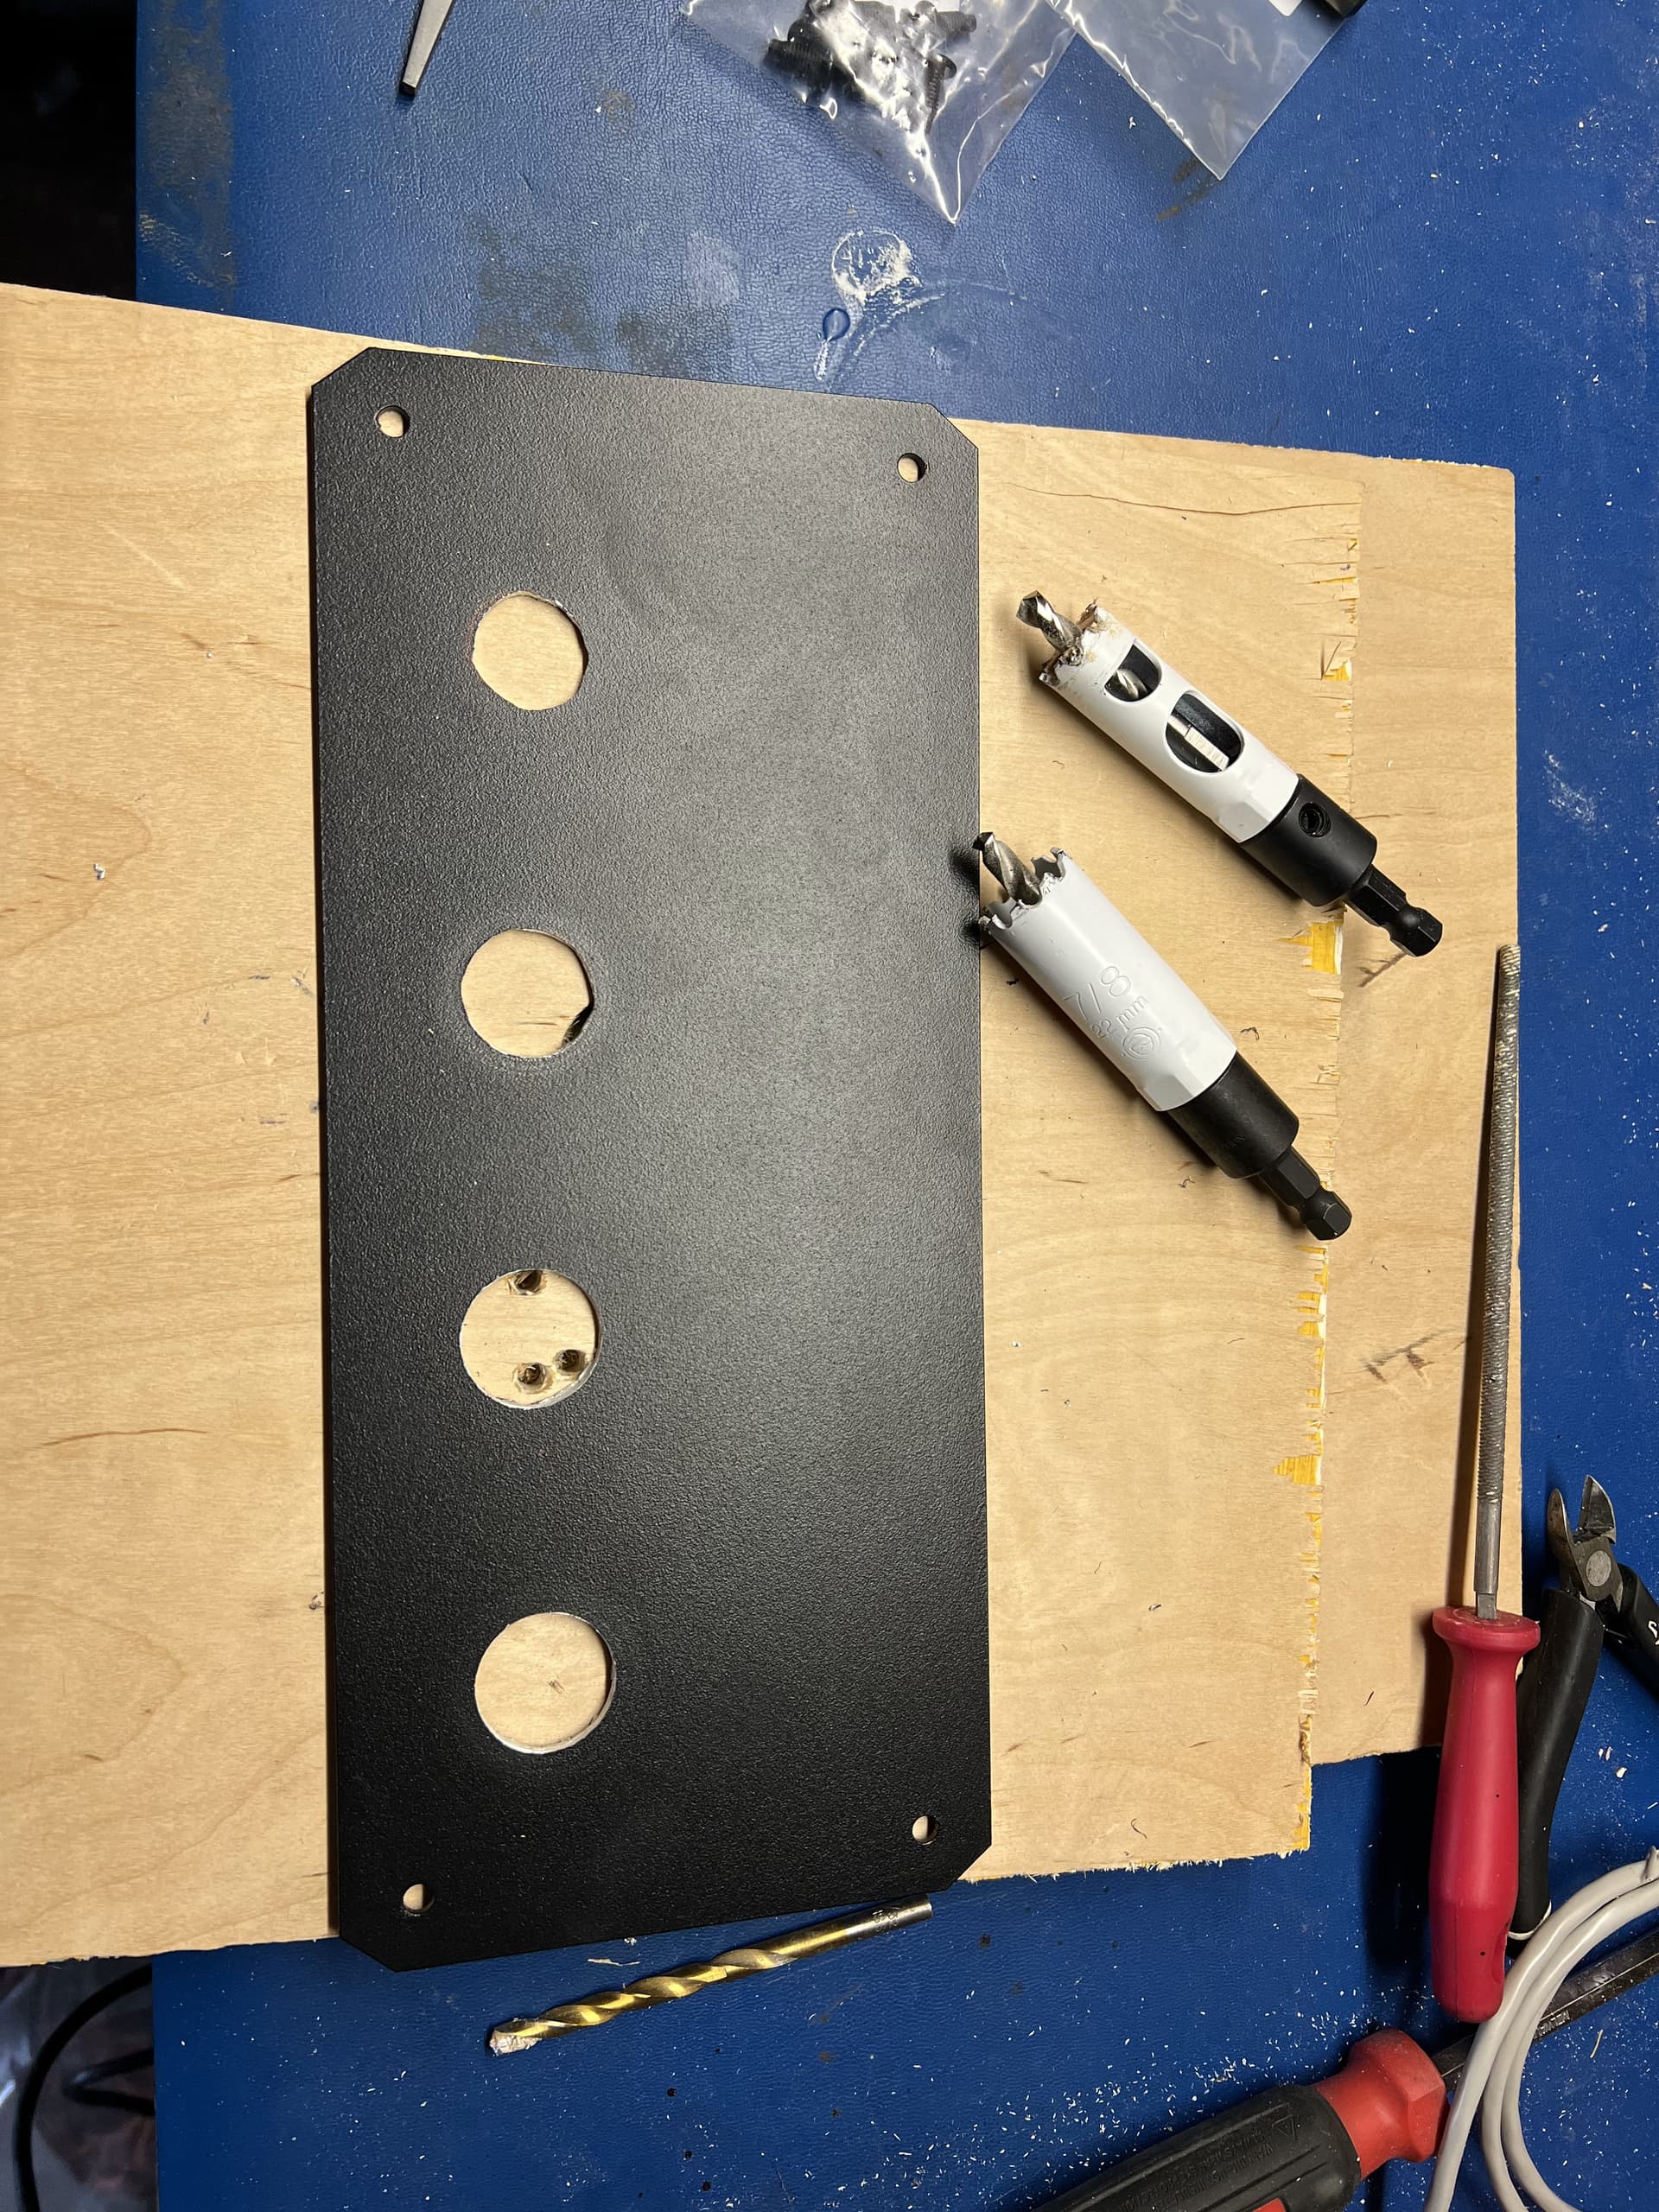
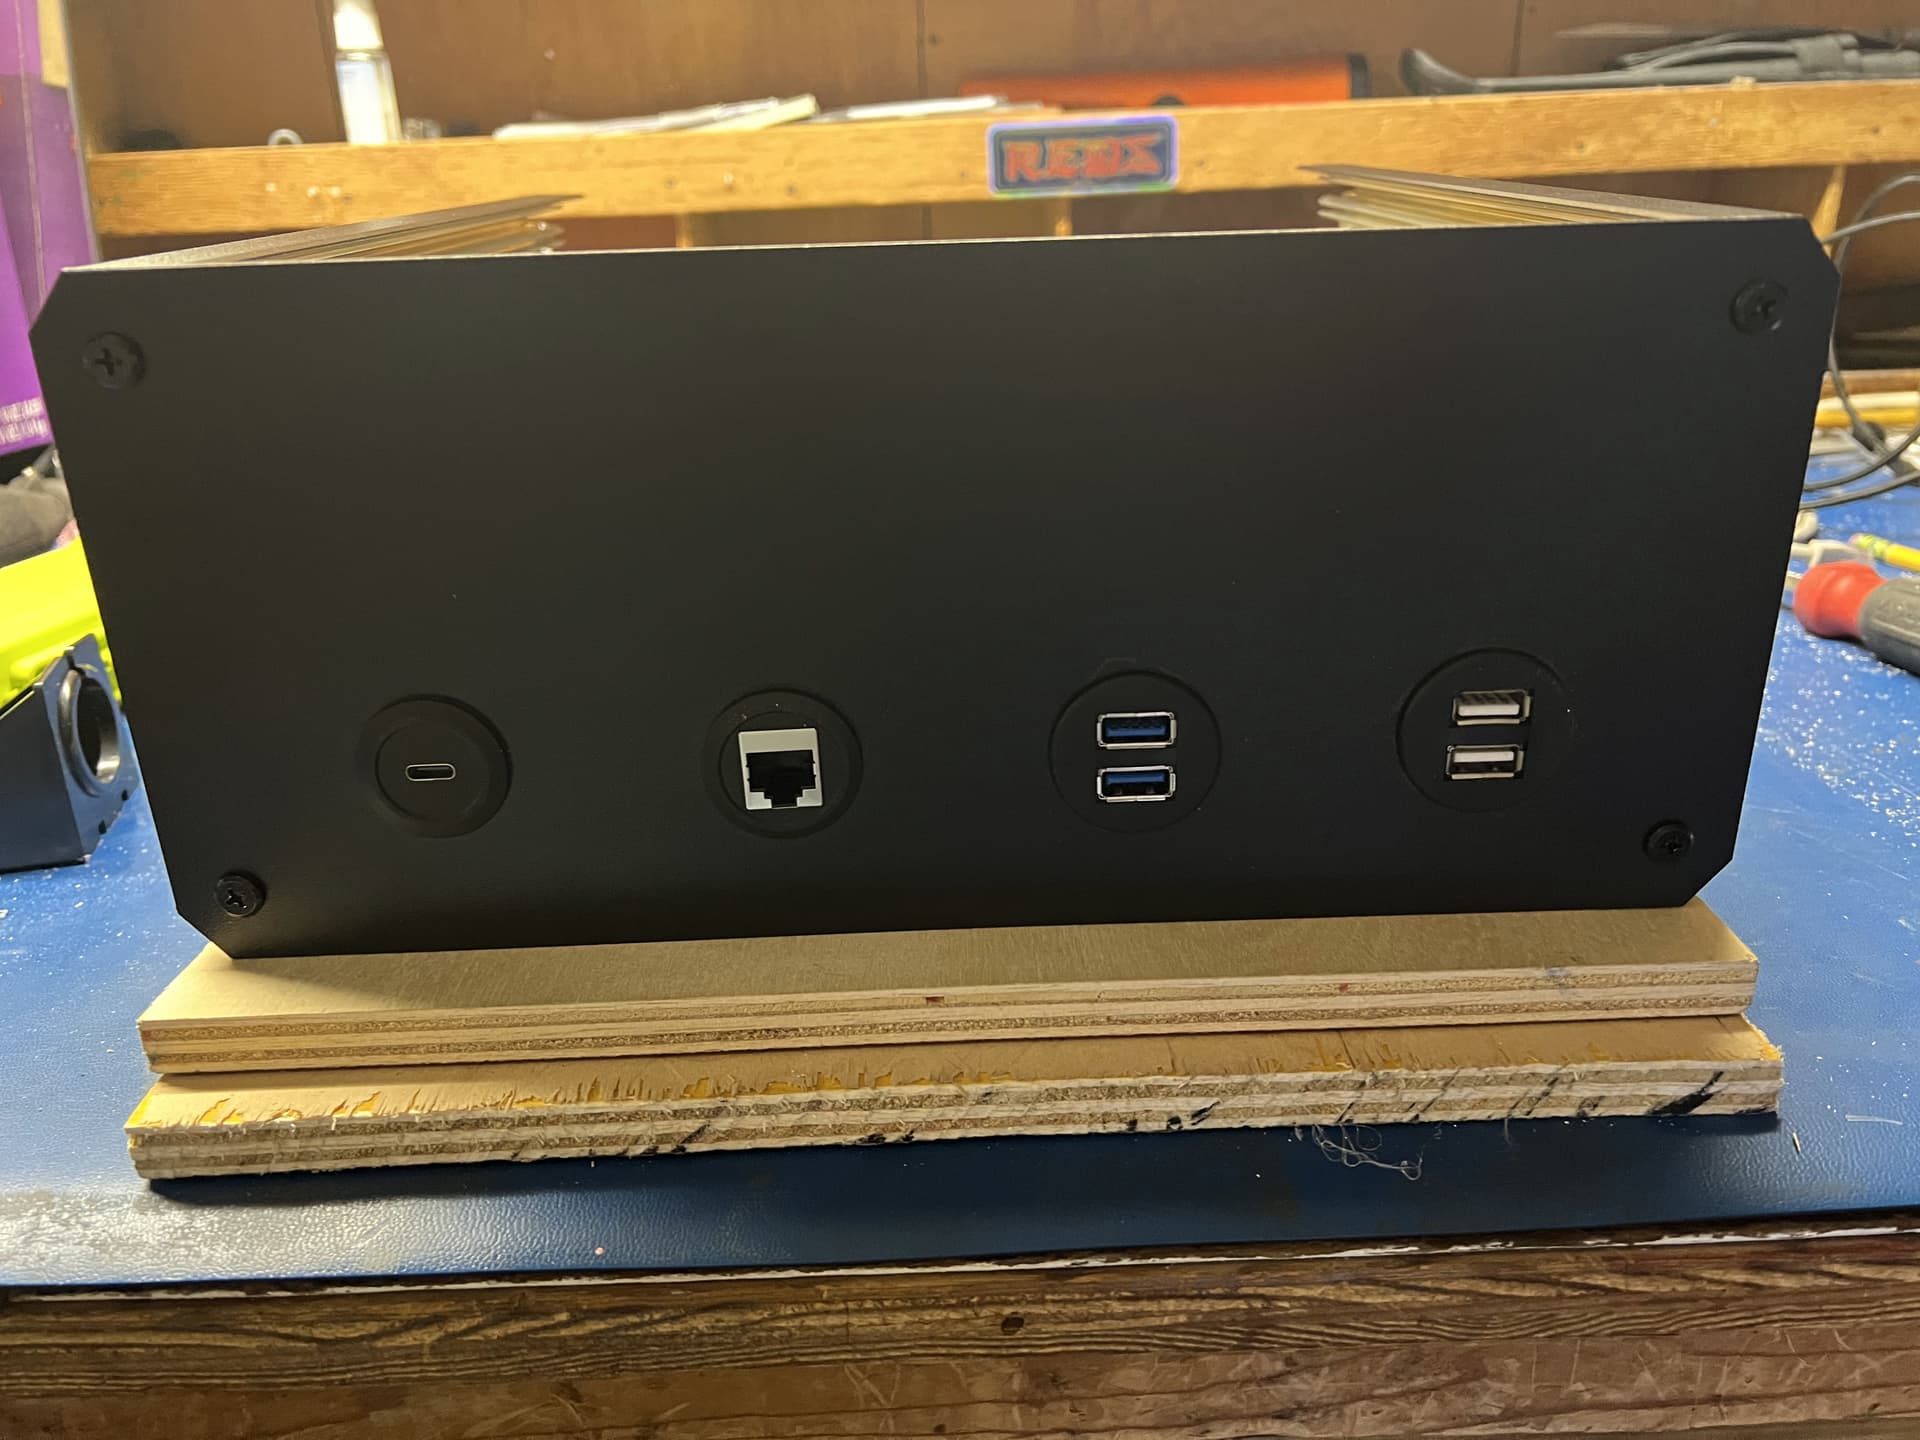
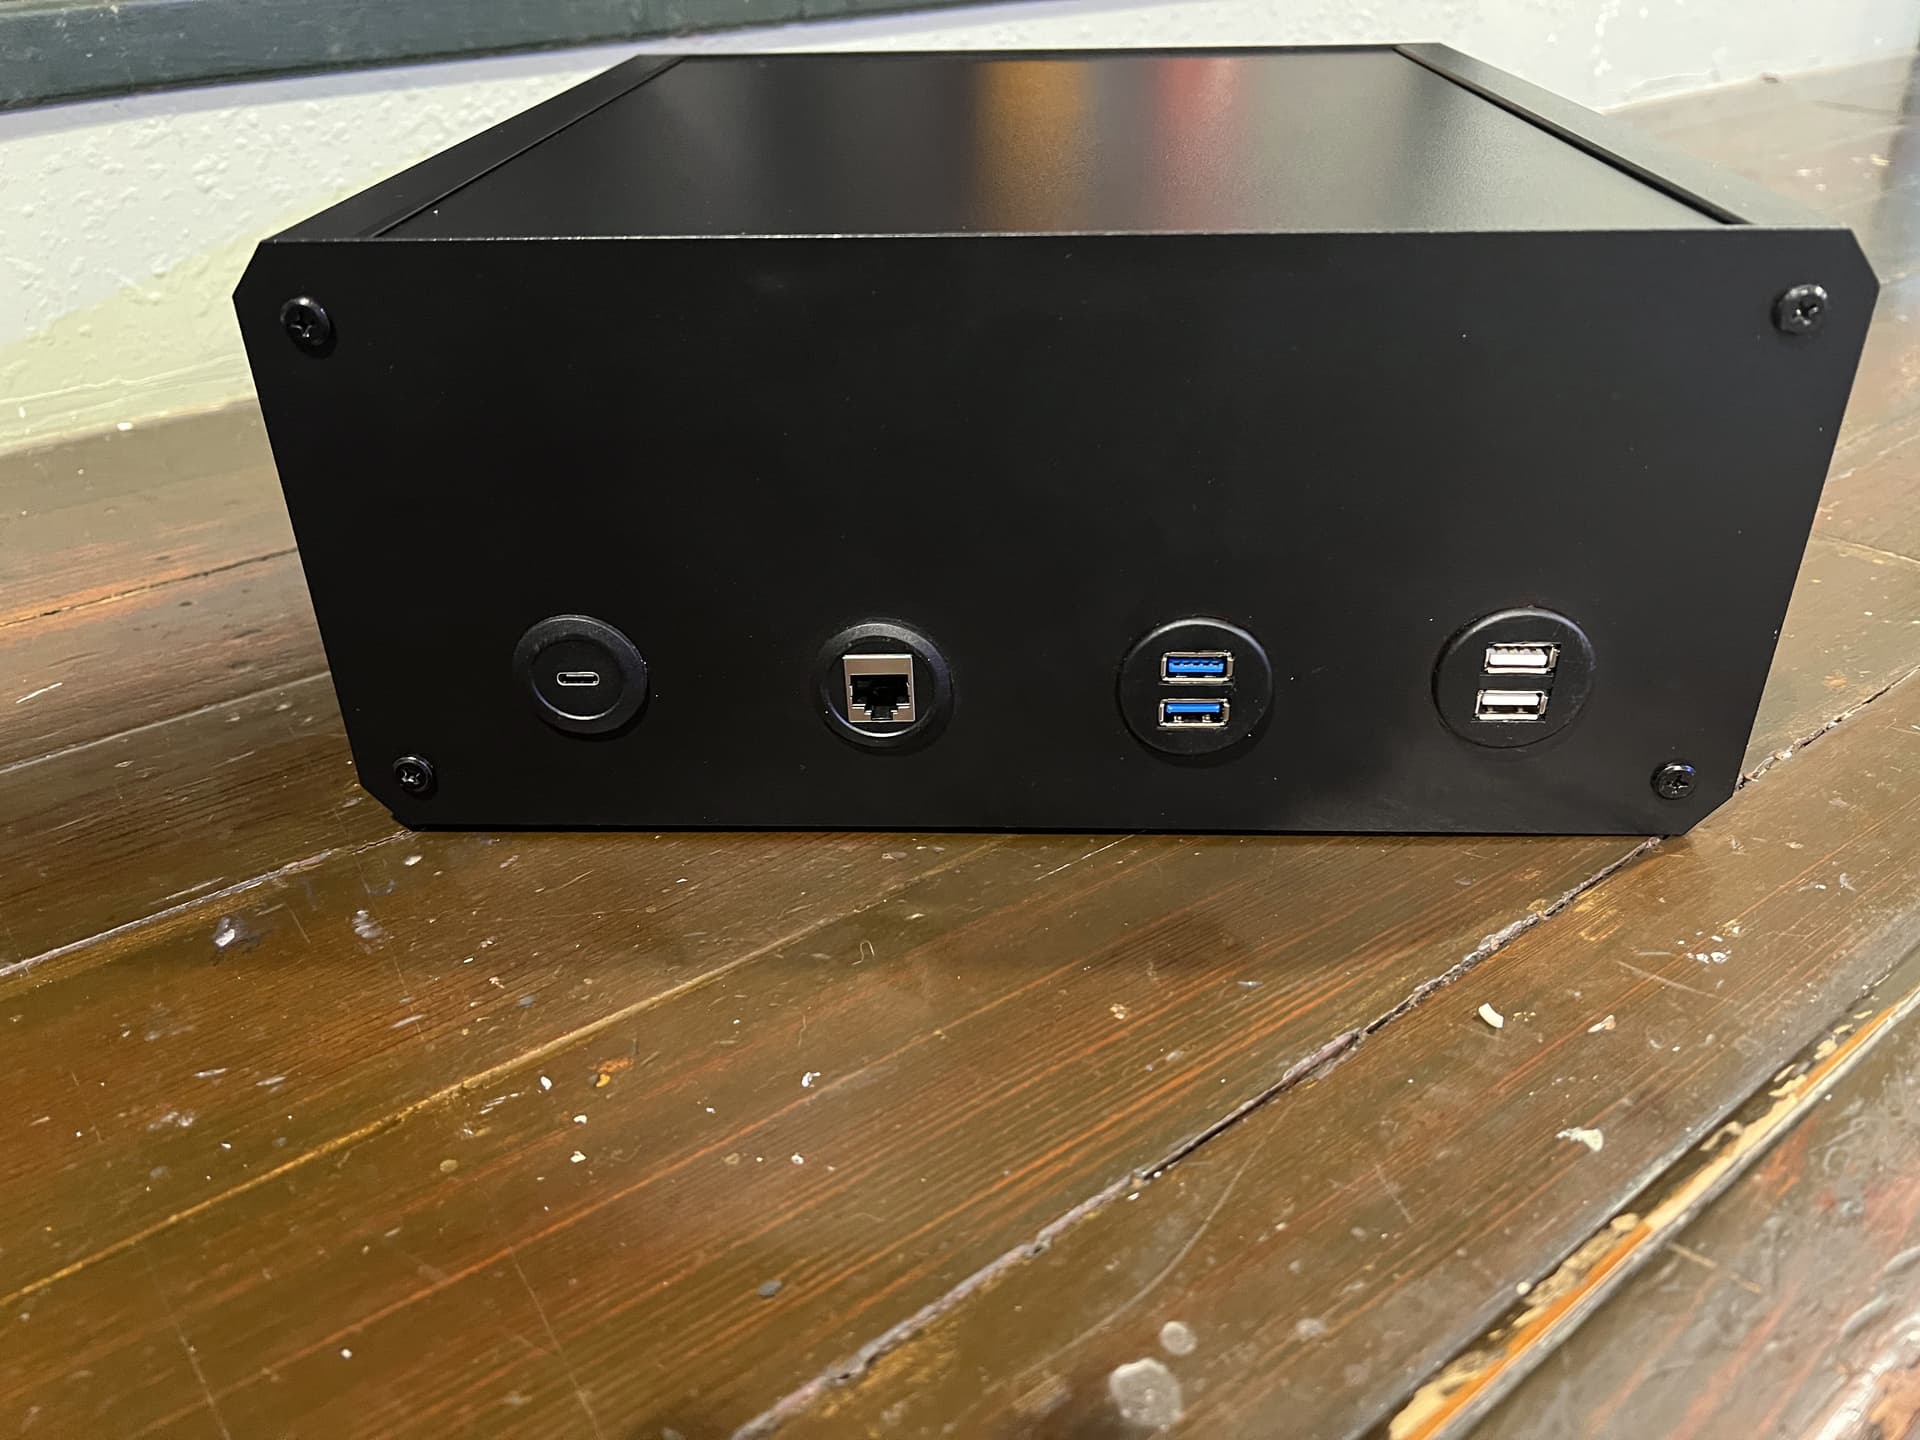
Drilling out the holes in the back of the enclosure for the Power, Ethernet, USB 2 and USB 3:
Back panel completed and all inputs mounted:
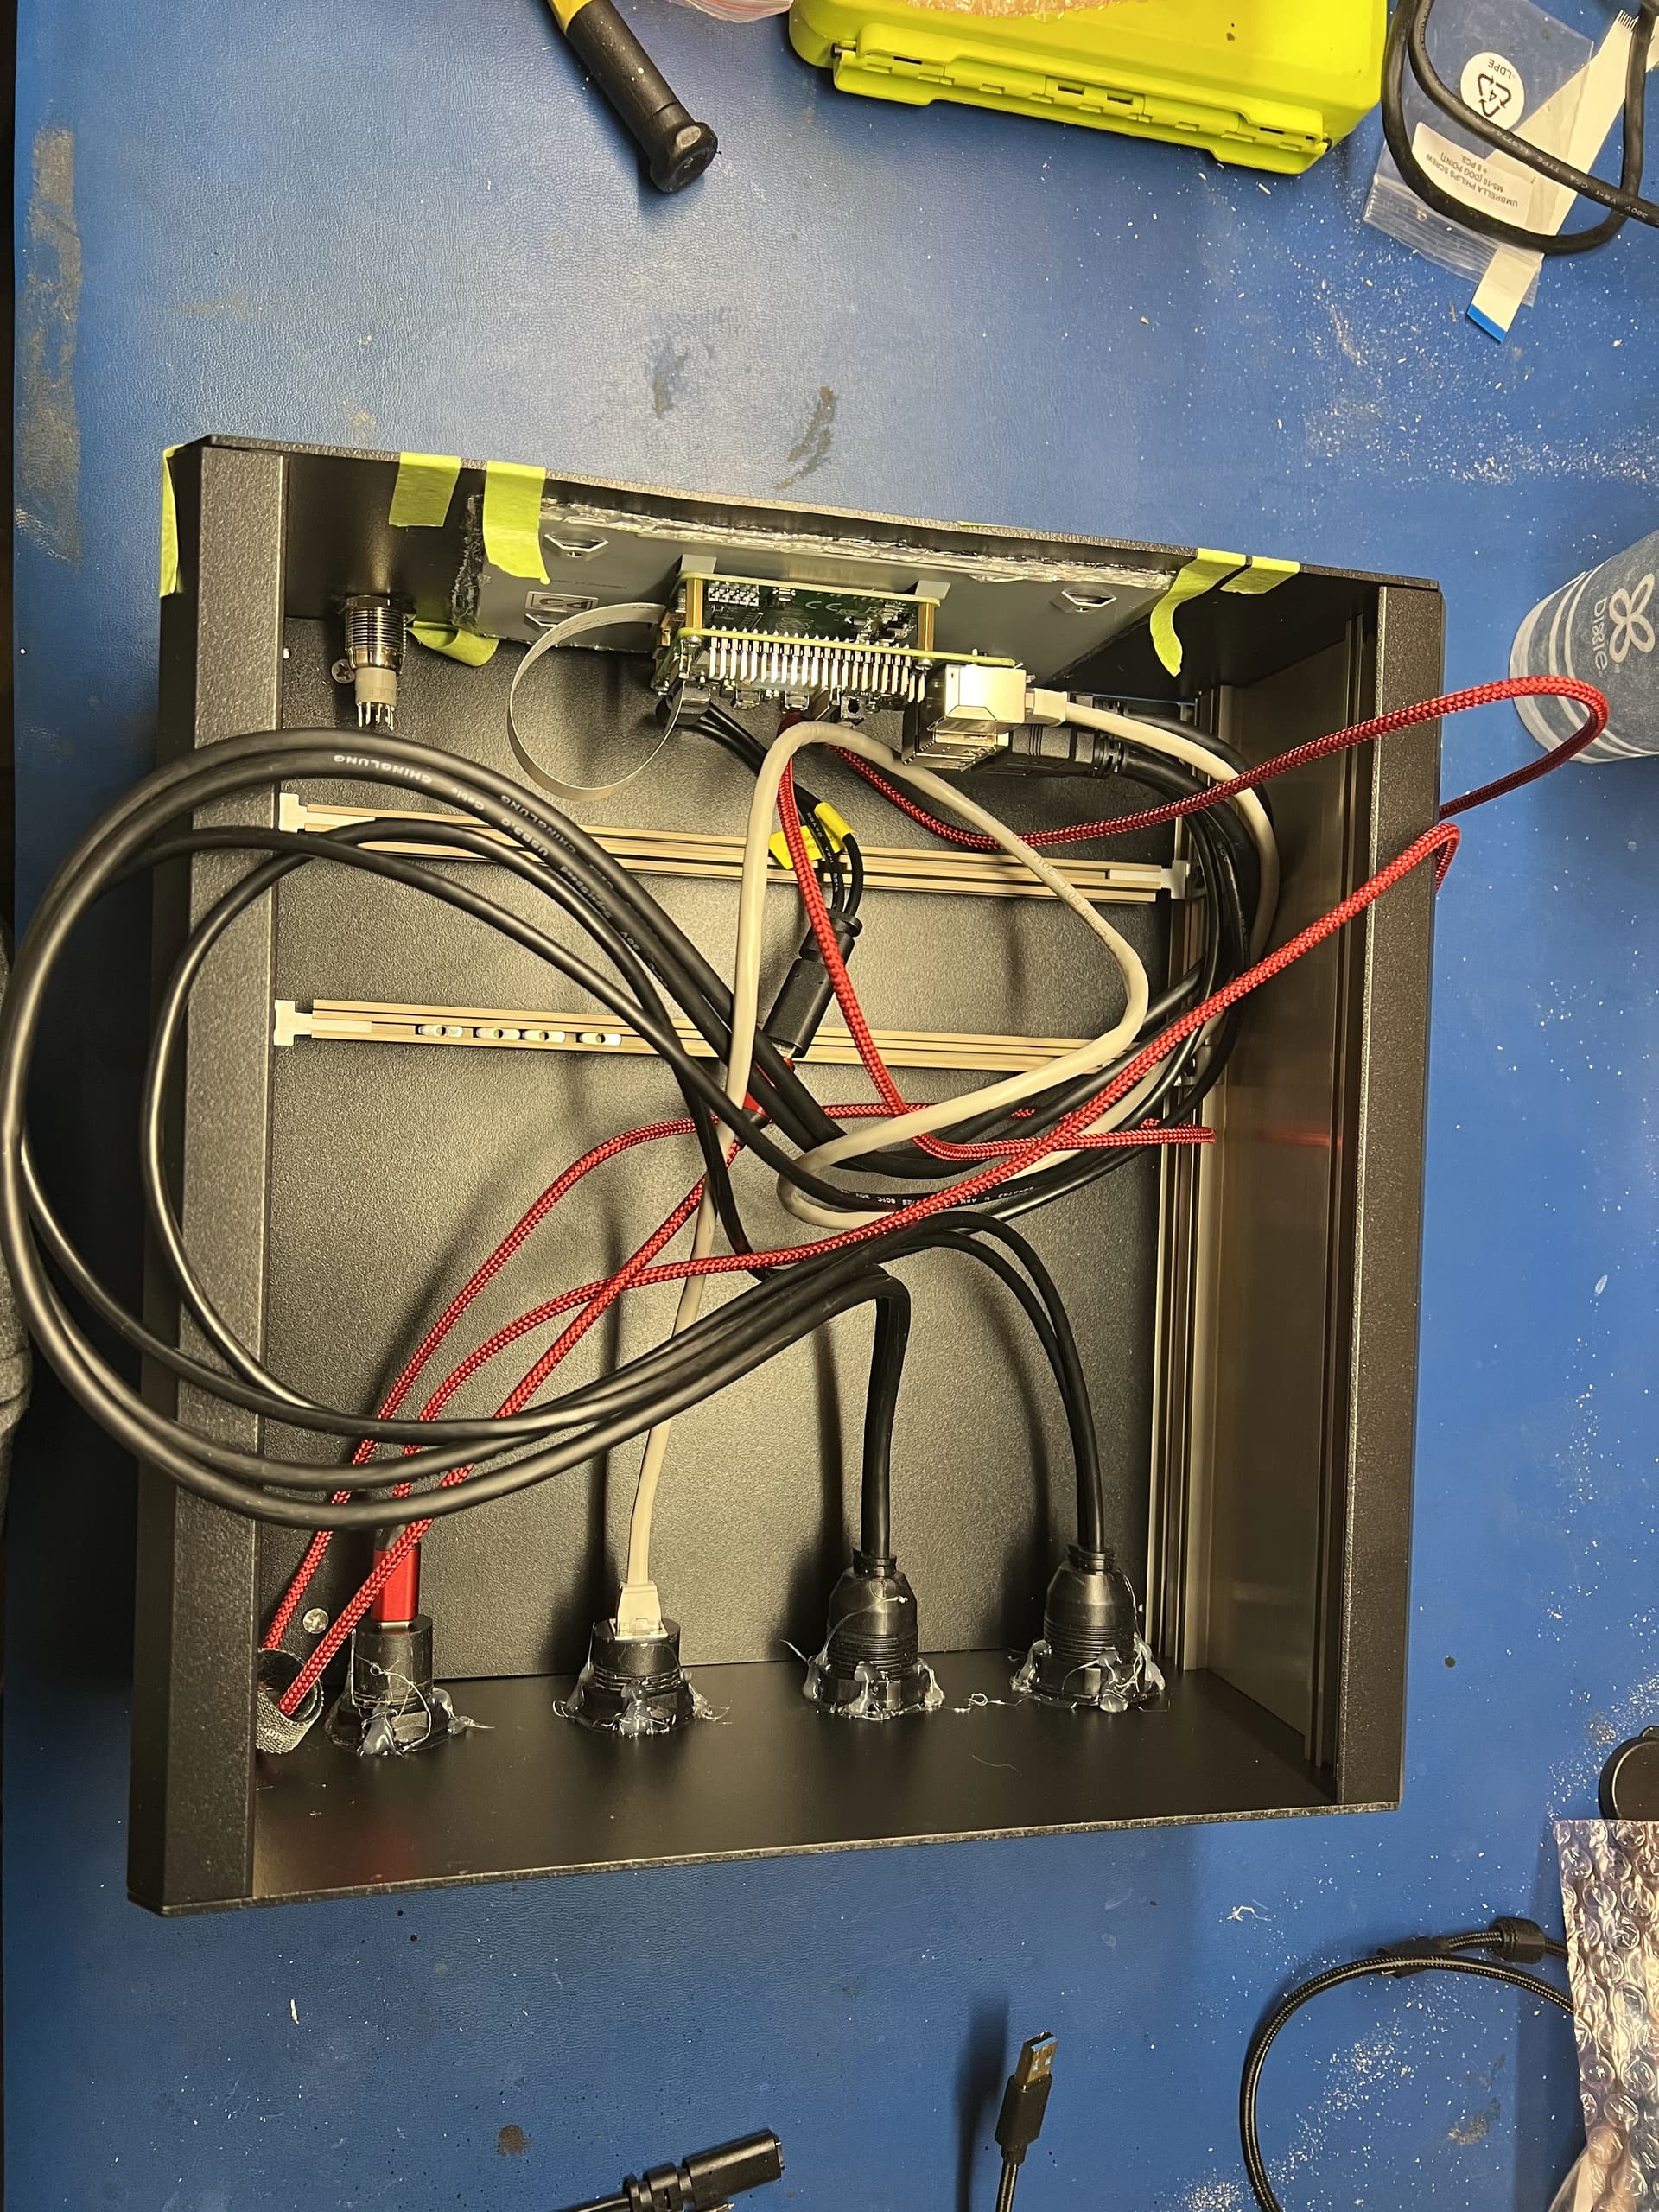
Starting to wire up the VNASS, its not pretty, but I was excited to get it done. I will go back in and clean it up at a later time:
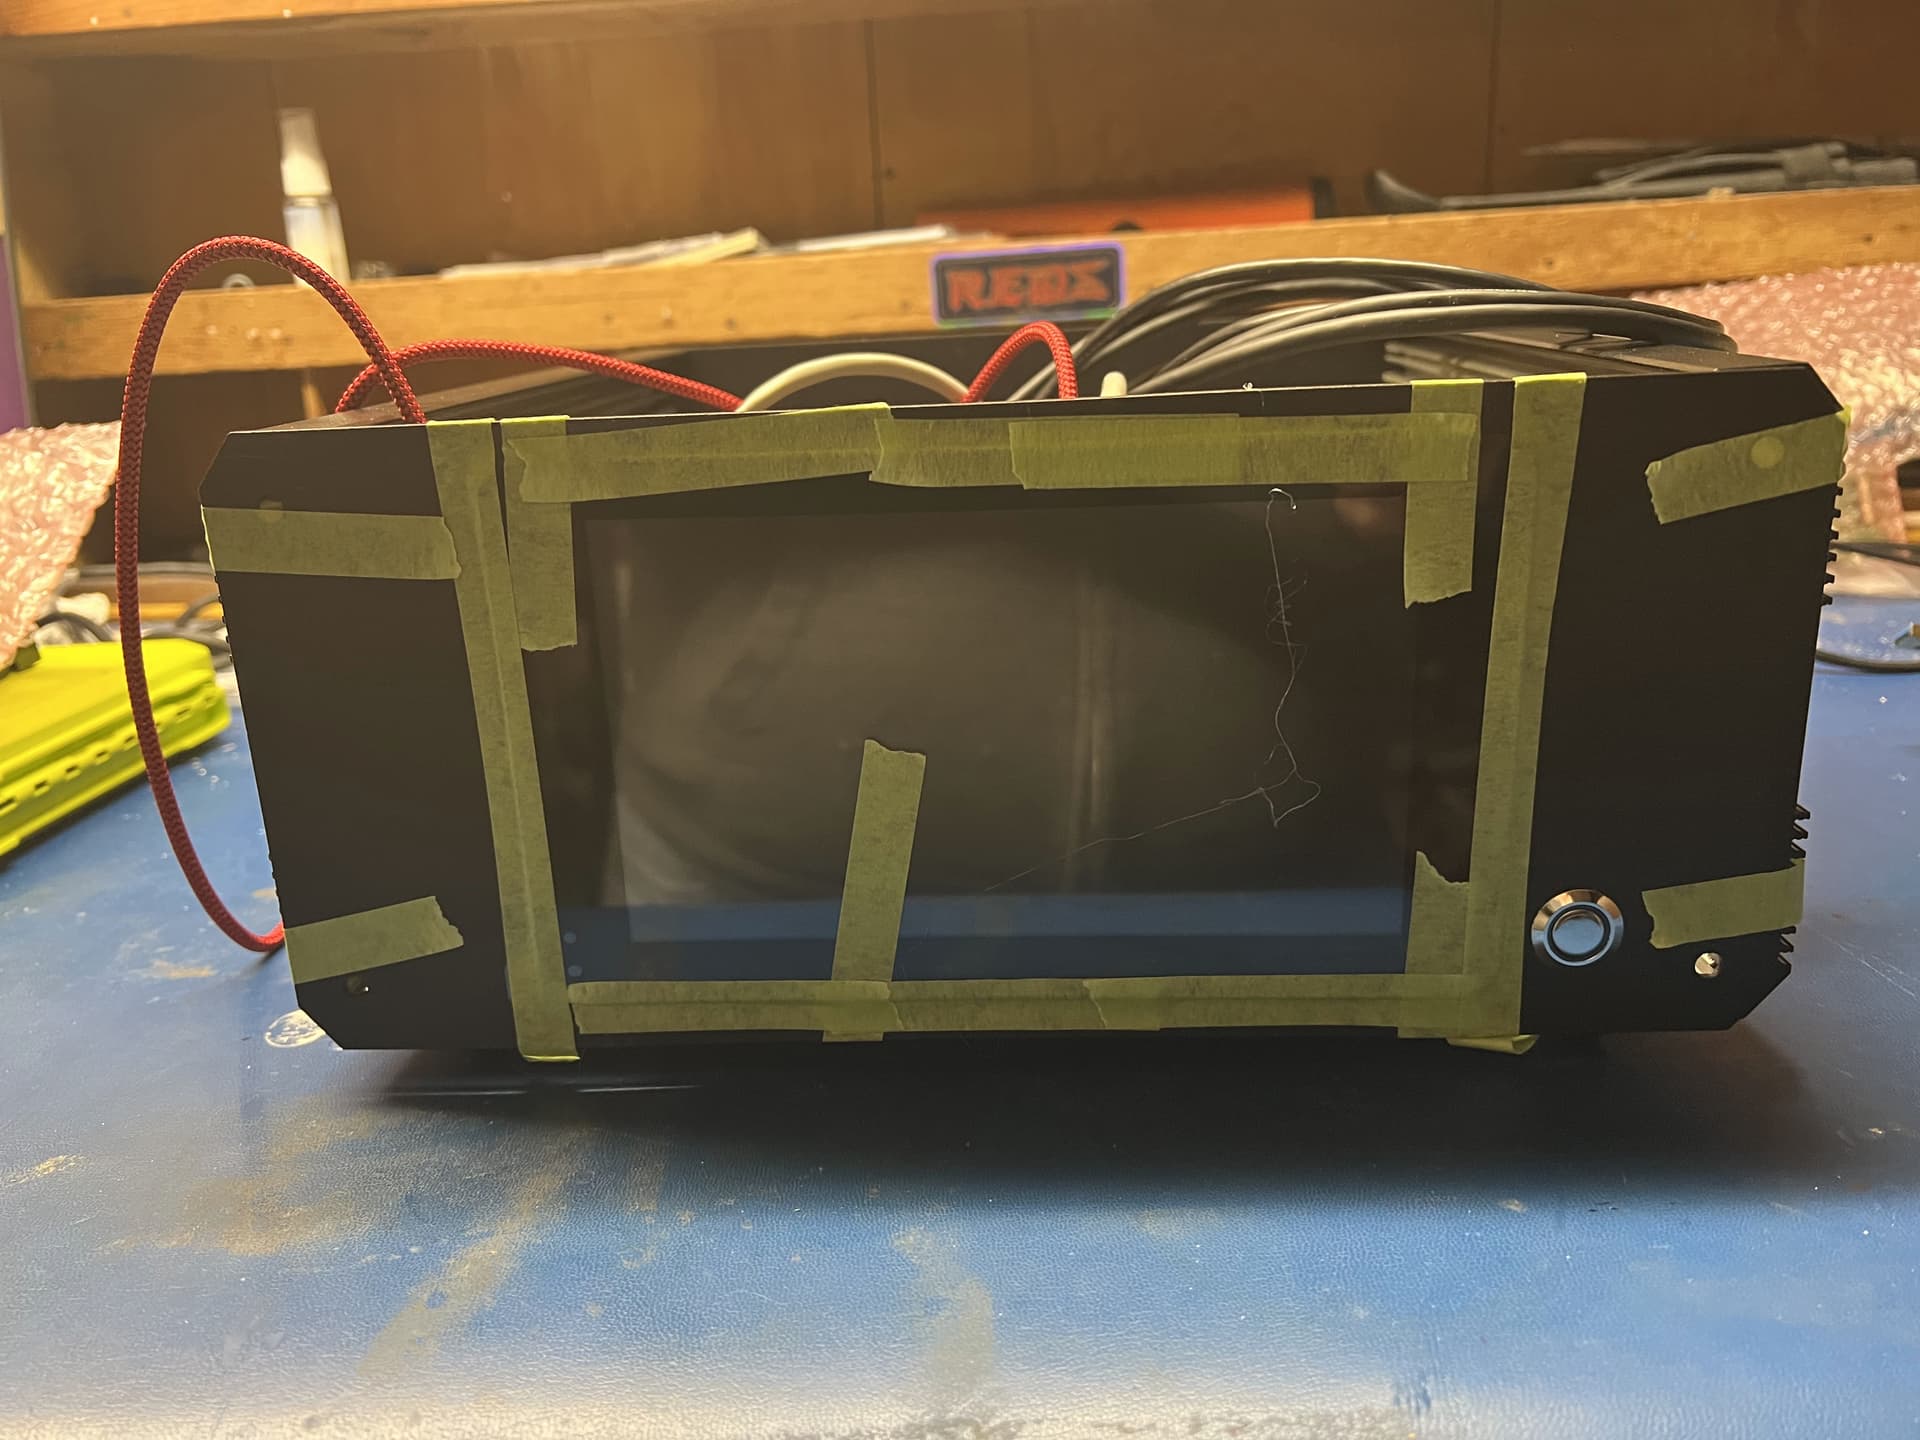
Getting the screen positioned right, so I can hot glue it in place from the back. I had to mount it on the outside side I did such a hideous cut out. Also mounted a blue LED power switch, but it is not hooked up yet. I am trying to figure out how to do that.
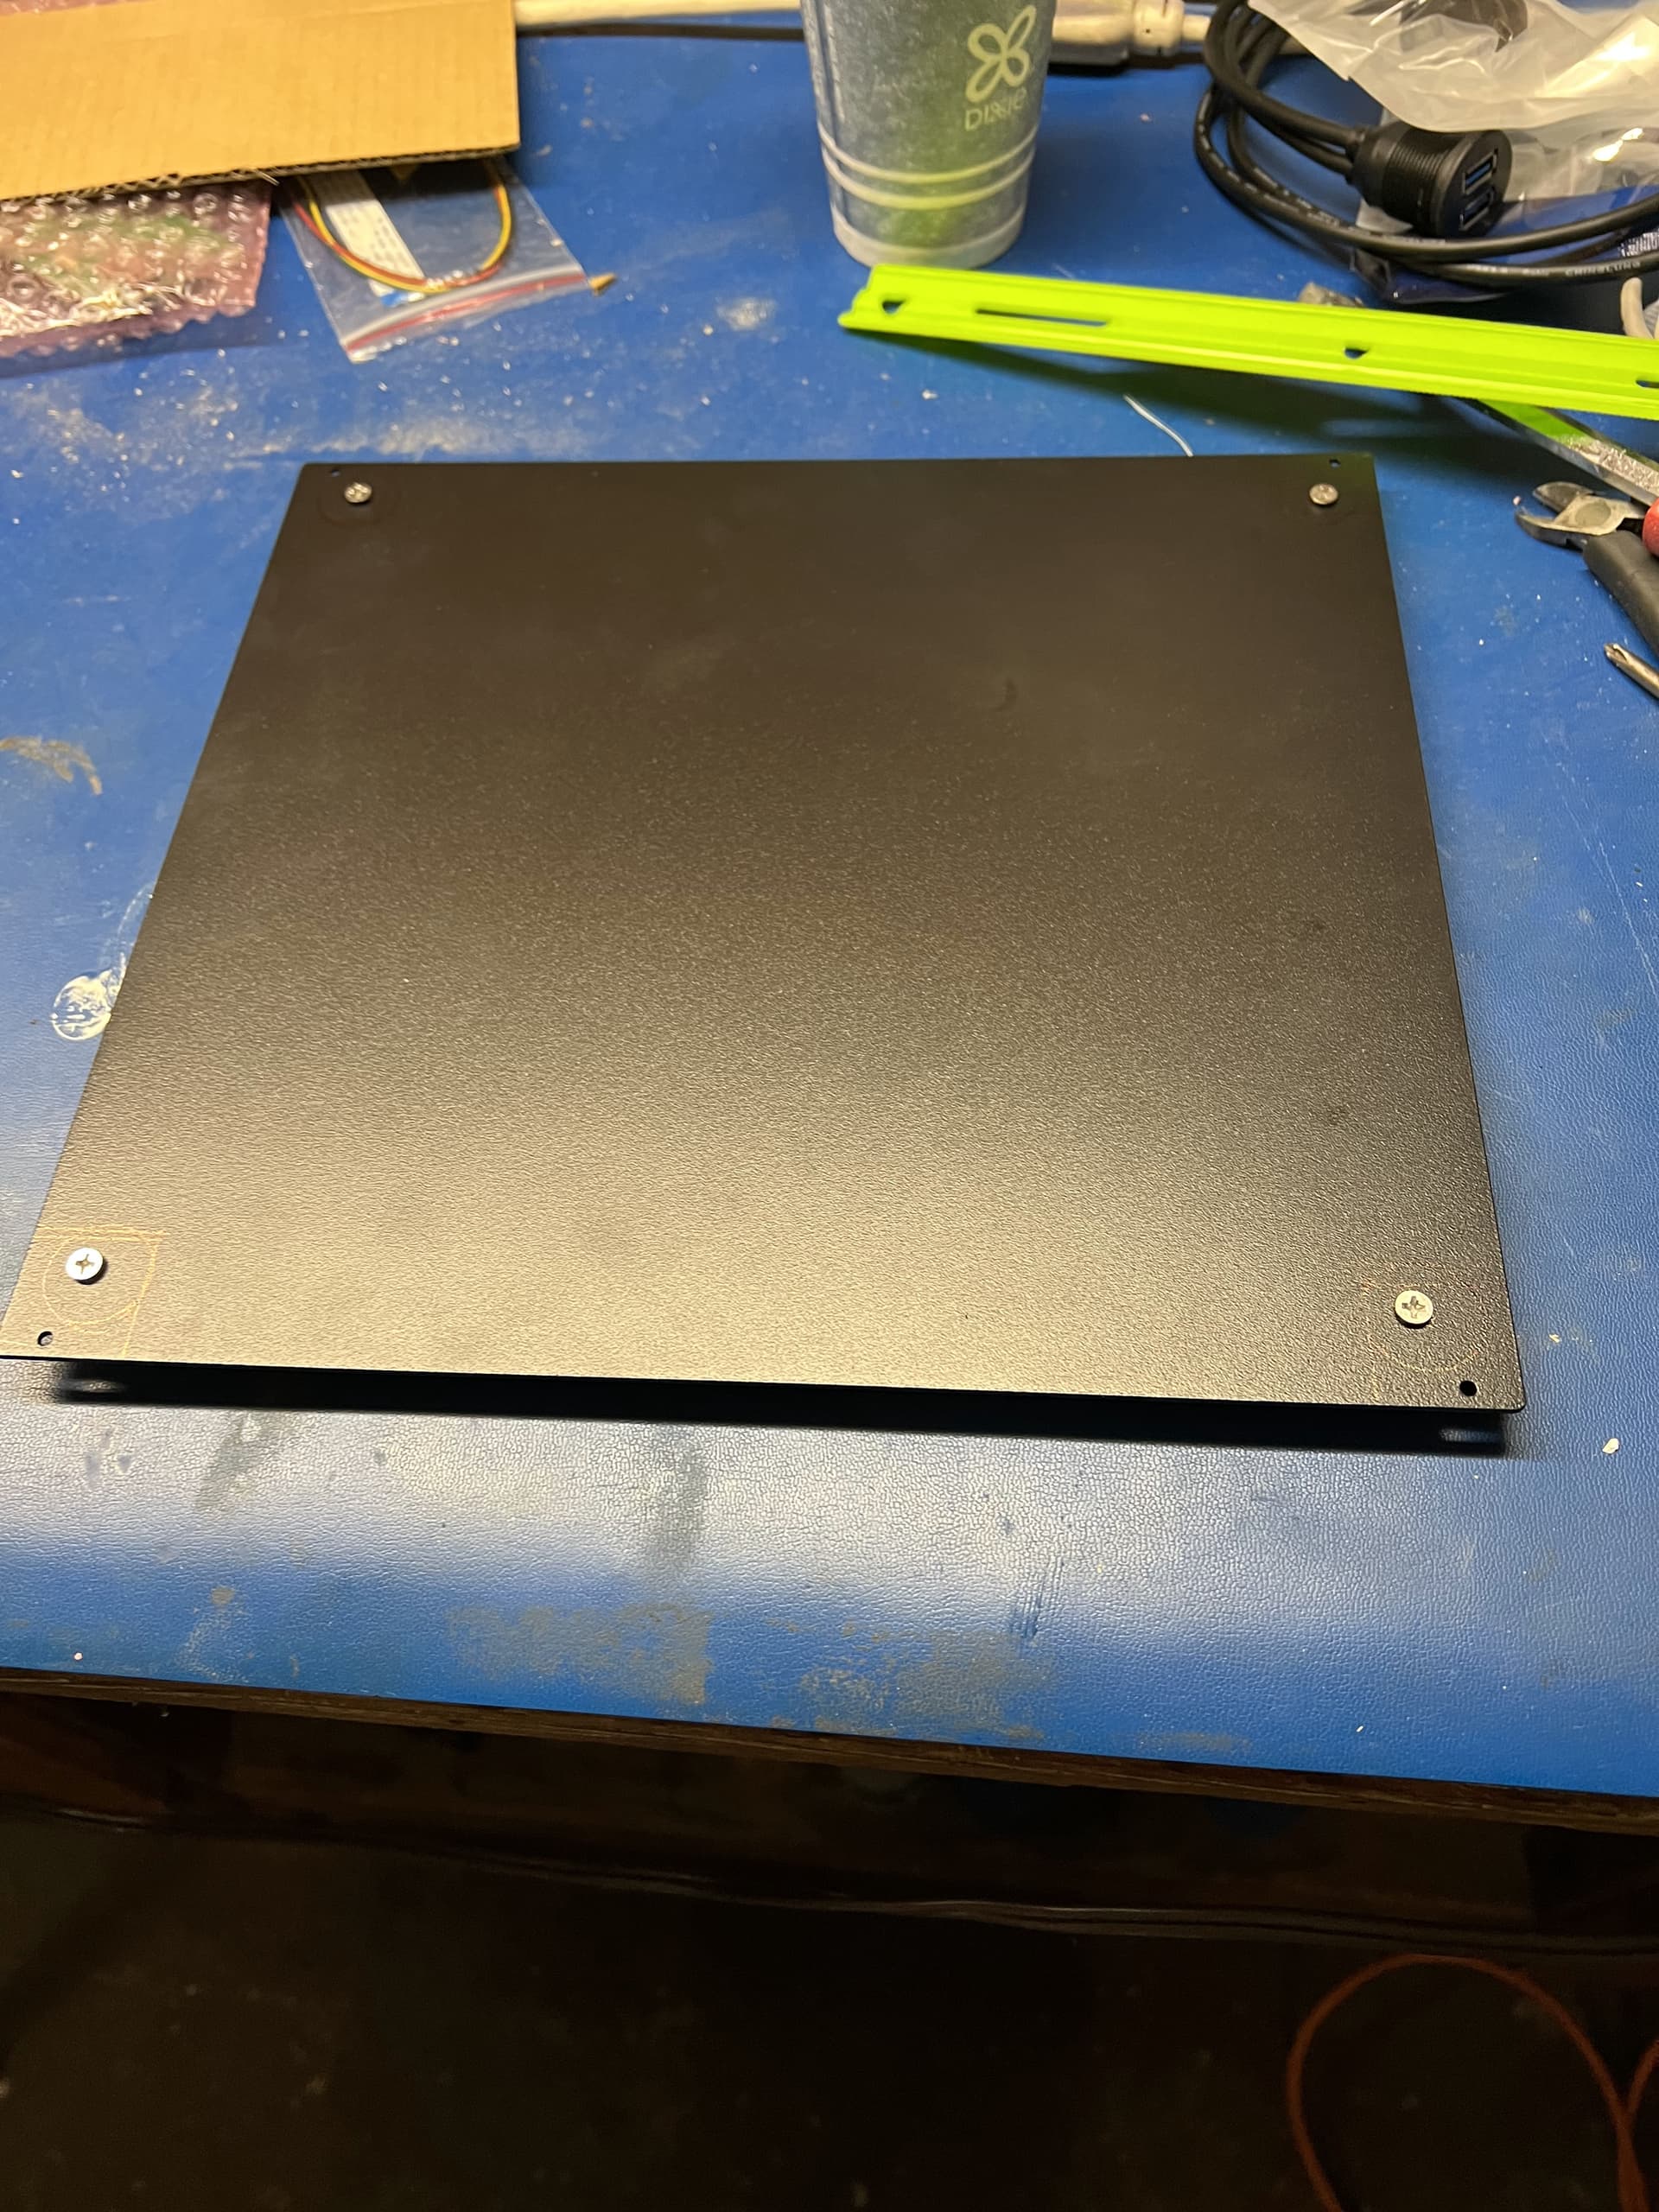
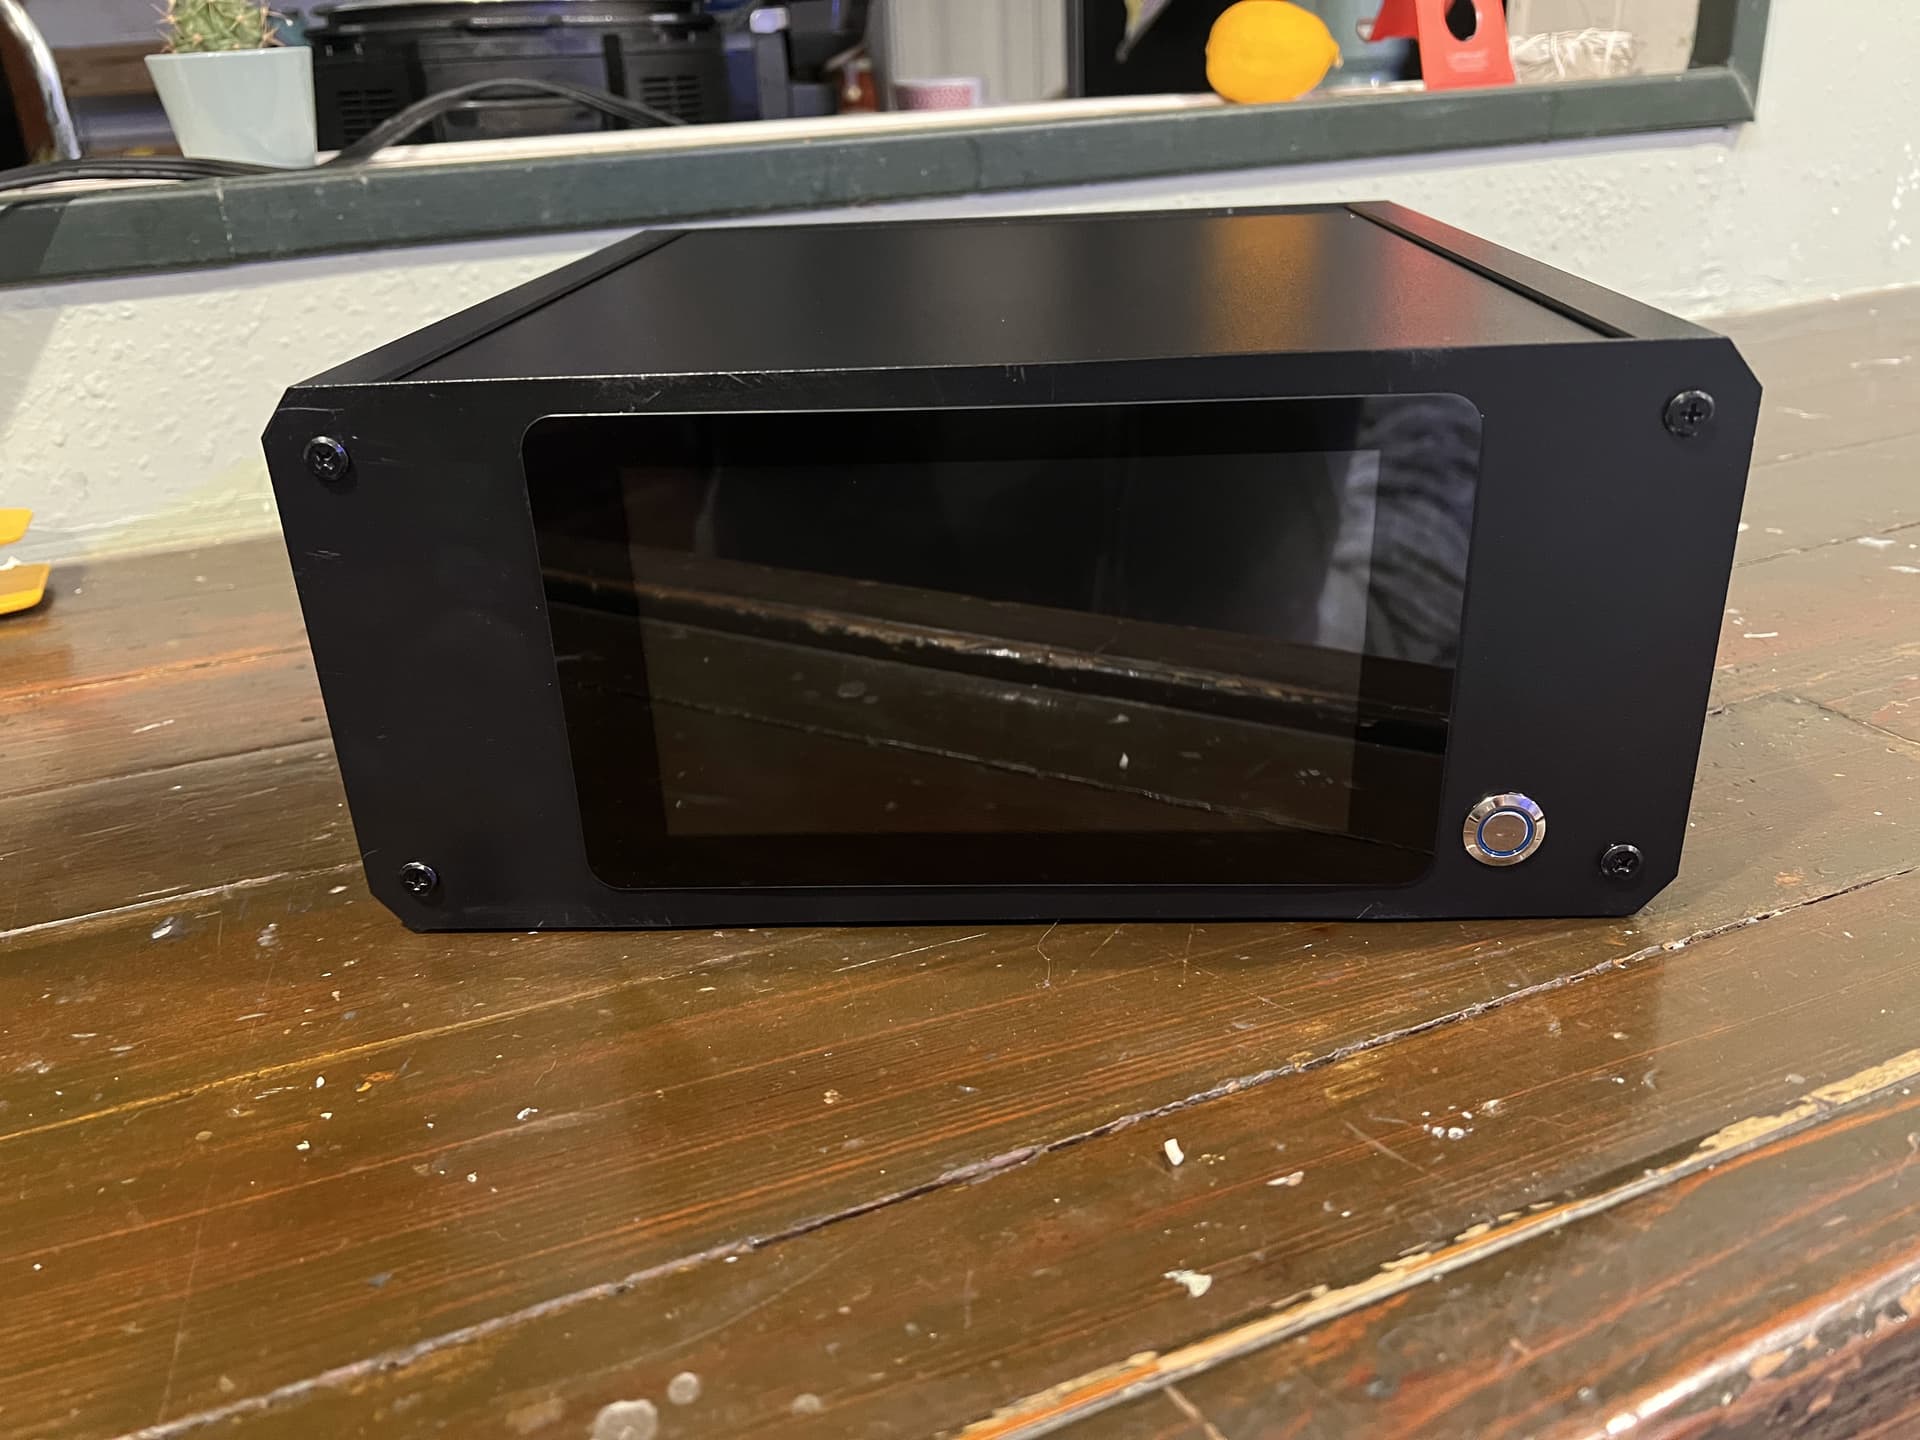
All buttoned up and ready for action (front):
All buttoned up and ready for action (rear):
Up and running. There are some minor scratches on the front, the alumium housing if prone to scratching really easy, I will try to touch it up, and maybe I will just respray it with black paint and then put it back together.
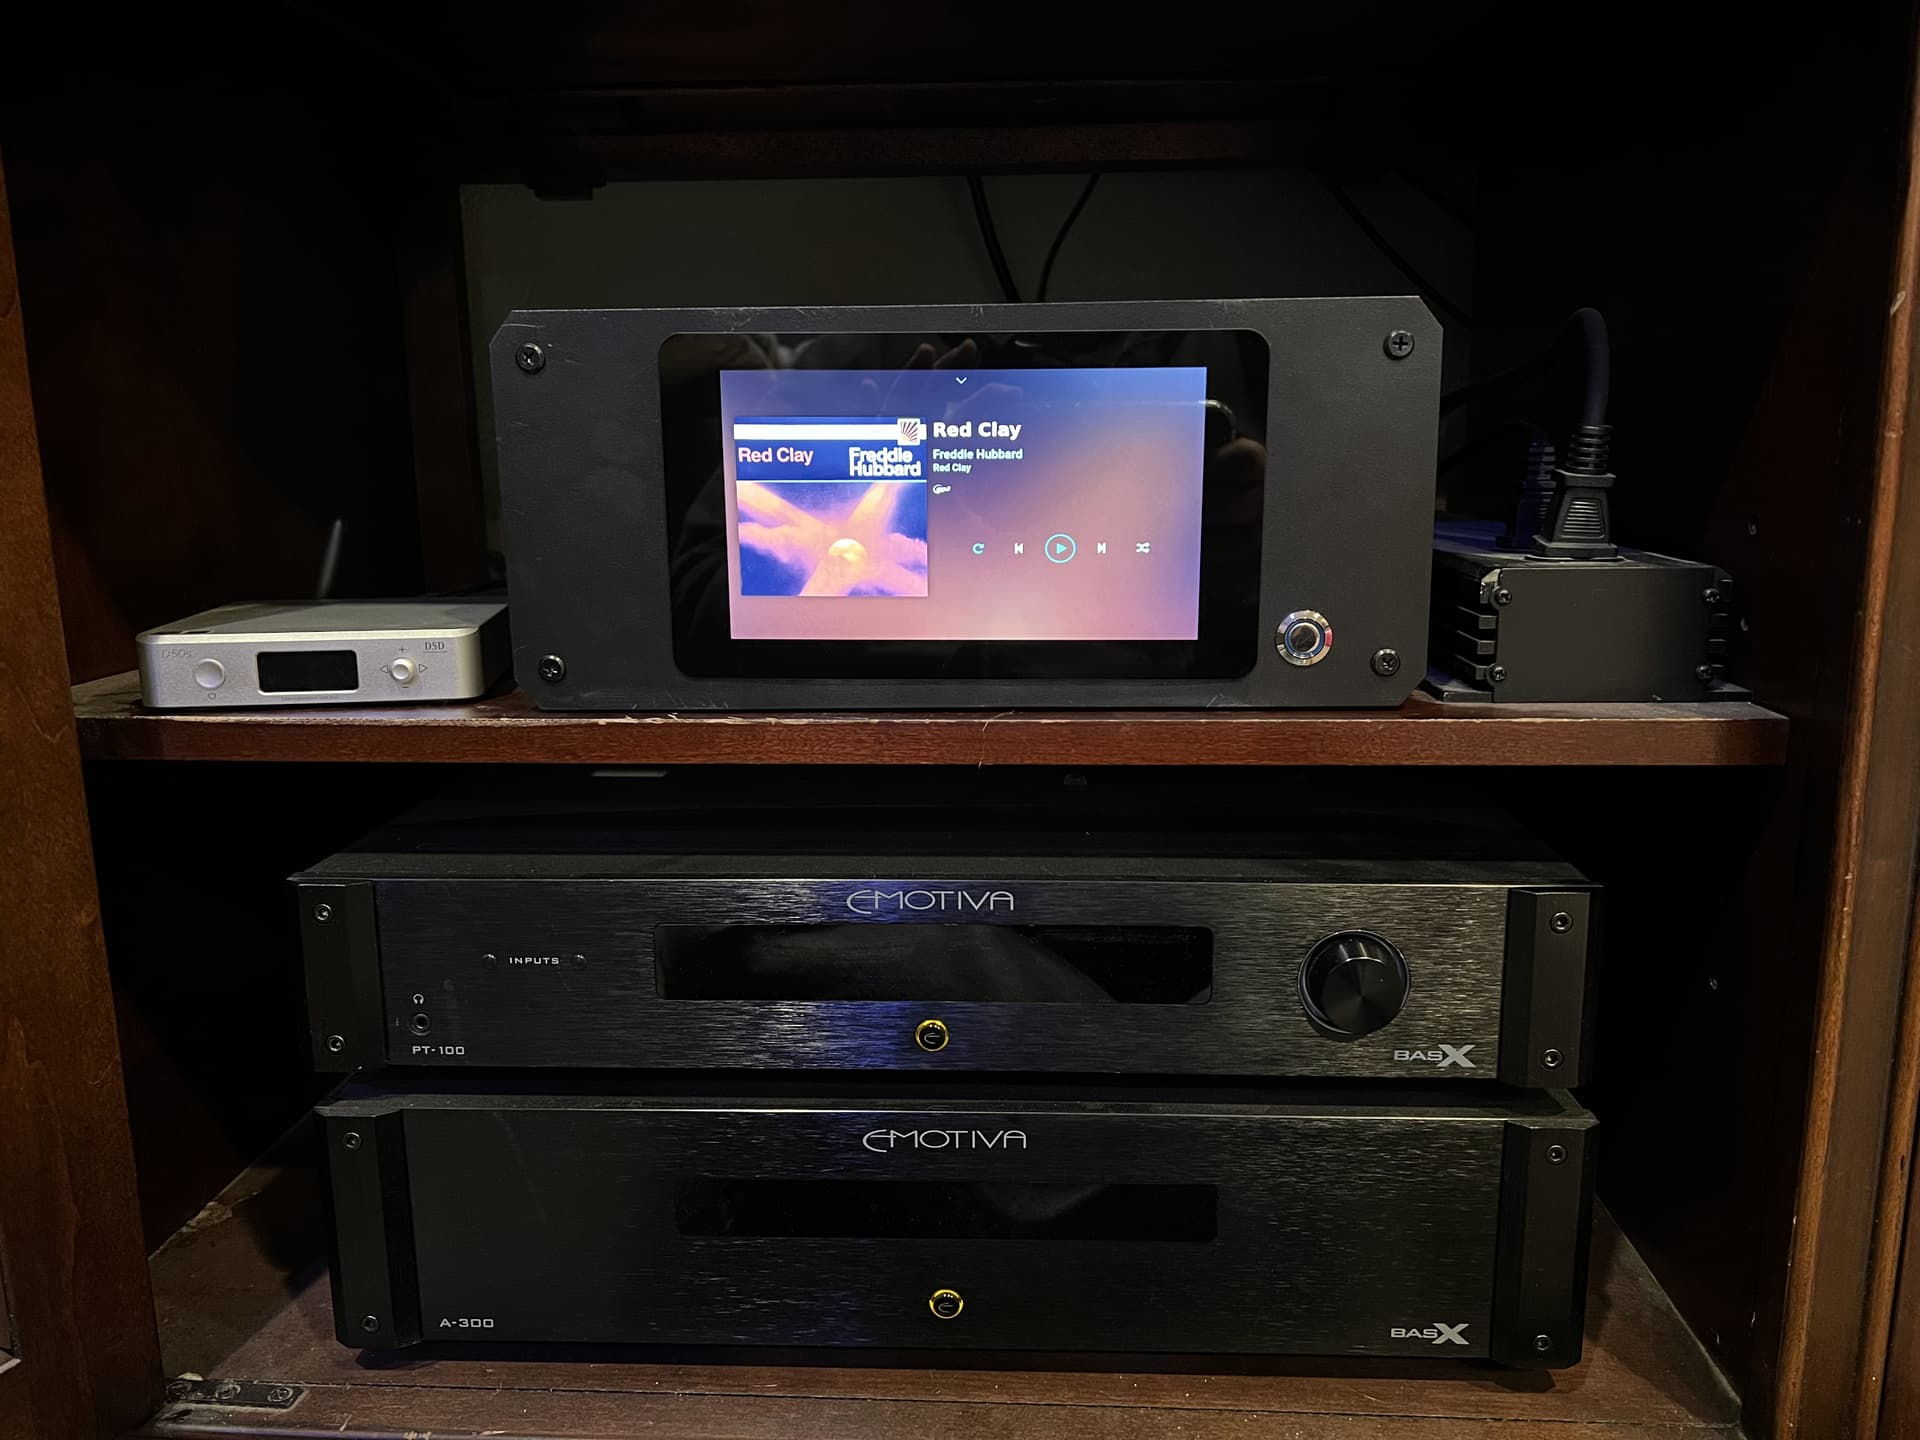
And that is it. The VNASS 1.0 hooks into a Toppings D50s, which then hooks into my Emotiva PT-100 and then into my Emotiva A-300 amp into a set of Klipsch floor standing speakers.
I hope you had fun reading through this. If anyone has any suggestions for connecting up the blue LED switch, I am trying to do it without adding a resister, I don’t have good soldering skills and I am not completely sure how to do it, or if it can be wired up without a resister.
Thanks for take a look at my first Volumio streamer.
Stay safe and take care,
Ben