There are a lot of posts asking for help on successfully sharing a folder in Windows 10 that can be mounted by Volumio. This is partly due to changes by Microsoft as to which versions of the smb protocol it accepts, and also the complexities of Windows permissions, and how they are changed/interact.
I don’t use Windows very much myself nowadays, but since I had a fresh installation on a new ssd, I thought it would be a good idea to have a look at the simplest way that I could get a shared folder that Volumio can mount, before I had tinkered with the Windows settings at all.
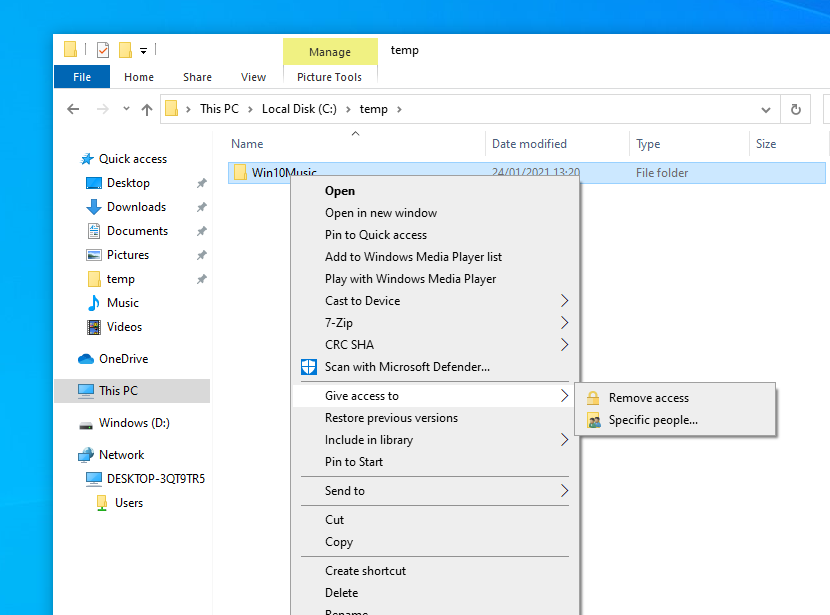
Find your folder that you want to share in File Explorer (in my case this was ‘Win10Music’). Right click on it and hovering over ‘Give access to’, select ‘Specific people’.
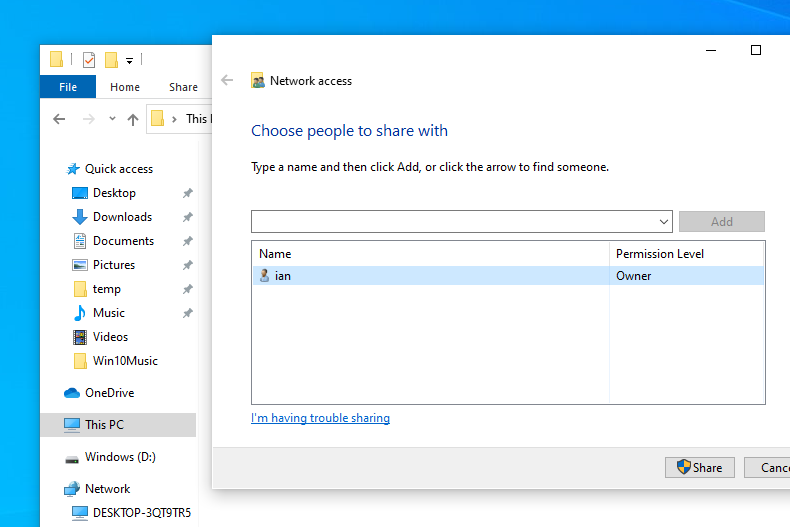
Make sure that the user you want is highlighted and click on the ‘Share’ button
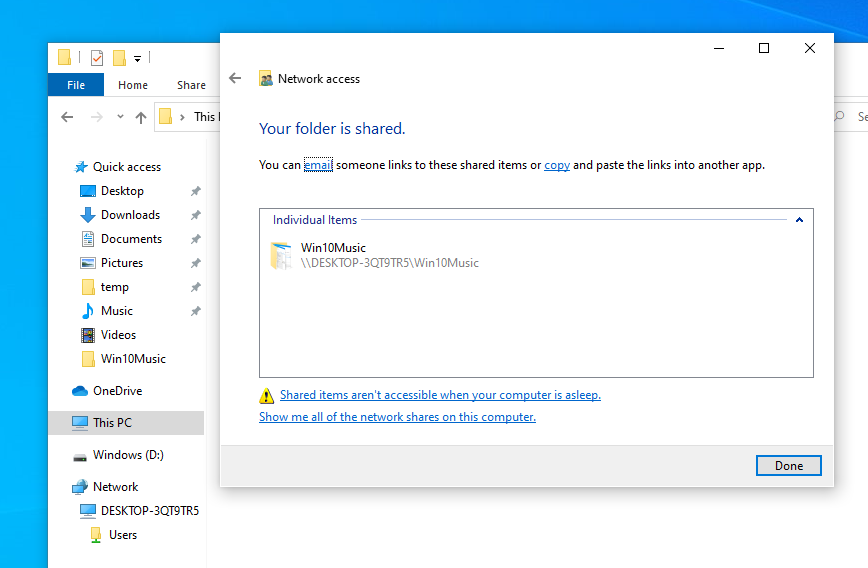
The folder is confirmed as being shared and you can see the actual share name (share path) after the computer name (Win10Music here). Click on ‘Done’.
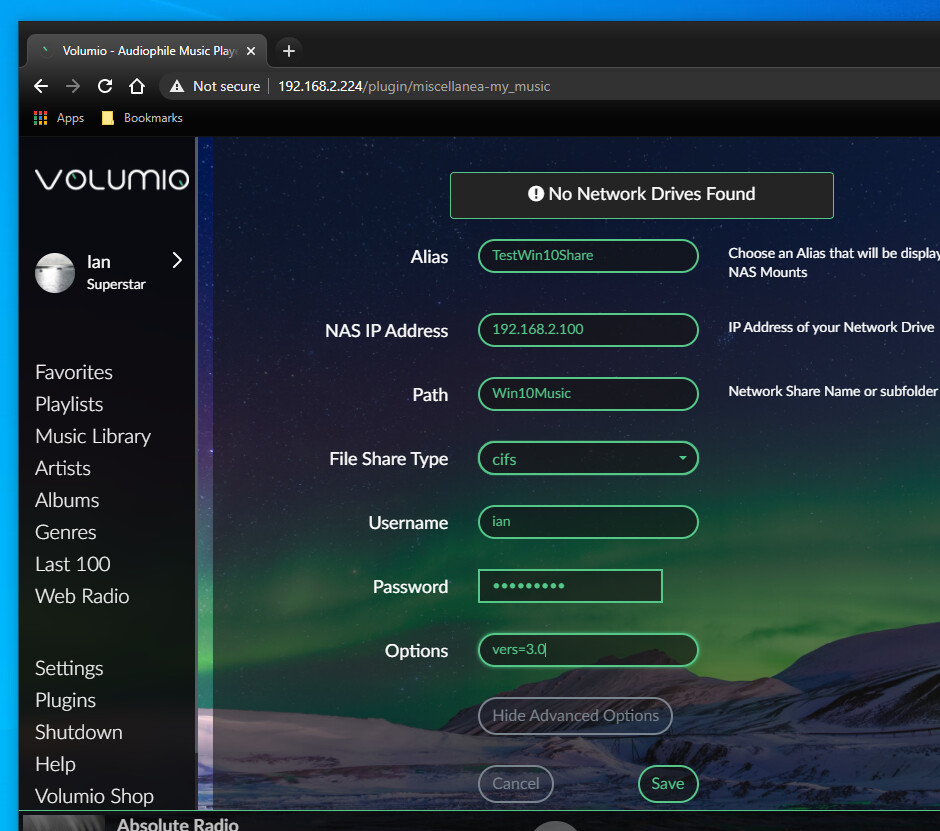
Open up your browser, point it at the IP address of your Volumio device, and select ‘Settings’ followed by ‘Sources’.
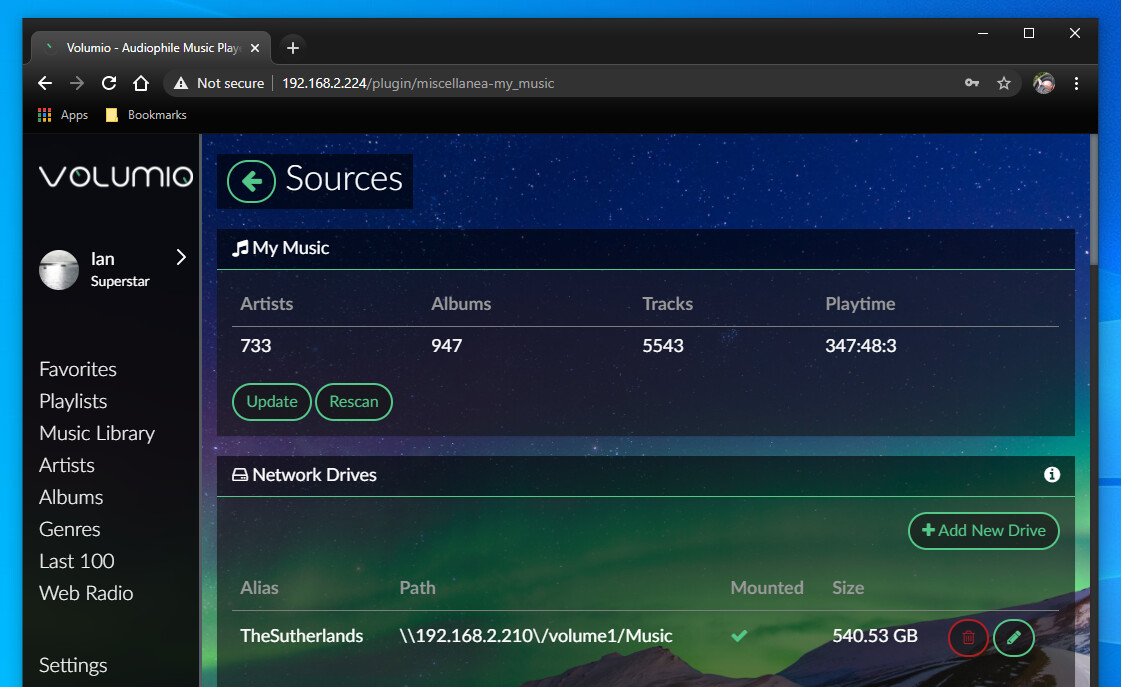
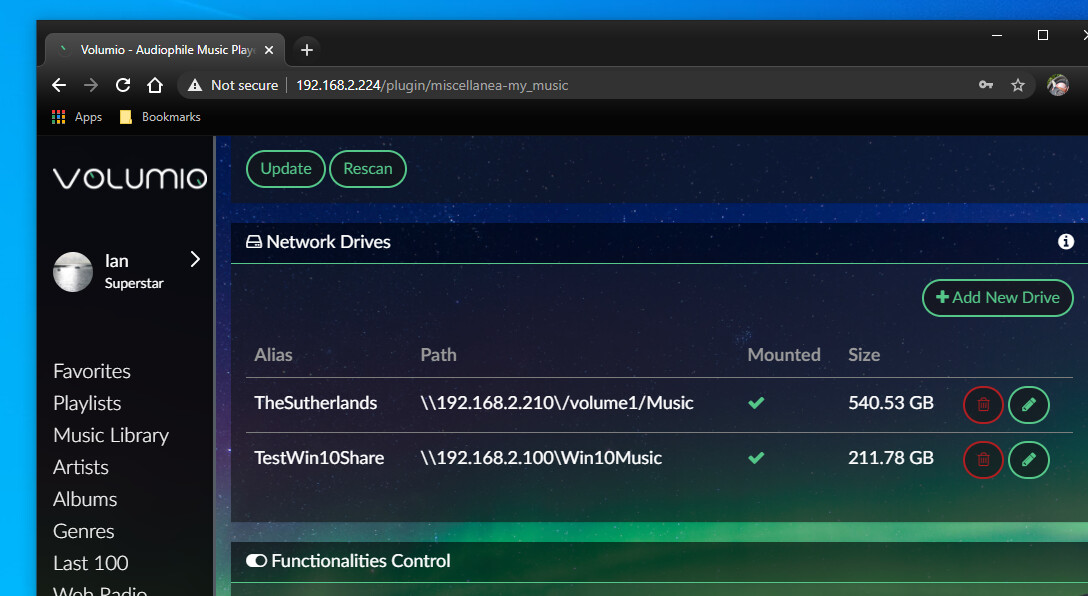
Add a new drive, and then fill out the various fields (including the ‘Advanced Options’). ‘Alias’ can be anything that you like; it is simply what you are calling the source. ‘NAS IP Address’ should be set to your Windows 10 PC IP address. ‘Path’ is the share name that we found/set earlier. ‘File Share Type’ is the networking file transfer protocol being used. ‘Username’ and ‘Password’ are whatever you have set on your Windows system. Note that I tried this initially with a passwordless account, but this fails. In the ‘Options’ field add “vers=3.0”, which sets the version of smb (cifs) being used. That this was necessary surprised me, because I thought this was offred by default. Click on ‘Save’ and hopefully you will see the folder being successfully mounted.
Hopefully this provides a starting point for other people to contribute, and get your problems sorted 
