After recently completing a build of a touchscreen based player for my garage (Volumio Touchscreen - A Covid Project), I wanted to update my original player and repurpose it for my office.
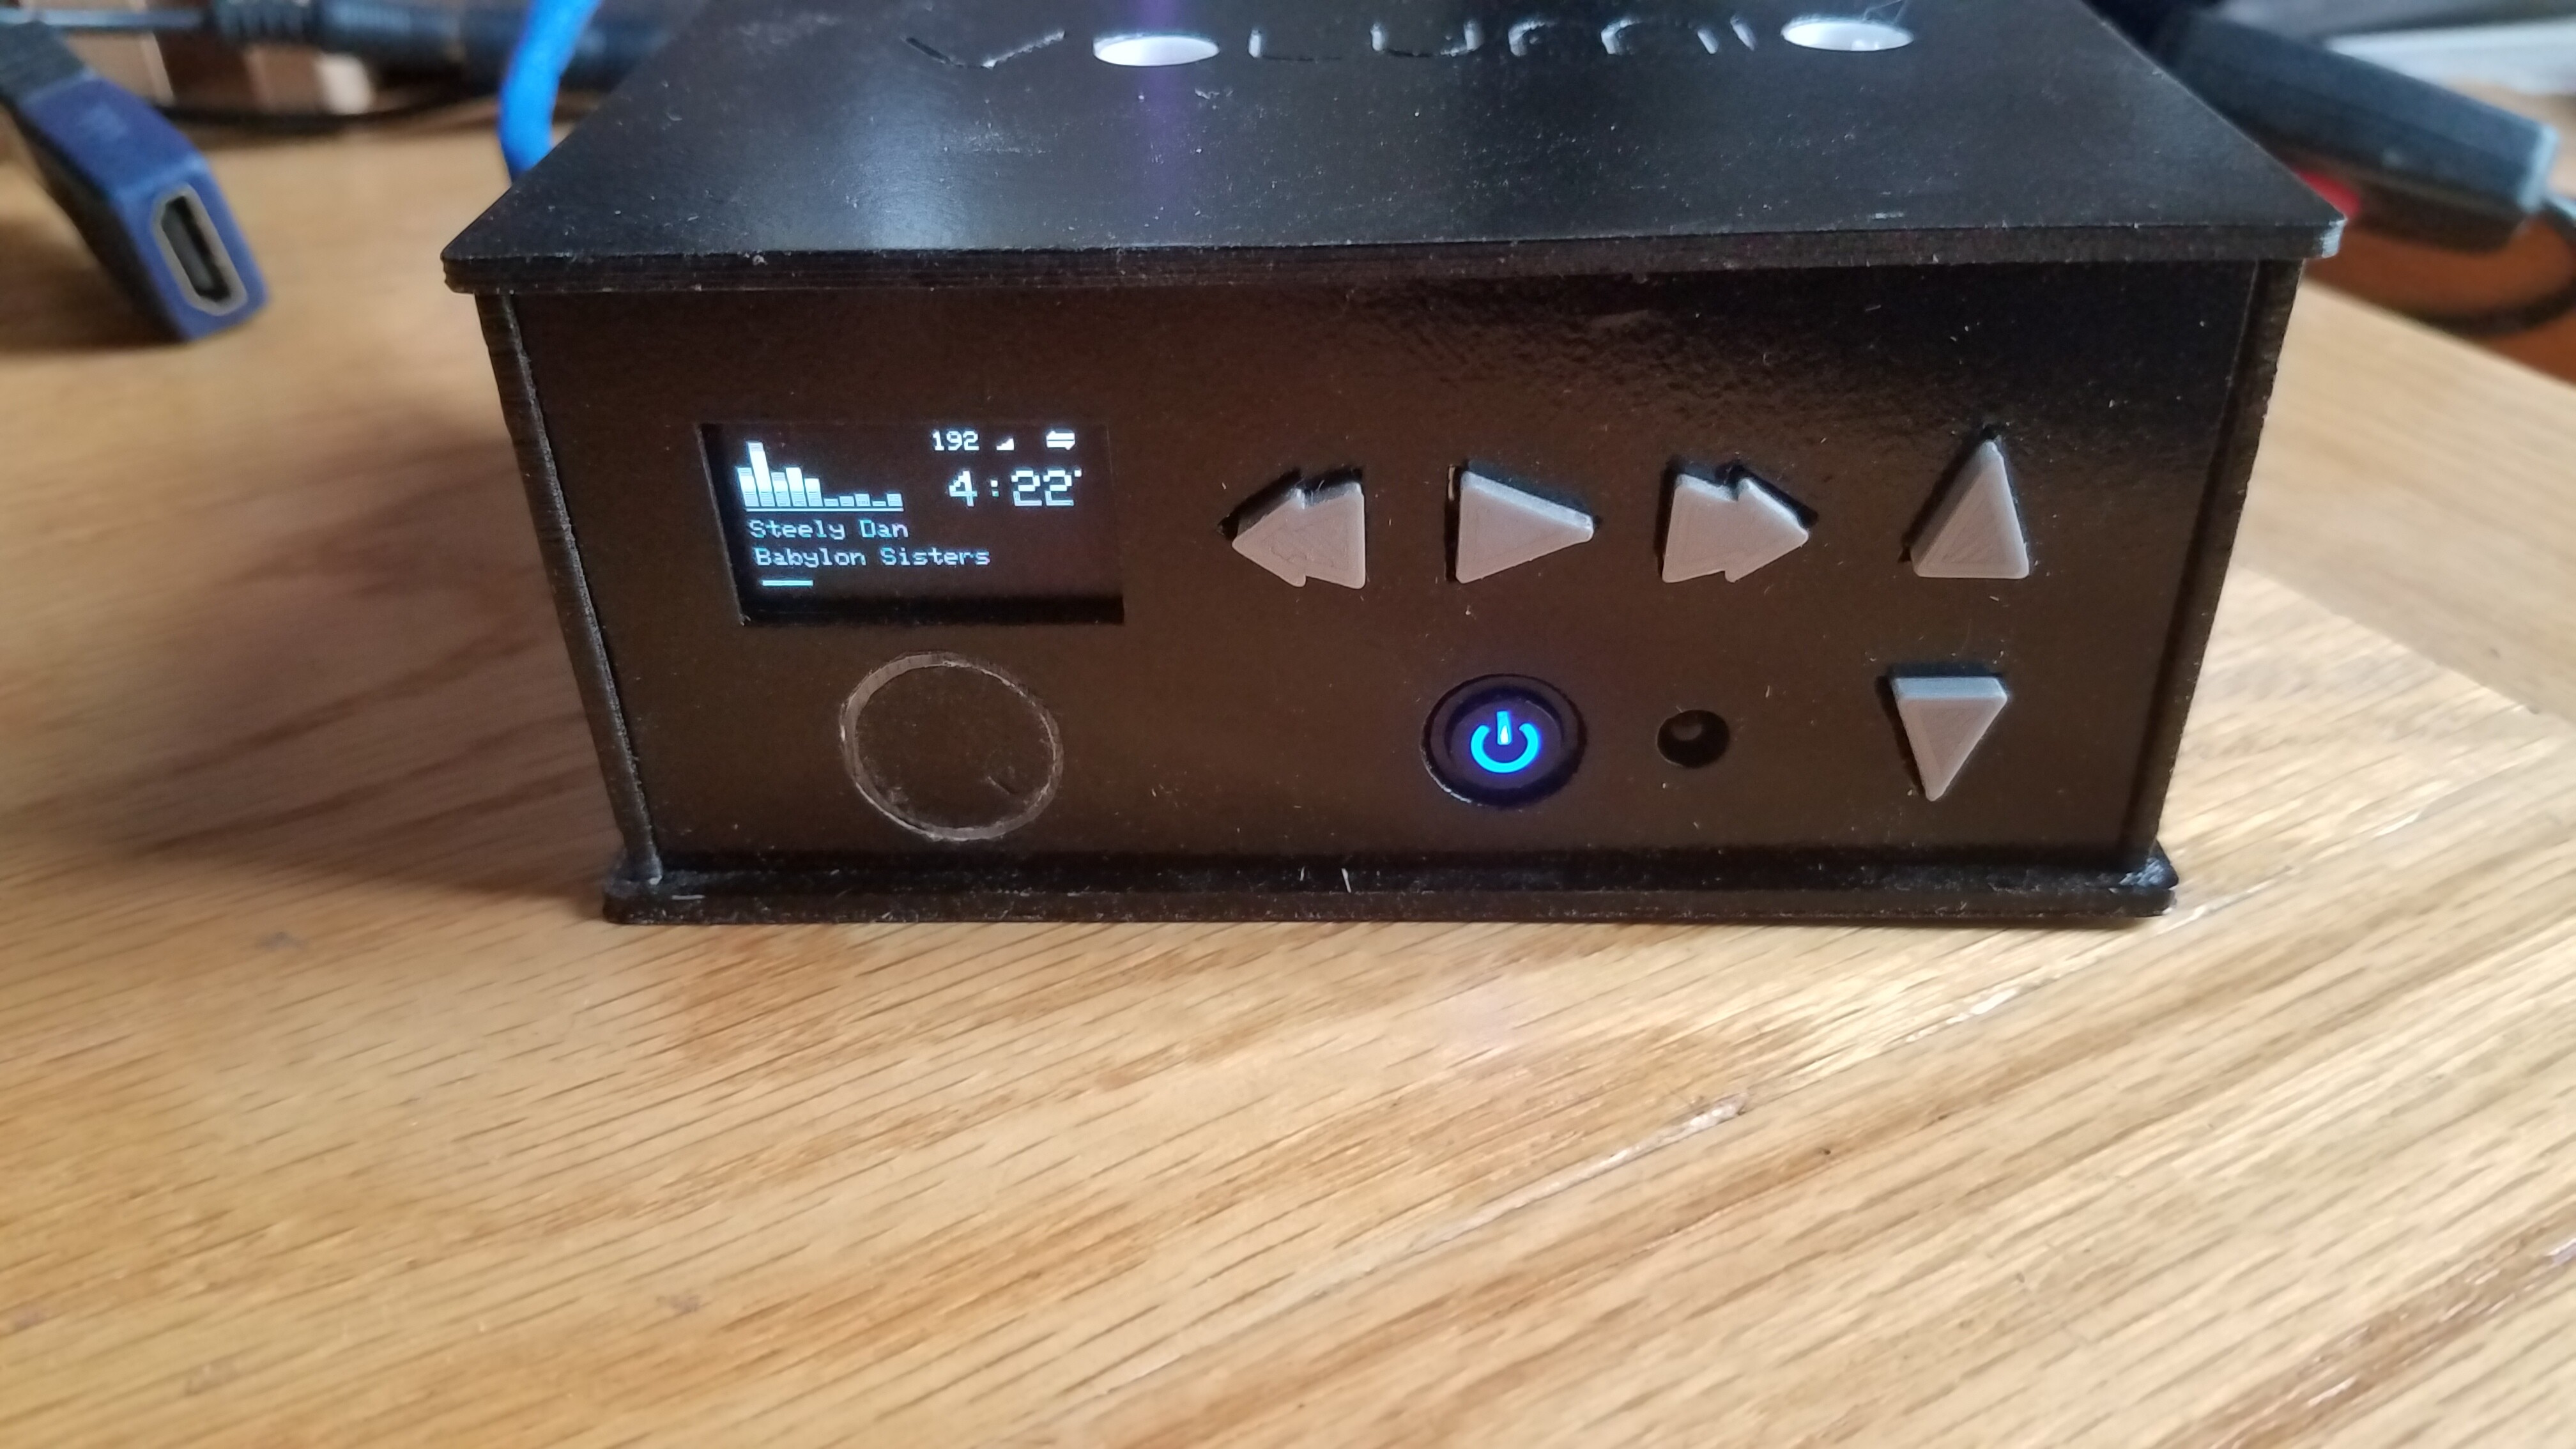
The original garage player was an RPi3 based player with a HiFiBerry DAC+ output board. For my office I planned to use my laptop to select albums or playlists, but I did want some control without having to open up the browser in the middle of doing something else. So I decided to augment the original player with an OLED display to easily see what was playing, an IR Remote and some front panel buttons. I also wanted a way to gracefully shutdown or start the player.
I bought the OLED online and added the Pimoroni OnOffShim to handle the startup and shutdown features. I used Adrian’s mpd_oled project along with the plugin for that code that supercrab has created. I used the gpio-buttons plugin to handle the front panel buttons and the IR Remote Controller plugin to handle the IR remote.
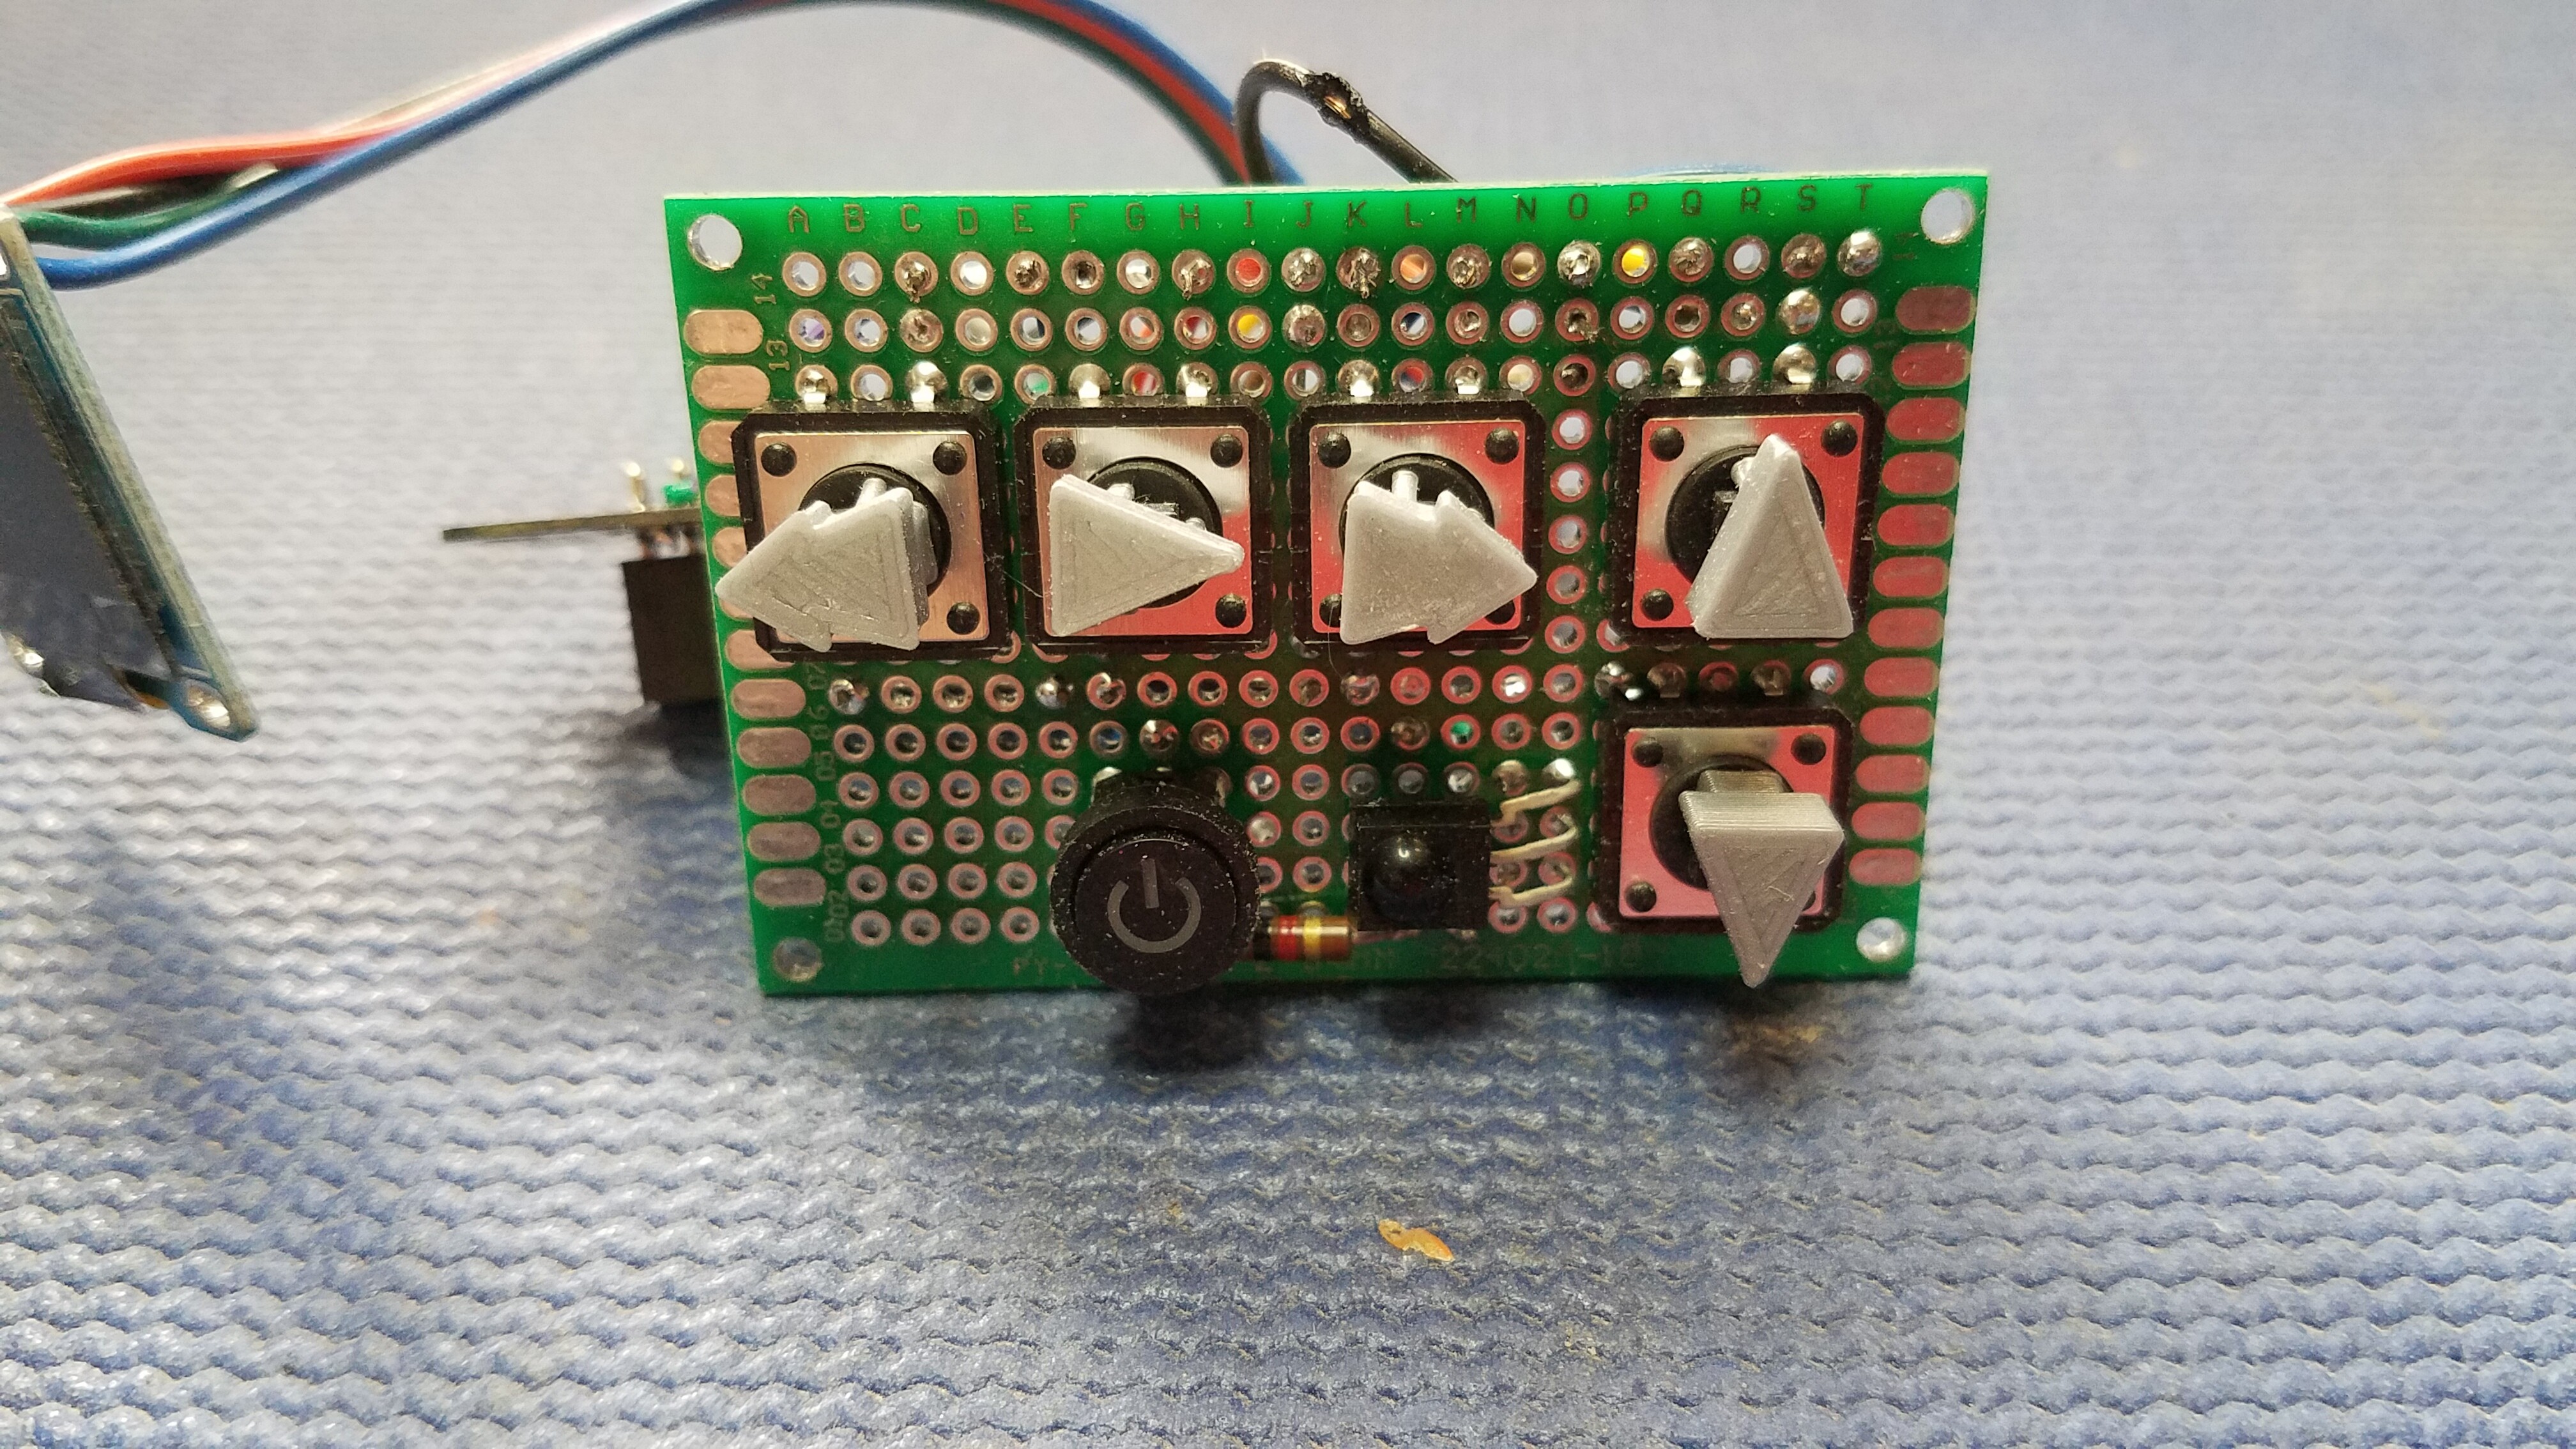
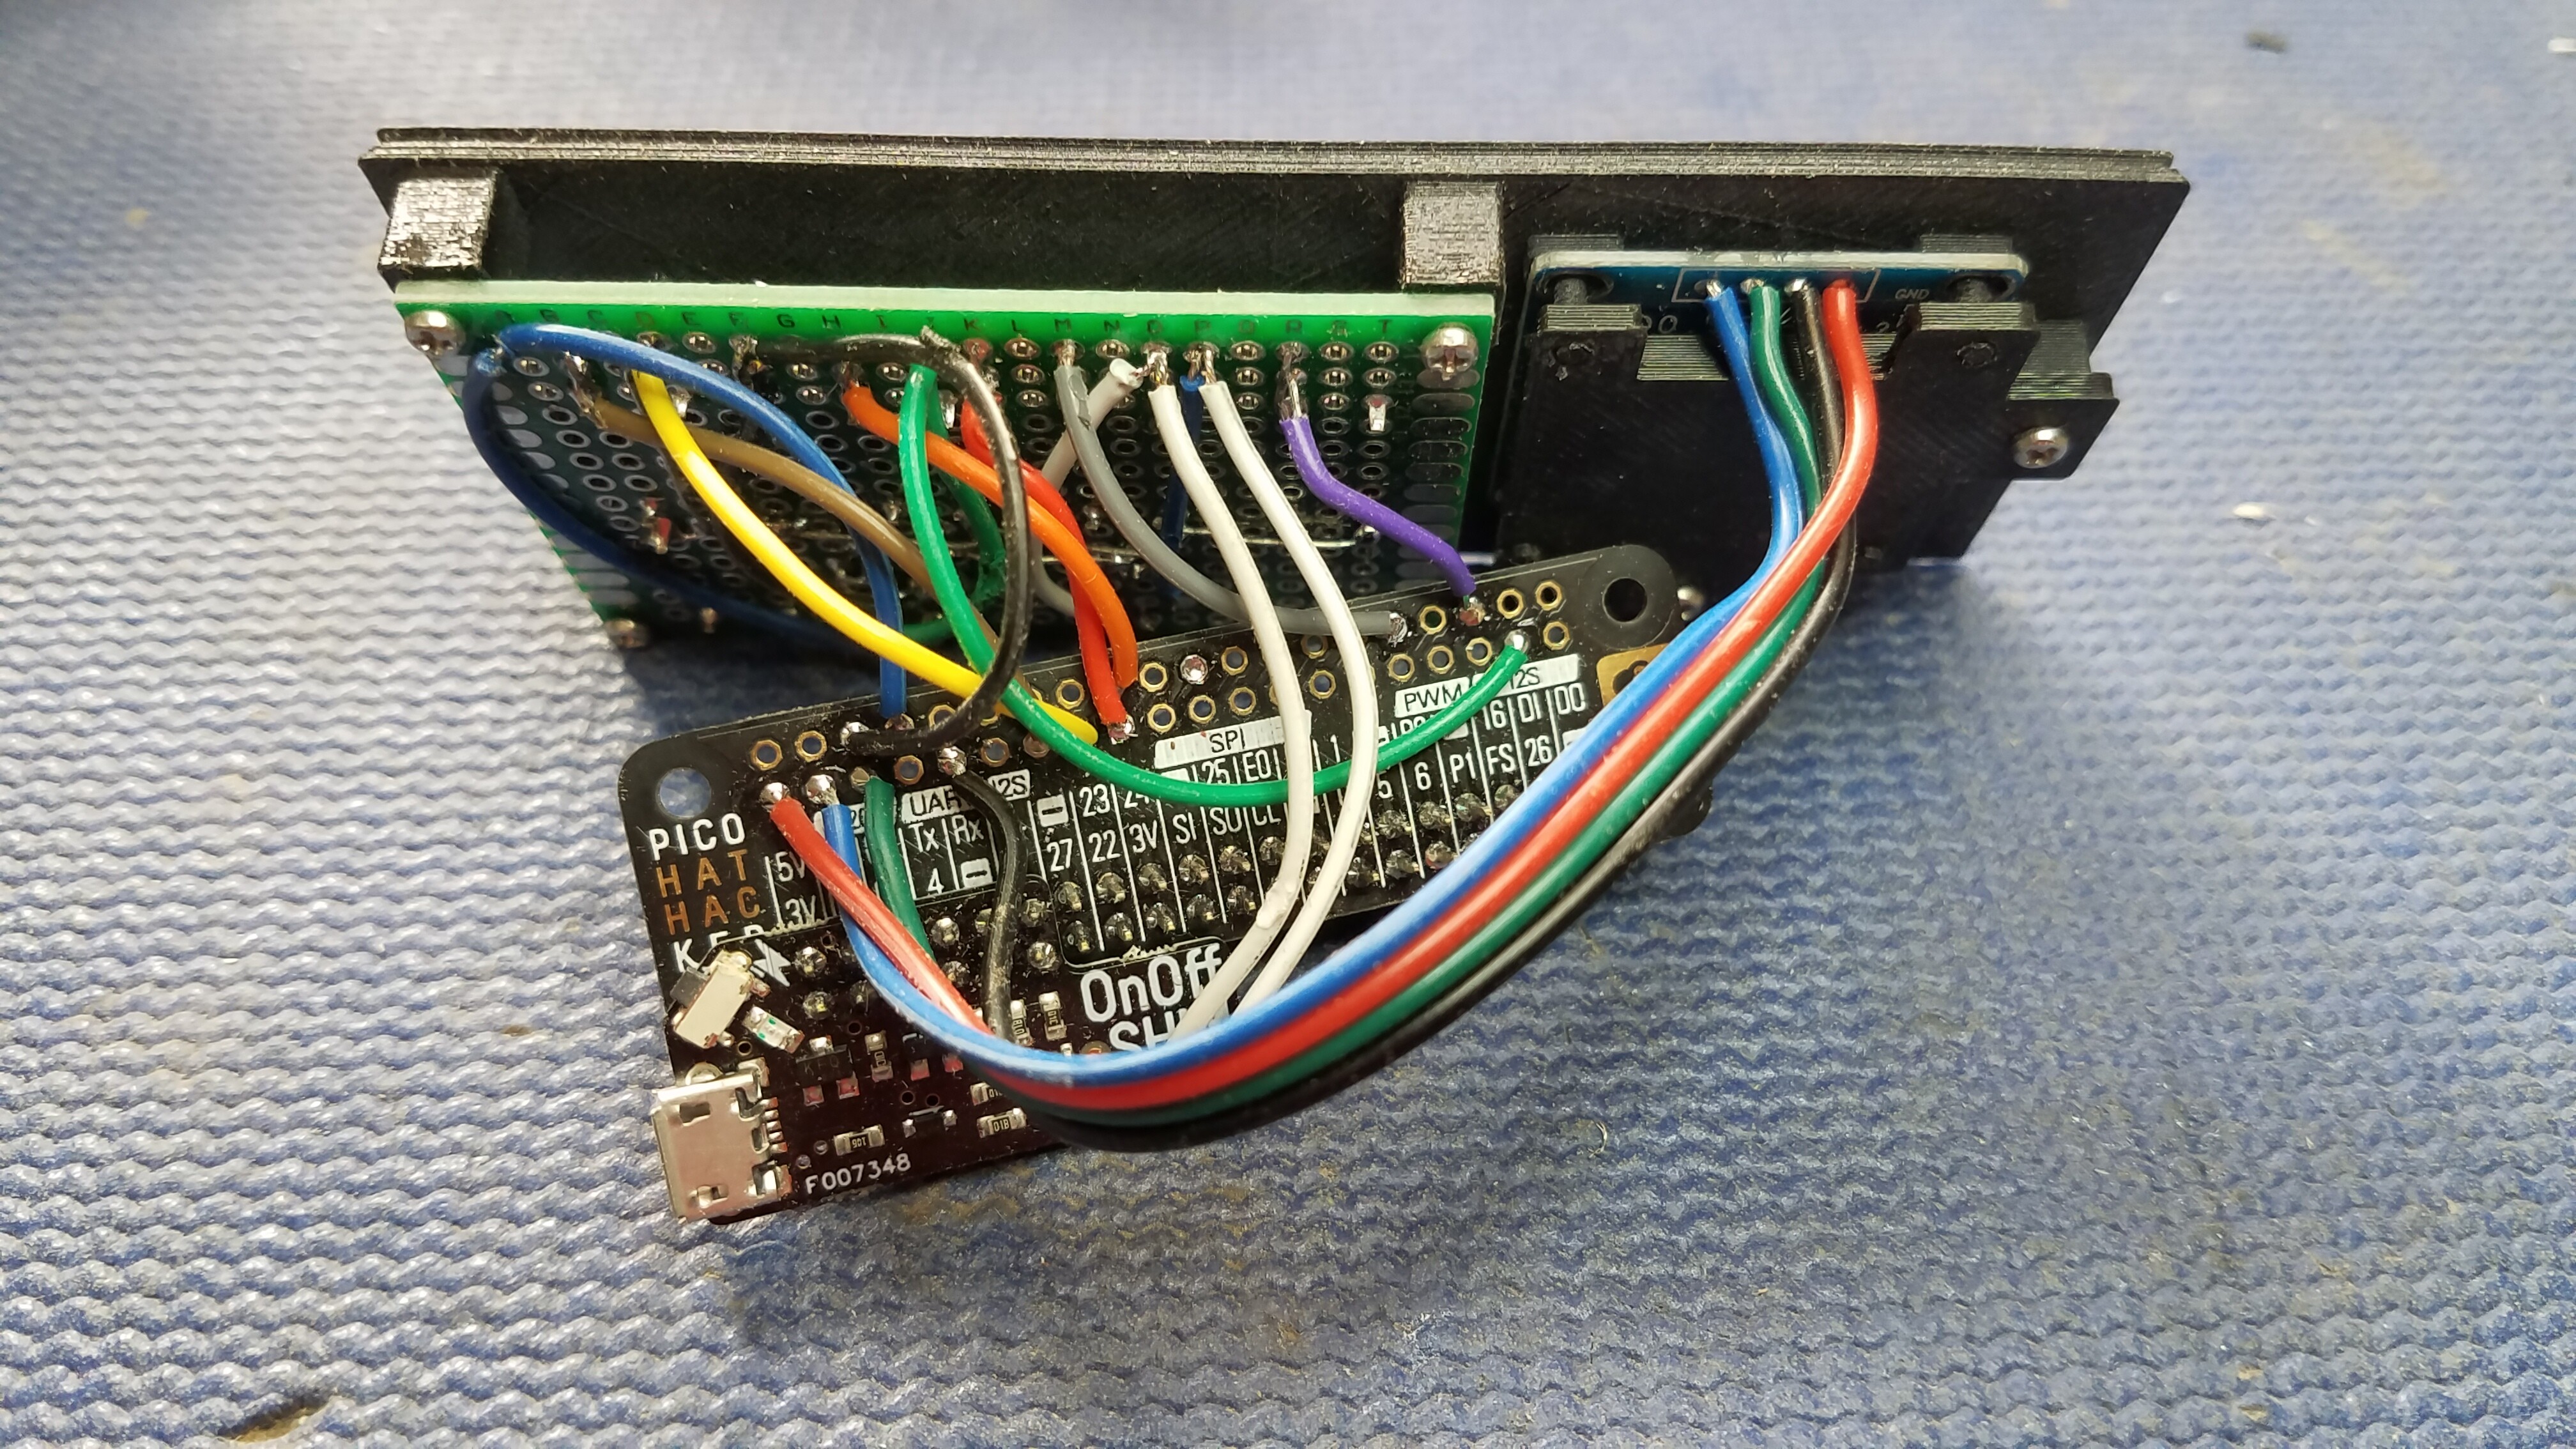
I created a perfboard that held the five control buttons (Prev, Play/Stop, Next, Vol Up & Vol Down) as well as the illuminated power switch that ties into the OnOffShim. This board also has the IR Receiver that works with the JustBoom IR Remote. I used Pimoroni’s Pico Hat board and a header to connect the perfboard circuits, OLED display and OnOffShim together so it could be unplugged from the header installed on top of the HiFiBerry DAC+ board. It’s a bit of a kludge, and would have been nicer to fashion a real PC board, but it did the trick. I designed and 3D printed the button faces that fit on top of the buttons. It took several iterations to get the button faces just right.
I made the front panel of the box a separate assembly so that I could connect the perfboard and oled display to it. I used threaded inserts (installed using a soldering iron) to attach the perfboard and display. Like the button faces, it took several iterations before I got the spacing just right. The only thing about the front panel that I am not completely satisfied with was my attempt to recreated the Volumio “O” below the oled display. I tried to fill the circle with white paint, but I was not able to get it looking as nice as I had imagined it.
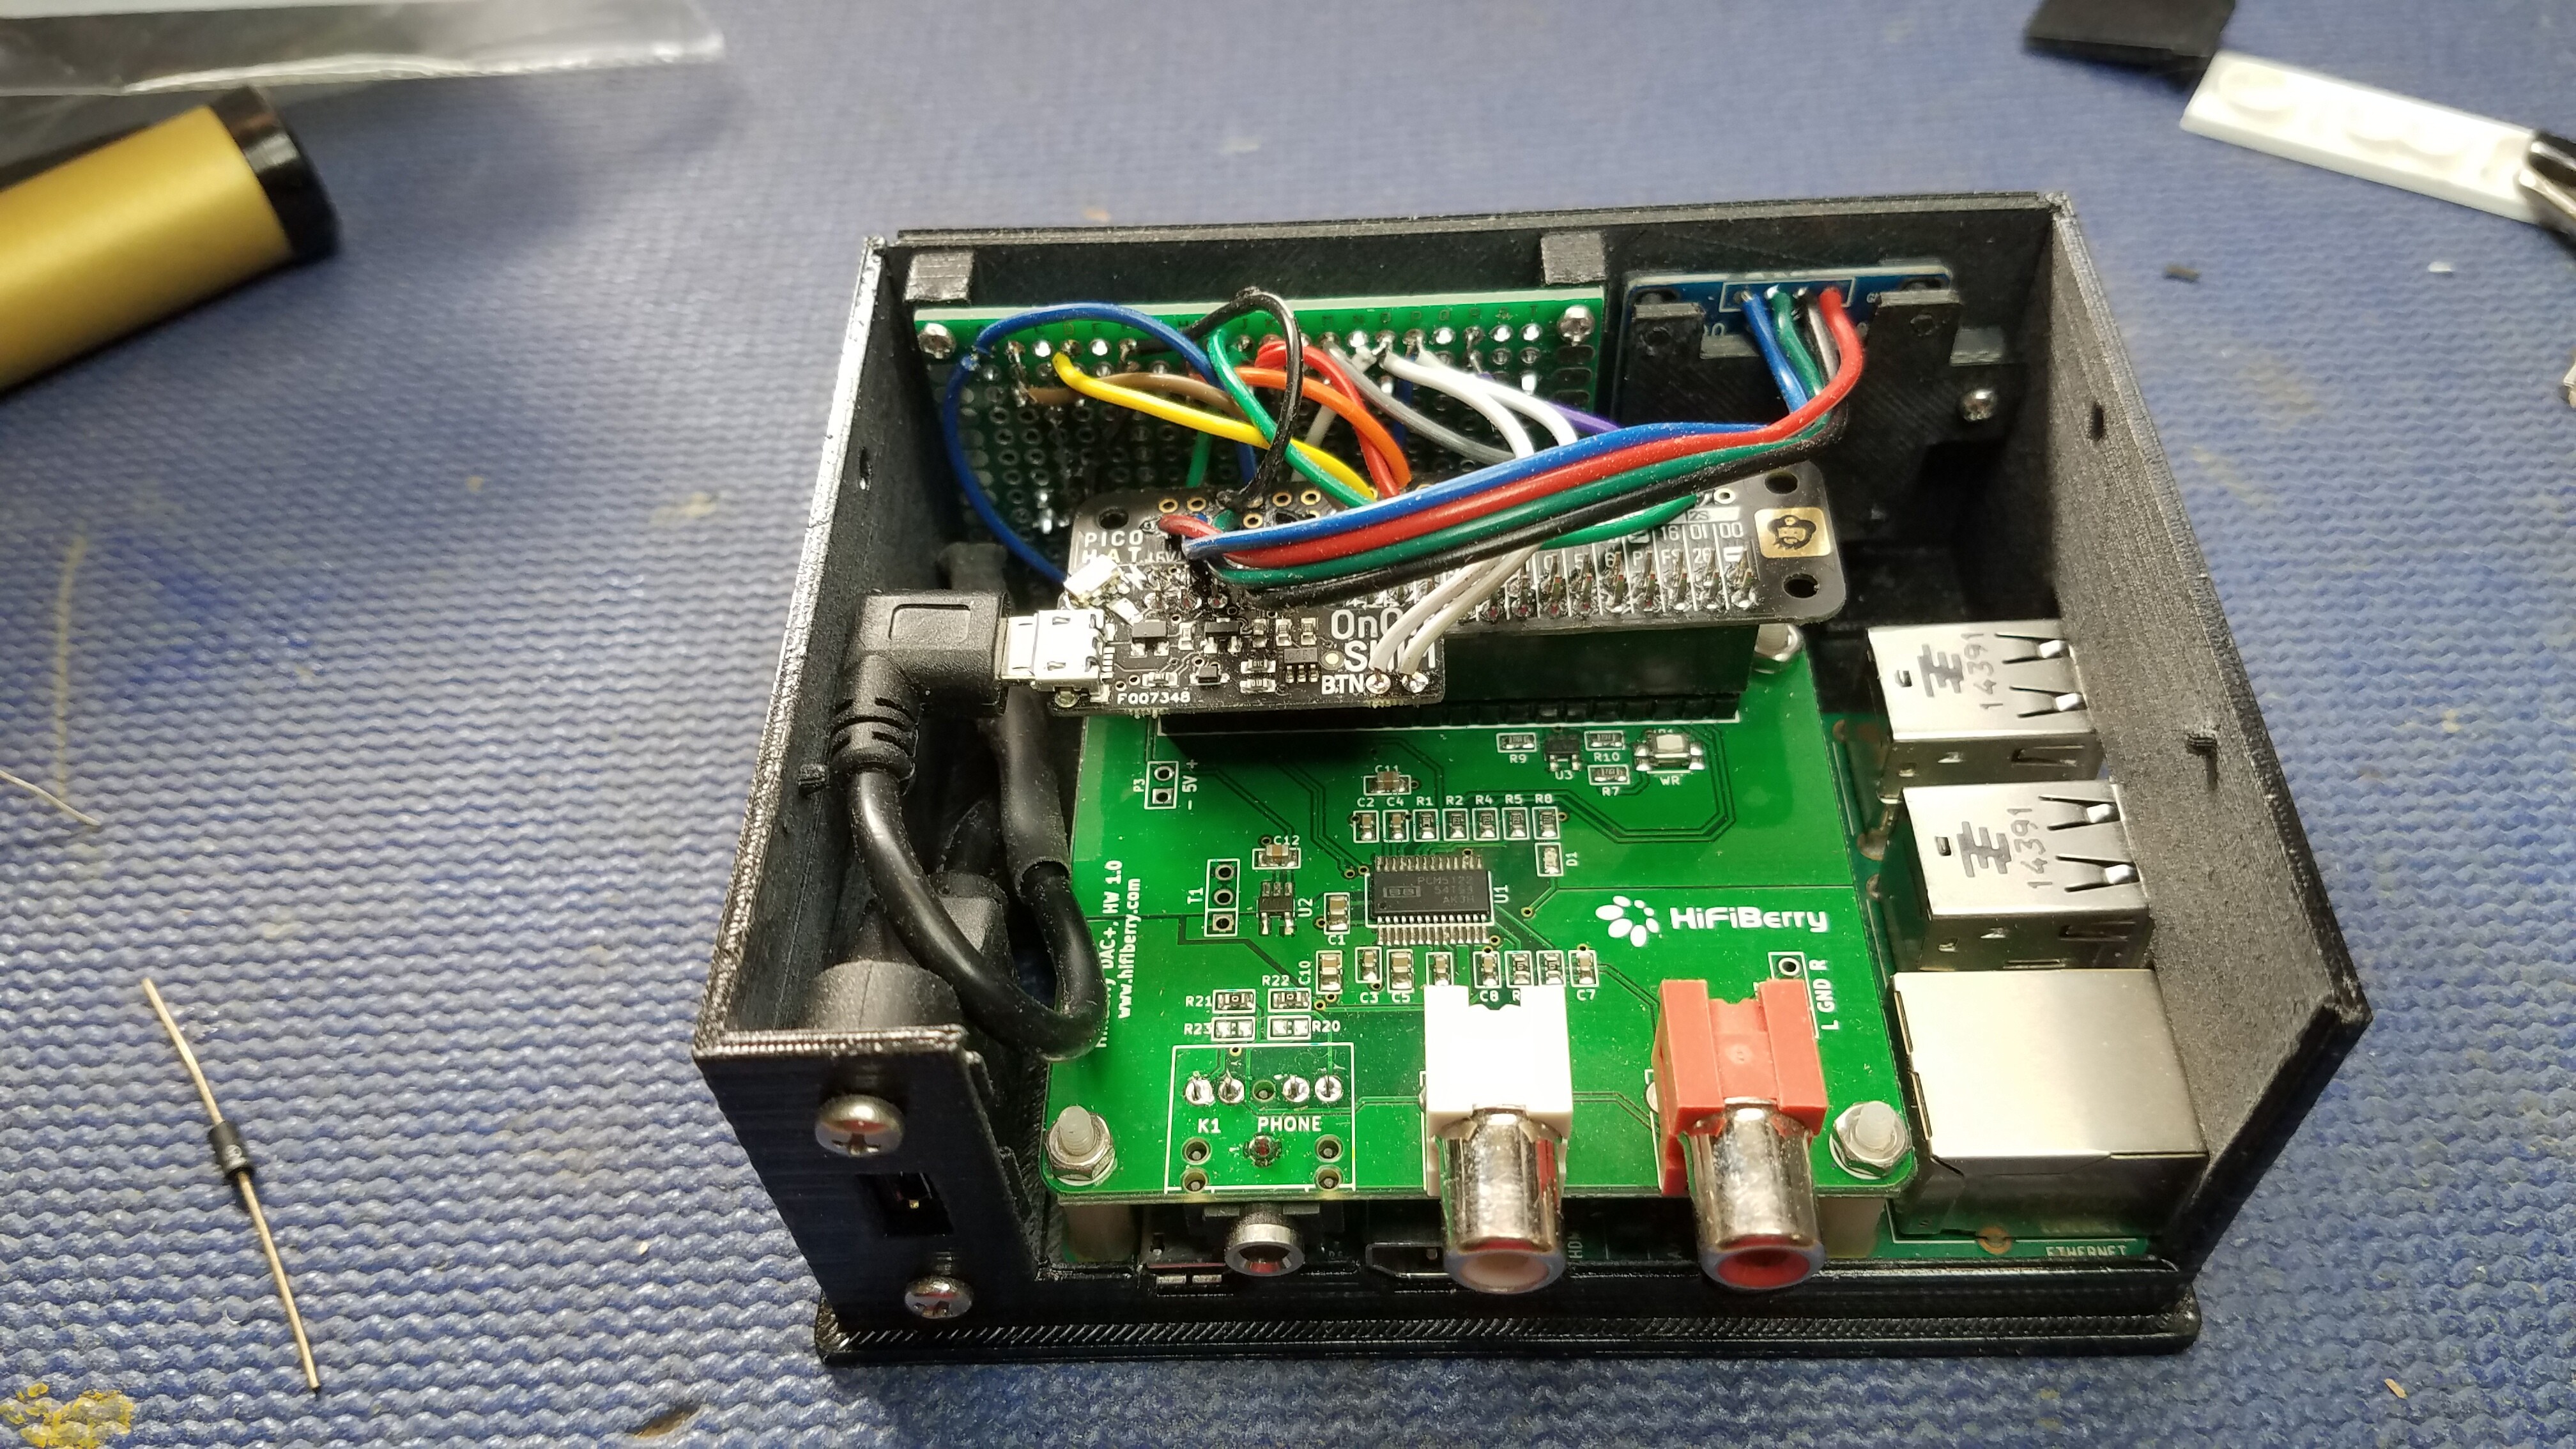
I designed and 3D printed a box for this that would incorporate all these added features. Here’s what the whole assembly looks like without the top. You can see that I added a panel mount micro-usb connector that connects external power to the OnOffShim.
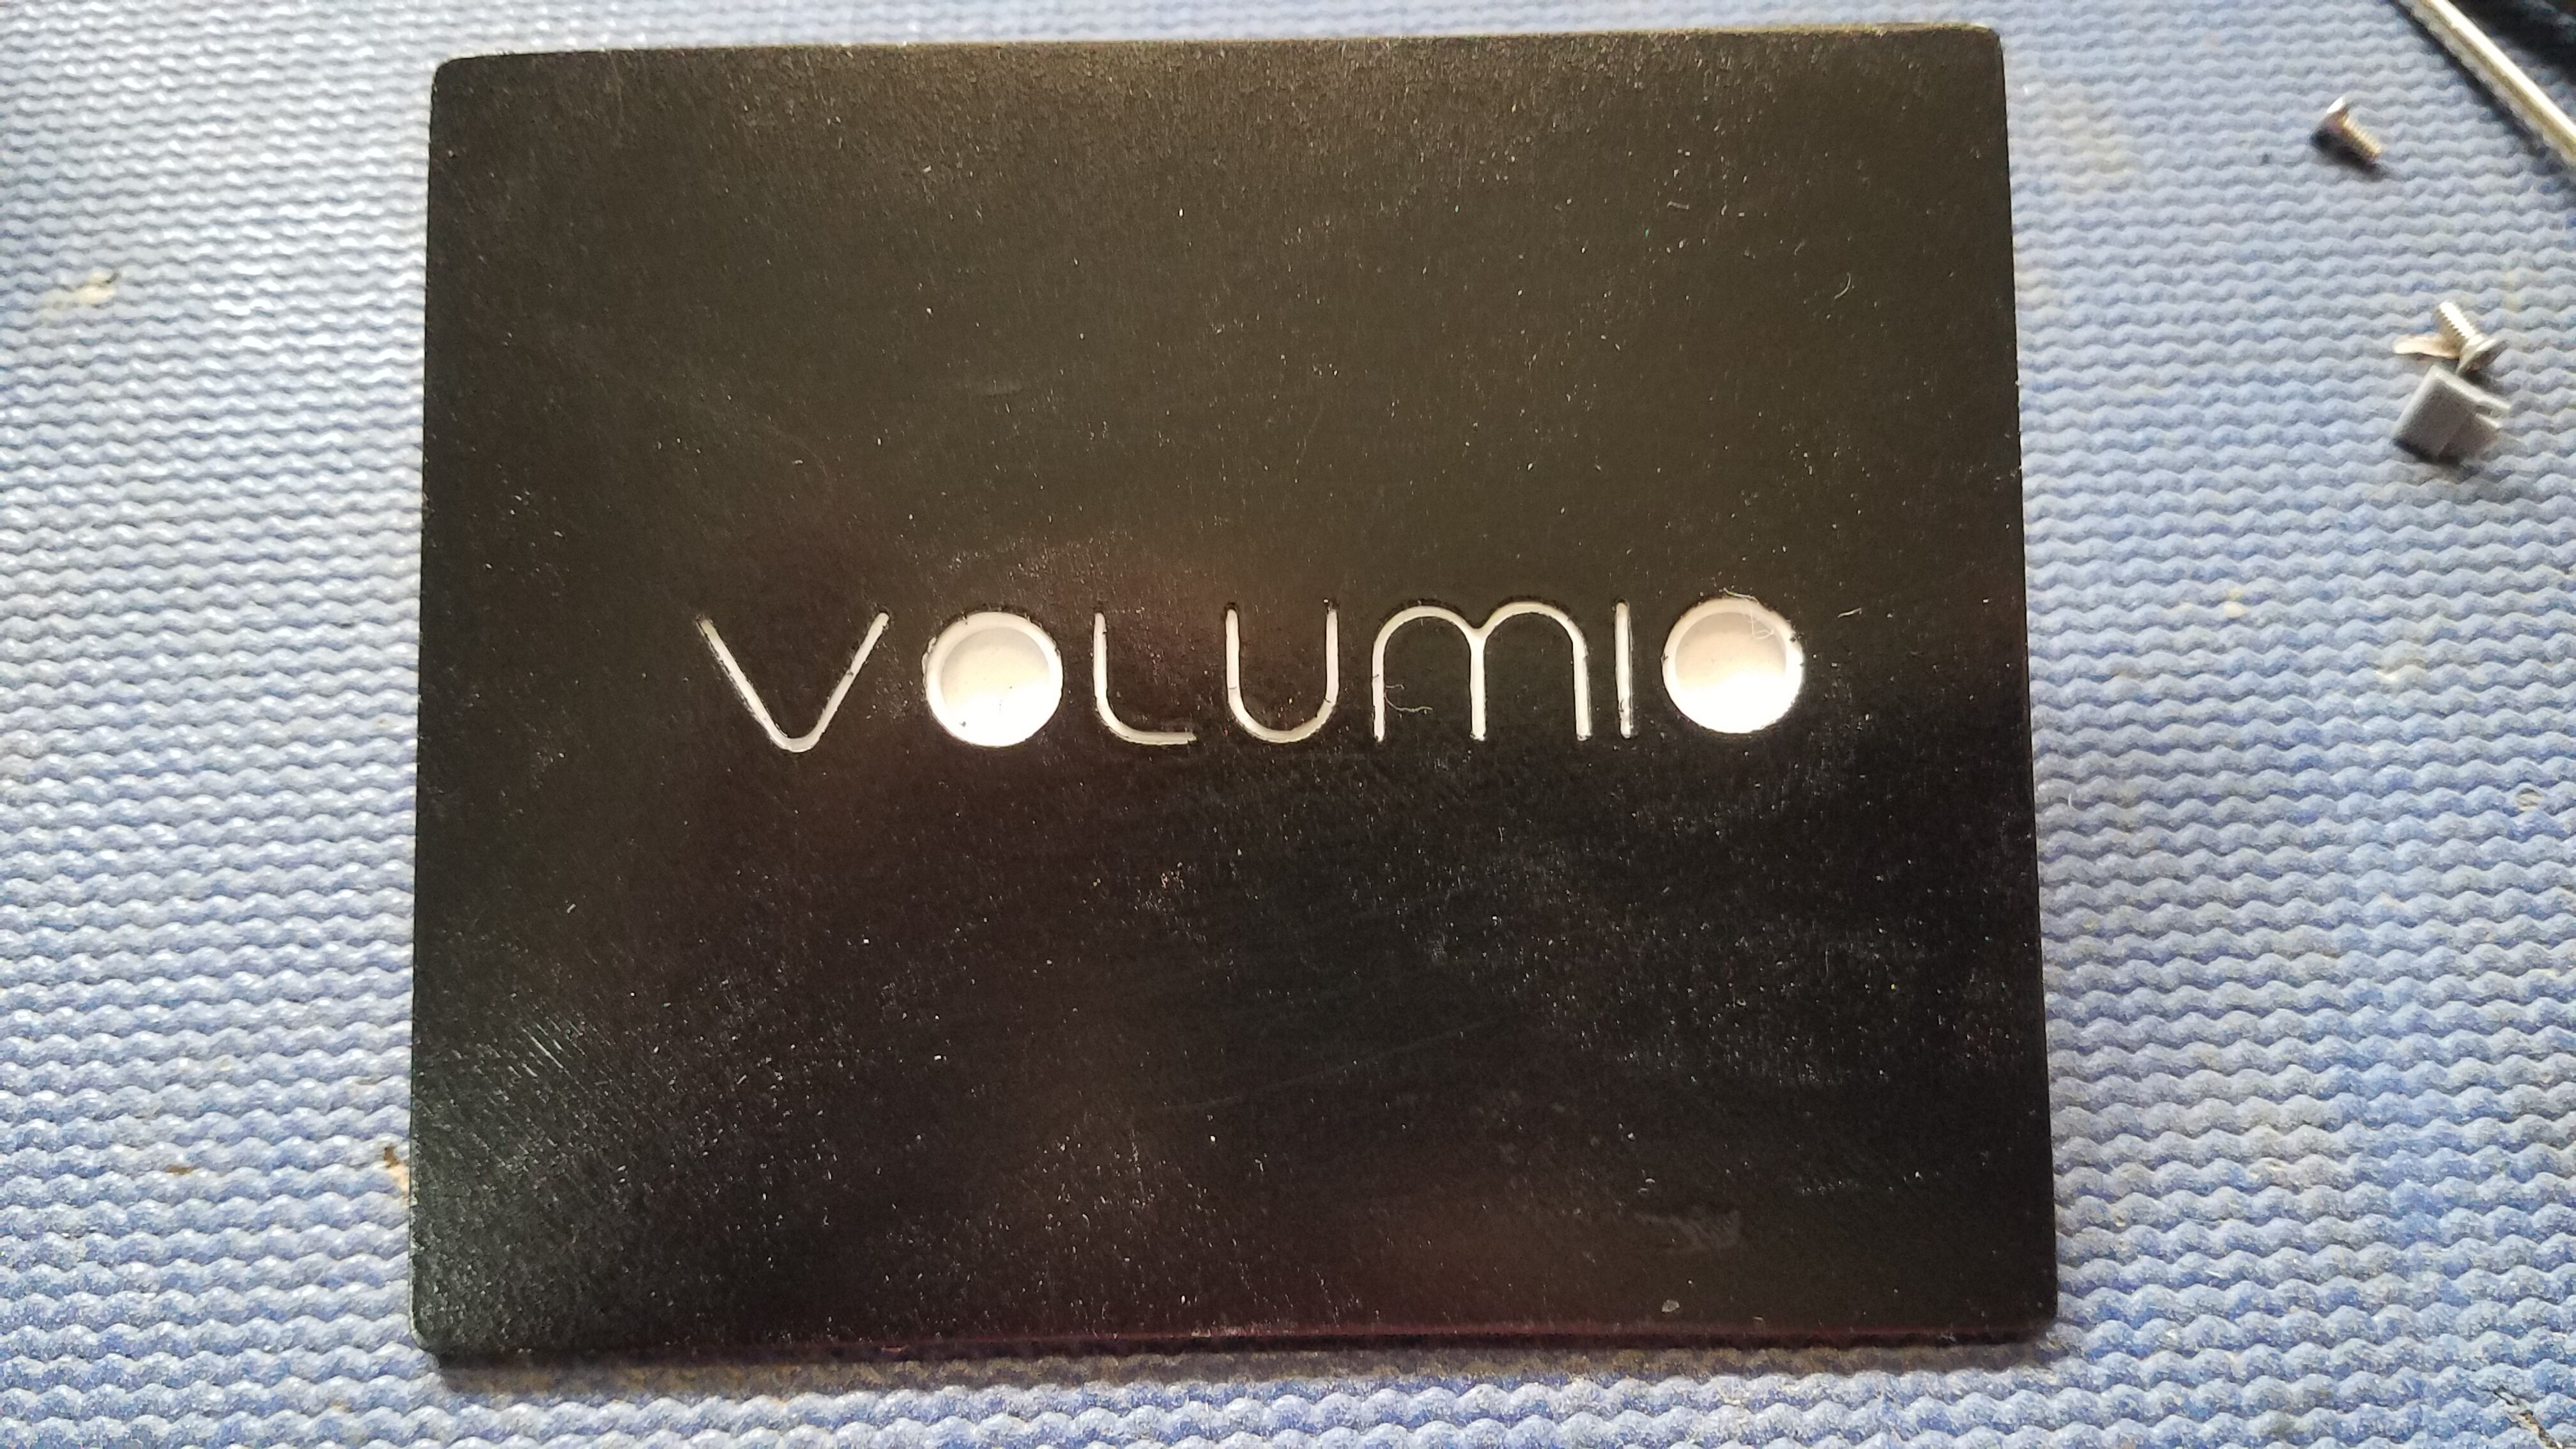
For the top I spent some time embedding Volumio on the top piece in white to contrast with the black body of the box. The top slides on from the rear and is secured by one small flat-head screw on either side. You can see the results in the pictures below.
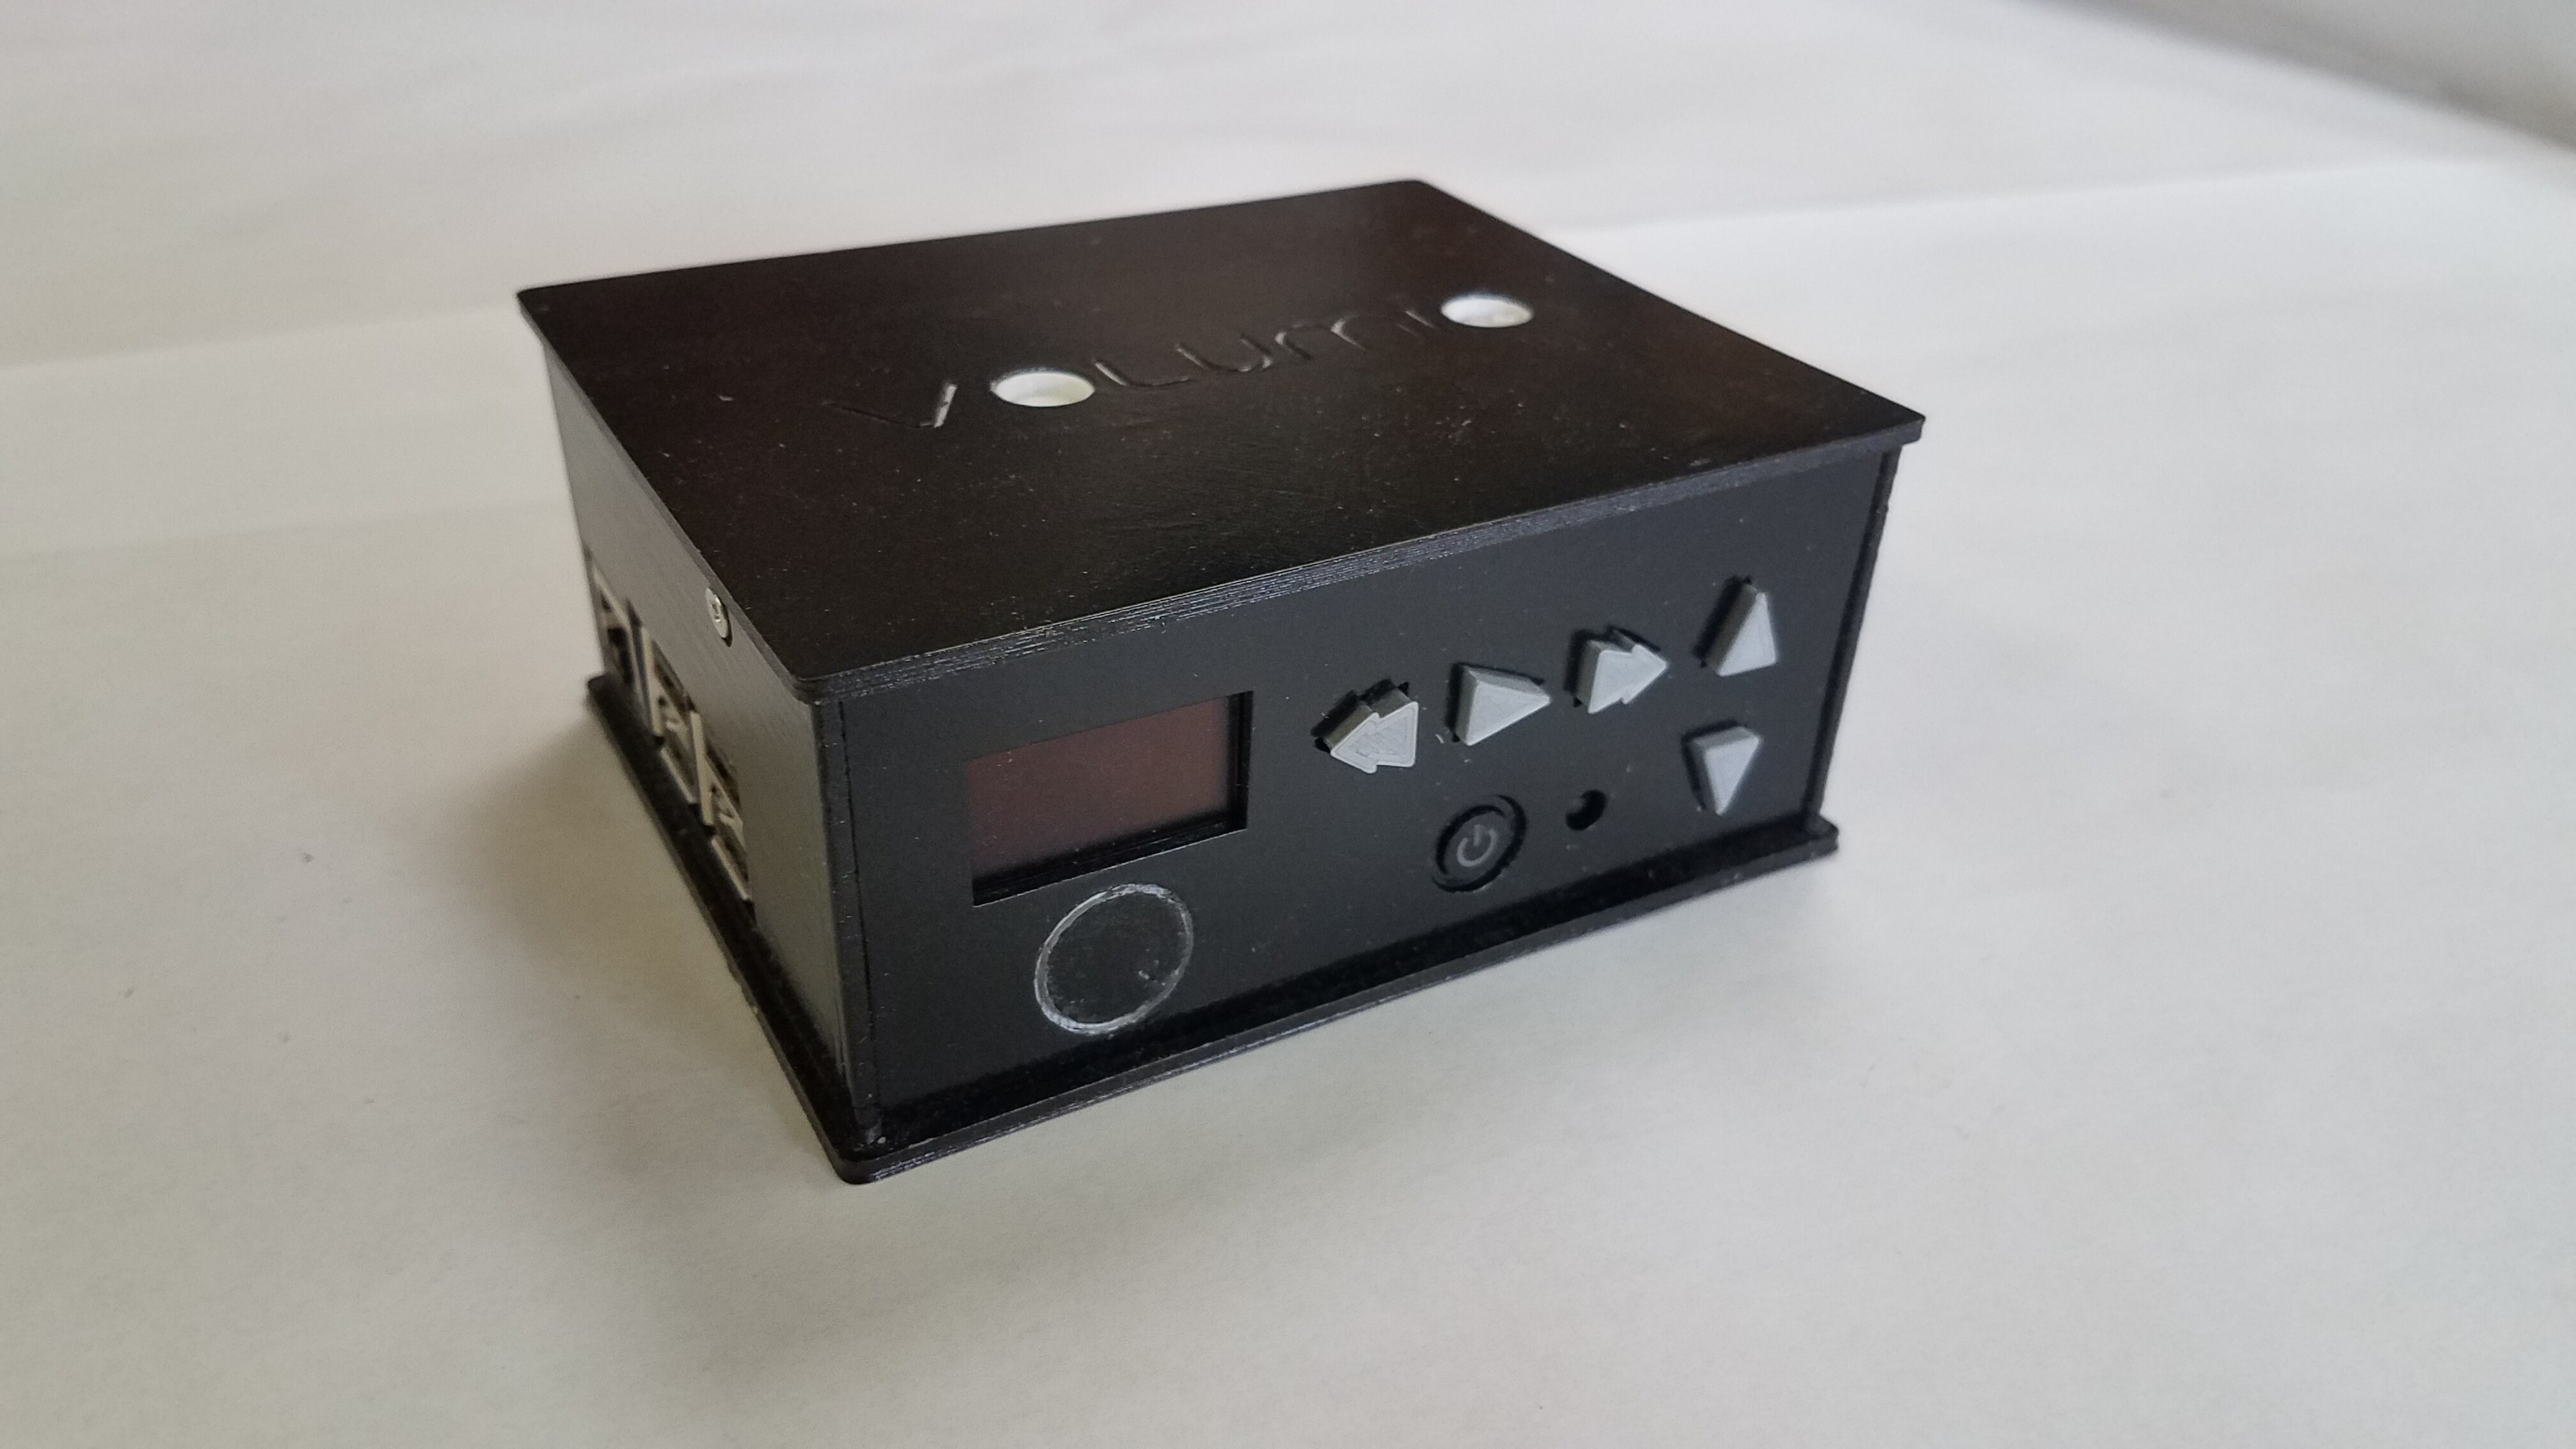
All in all, it turned out pretty well I think.
In between the touchscreen project and this smaller player, I also created an RPi-based NAS server for all the music. Now I don’t have to worry about duplicating any changes or additions to my music catalog for two players - just do it in one place!
Rick